Every year, thousands of American homeowners start tiling projects only to discover measurement errors cost them both time and money. Good planning is the difference between a patchwork finish and a stunning transformation. Learning how to assess your space, pick patterns, and fine tune your layout sets the stage for a professional look while helping you avoid costly mistakes.
Table of Contents
- Step 1: Assess And Measure Your Space
- Step 2: Select Tile Patterns And Focal Points
- Step 3: Mark Reference Lines And Dry Lay Tiles
- Step 4: Adjust Layout For Balance And Cuts
- Step 5: Verify Alignment And Finalize Plan
Quick Summary
| Key Point | Explanation |
|---|---|
| 1. Measure Carefully Before Cutting | Accurate measurements prevent mistakes and ensure a professional tile layout. Always measure multiple times for precision. |
| 2. Choose Patterns Wisely | Select tile patterns based on room size and function. Use bold designs for large spaces and subtle ones for smaller areas. |
| 3. Create Reference Lines | Establish accurate reference lines to ensure symmetrical tile placement and minimize awkward cuts during installation. |
| 4. Balance Layout and Cuts | Aim for even cuts of at least half a tile width to enhance aesthetics and avoid awkward tile strips around edges. |
| 5. Verify Alignment Before Installation | Check tile alignment and spacing thoroughly to achieve a polished look. Use sketches or diagrams for precise guidance. |
Step 1: Assess and Measure Your Space
Successfully planning your tile layout starts with precise measurements and a strategic understanding of your space. Accurate assessment prevents costly mistakes and ensures a professional result that looks seamless and intentional.
Begin by gathering essential tools - a reliable laser measuring device, graph paper, a pencil, and a standard measuring tape. Advanced measurement techniques using laser scanning technology can provide extremely precise dimensional data, allowing you to create comprehensive visual plans before cutting a single tile. Measure the entire surface area carefully, recording length and width dimensions. Pay special attention to architectural features like windows, doorways, electrical outlets, and corners that might require custom tile cuts.
Create a detailed sketch of your space, marking exact measurements and noting any irregularities. Pro tip: Always measure multiple times and cross reference your measurements to ensure absolute accuracy before purchasing tiles or beginning installation.
Pro tip: Measure twice, cut once. Create a digital or physical scale drawing of your space to help visualize the final tile layout and anticipate potential challenges.
The following table summarizes essential tools and their primary roles in tile layout planning:
| Tool | Function | How It Helps |
|---|---|---|
| Laser Measuring Device | Measures precise distances | Ensures accuracy in planning |
| Graph Paper | Drafts scaled layout sketches | Visualizes overall design |
| Measuring Tape | Verifies short measurements | Confirms details in small spaces |
| Pencil | Marks dimensions and irregularities | Allows for easy corrections |
Step 2: Select Tile Patterns and Focal Points
Choosing the right tile pattern transforms your space from ordinary to extraordinary, creating visual interest and defining the room’s overall aesthetic. Understanding how to strategically select patterns and establish focal points will elevate your design from basic to breathtaking.
Geometric tile patterns offer incredible design versatility by allowing you to manipulate visual perception and create dynamic spaces. Consider the room’s size, architectural features, and existing decor when selecting patterns. Larger rooms can handle bold geometric designs, while smaller spaces benefit from more subtle, understated patterns that create depth without overwhelming the environment. Look for opportunities to create focal points using contrasting tile shapes, colors, or unique arrangements that draw the eye and add visual drama.
Experiment with different layout techniques like herringbone, chevron, or basketweave patterns to add movement and texture. Pay attention to how different tile orientations can make spaces feel wider, longer, or more expansive. When selecting patterns, always order sample tiles to test how they look in your specific lighting and against your existing surfaces.
Pro tip: Create visual interest by mixing tile sizes and patterns sparingly - one bold pattern per room prevents design chaos and maintains a sophisticated, intentional look.
Here’s a quick comparison of popular tile layout patterns and their typical impact on room appearance:
| Tile Pattern | Visual Effect | Best For |
|---|---|---|
| Herringbone | Adds movement & energy | Hallways, entryways |
| Chevron | Creates dynamic flow | Feature walls, kitchens |
| Basketweave | Classic, textured look | Bathrooms, foyers |
| Straight Stack | Clean, modern lines | Large open spaces |
| Diagonal | Expands space visually | Small rooms, corridors |
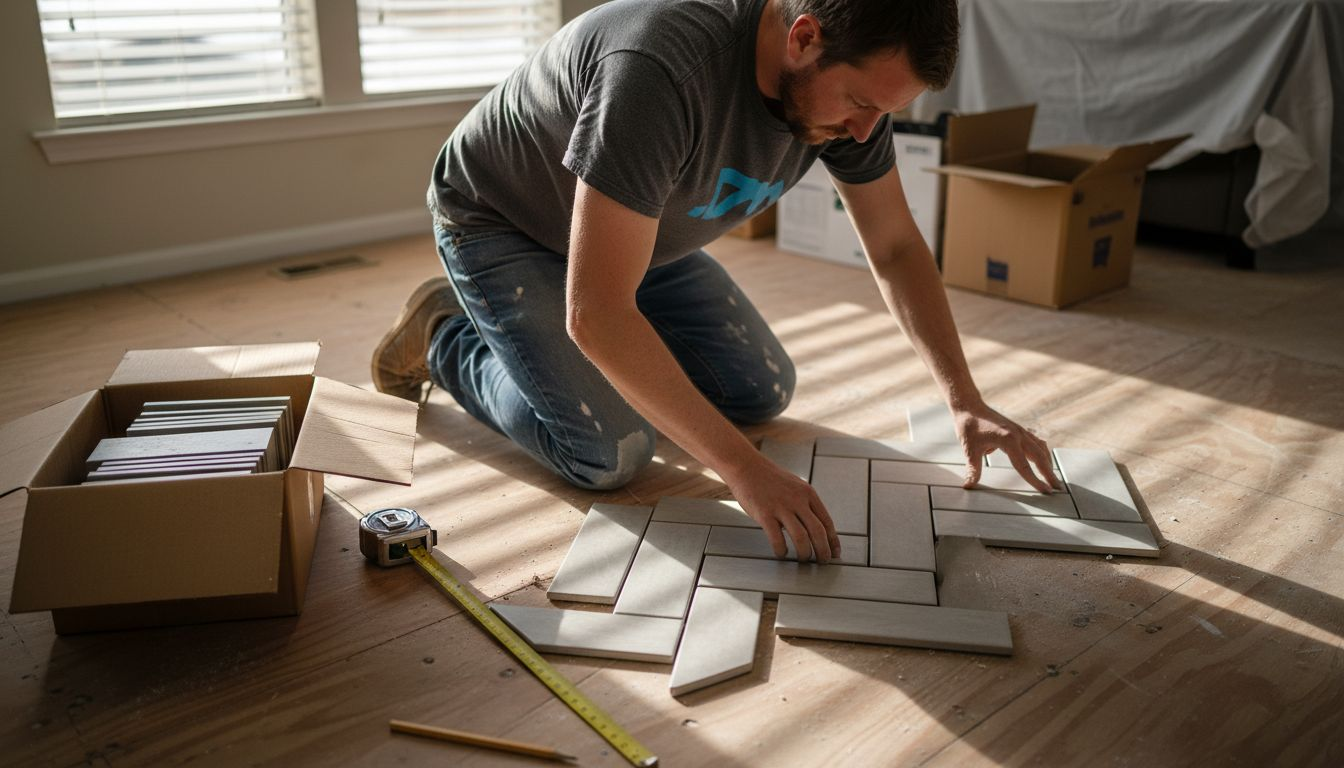
Step 3: Mark Reference Lines and Dry Lay Tiles
Marking accurate reference lines and performing a dry tile layout are critical steps that can make or break your entire tile installation project. These preliminary steps ensure precise alignment and help you anticipate potential challenges before committing to permanent placement.
Professional tiling techniques emphasize the importance of calculating precise layout measurements before beginning installation. Start by identifying the room’s centerline using a long straightedge or chalk line. Measure the room’s length and width, then mark the exact midpoint on each wall. Connect these midpoints to create your primary reference lines an X or cross pattern that will guide your tile placement. This approach ensures symmetrical tile distribution and minimizes cutting around room edges.
Proceed with a dry layout by placing tiles along these reference lines without adhesive, allowing you to visualize the final design and identify any potential cutting requirements. Pay close attention to tile edges near walls, corners, and architectural features. Adjust your starting point if the layout would result in narrow tile cuts less than half a tile width. Rearrange tiles to achieve balanced cuts and optimal visual symmetry.
Pro tip: Use a long level or laser line to double check that your reference lines are perfectly straight and perpendicular before beginning the actual tile installation.
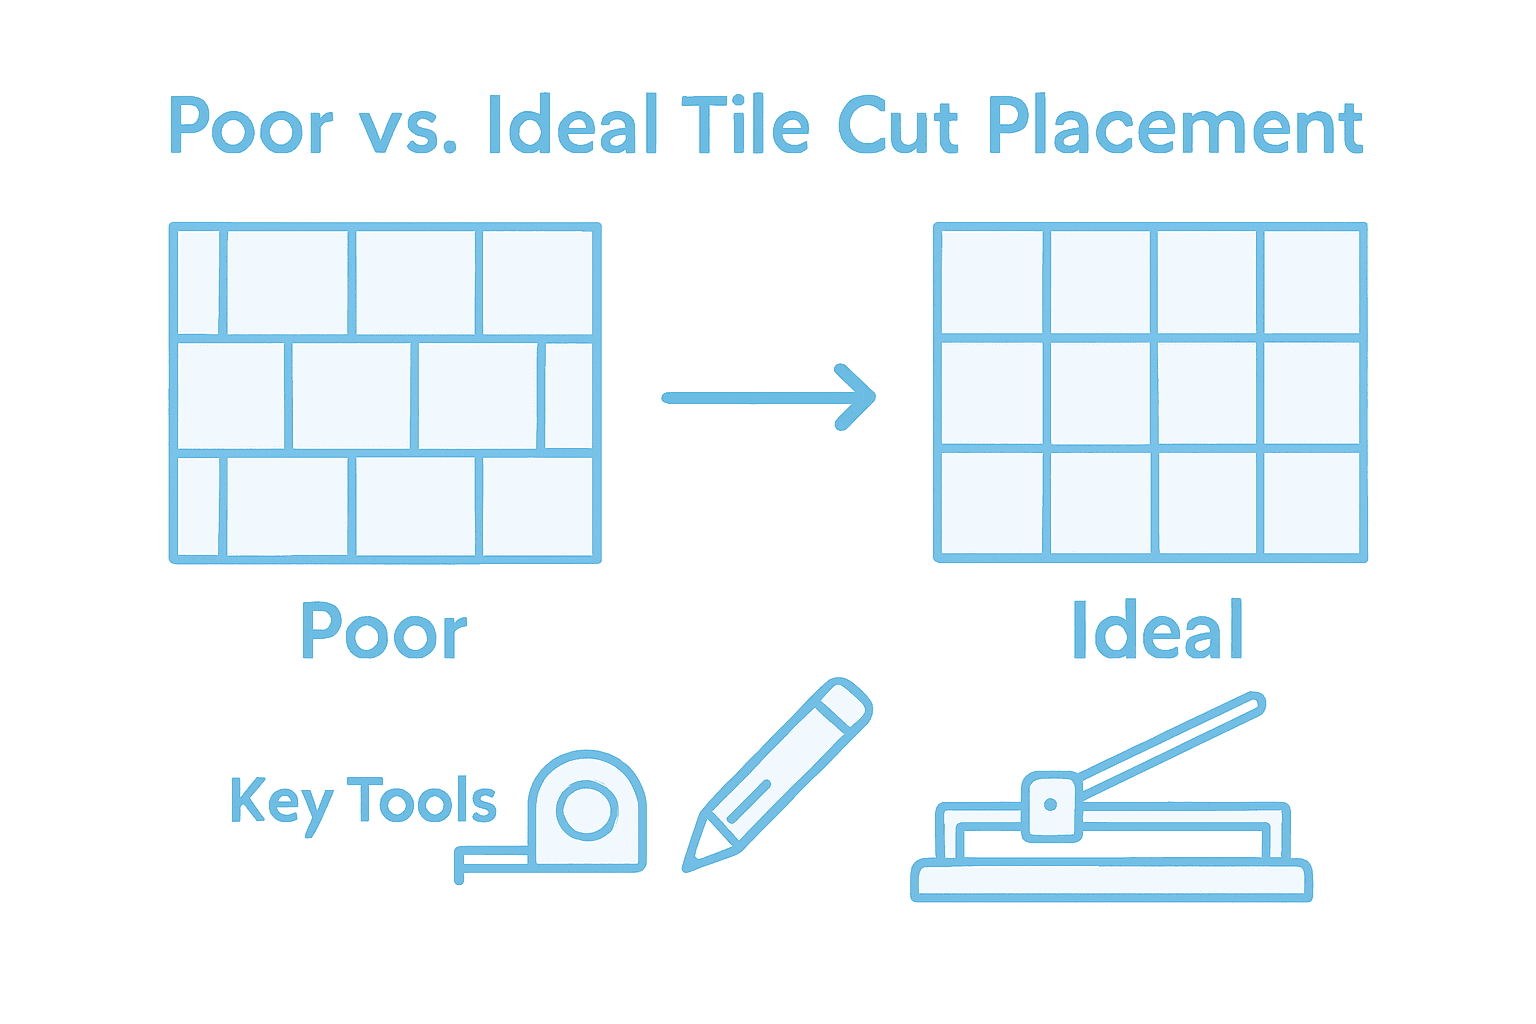
Step 4: Adjust Layout for Balance and Cuts
Balancing your tile layout requires strategic planning and careful consideration to achieve a professional looking installation that minimizes awkward cuts and maximizes visual appeal. This step transforms your initial dry layout into a thoughtfully refined design that looks intentional and polished.
Carefully evaluate the tile placement around room edges and architectural features. Aim to create balanced tile cuts that are at least half a tile width wide on all sides. If your initial layout results in narrow tile strips less than 2 inches wide near walls or corners, consider shifting your entire tile pattern to create more symmetrical cuts. This might mean moving your starting point slightly off the center line to distribute cuts more evenly.
Pay special attention to high visibility areas like entryways, focal walls, and transitions between rooms. Prioritize full tiles in these prominent spaces and plan cuts strategically around less noticeable areas such as behind appliances or under cabinets. When cutting tiles becomes necessary, use a wet saw for clean precise edges and always wear safety glasses and protective equipment during the cutting process.
Pro tip: Take multiple photos of your dry layout from different angles before making permanent cuts to help you visualize the final design and catch potential issues in advance.
Step 5: Verify Alignment and Finalize Plan
The final verification stage is crucial for ensuring a professional tile installation that looks precise and polished. This step transforms your careful planning into a foolproof roadmap for successful tile placement.
Professional tile installation techniques emphasize thorough alignment verification before committing to the final layout. Carefully inspect each tile’s position using a long level to confirm horizontal and vertical alignment. Check that tiles are perfectly square and maintain consistent spacing. Verify that all tiles come from the same production batch to ensure uniform color and texture throughout the installation. Pay close attention to corners, edges, and transition areas where alignment inconsistencies become most noticeable.
Review your entire planned layout one final time from multiple angles. Take photographs to help you critically assess the design and identify any potential issues. Look for symmetry in tile cuts, evenness of grout lines, and overall visual balance. Make minor adjustments as needed to create a seamless and professional looking installation. Mark critical reference points and measurements to guide your actual installation process.
Pro tip: Create a detailed sketch or digital diagram of your final layout with exact measurements and tile placement notes to serve as a precise installation guide during the actual tiling process.
Achieve Flawless Tile Installation with Expert Planning and Quality Materials
Planning your tile layout to perfection demands precision, balance, and thoughtful design choices. This article highlights the critical steps like measuring your space accurately, selecting the right tile patterns, and verifying alignment to avoid frustrating mistakes and costly rework. You deserve products that match the care you put into your project and help you bring your vision to life with confidence.
At TileChoices.com, we understand the challenges of achieving a flawless installation. That is why we offer an extensive collection of premium tiles designed for every style and space — from ceramic and porcelain to natural stone and glass finishes. Use our easy sample request feature to test selections in your home before committing. Plus, explore our detailed product descriptions and design inspiration to complement the strategic layout techniques you just learned.
Ready to transform your space with precision and style? Visit TileChoices.com today to browse curated tile collections, get started on your perfect layout, and request samples now. Make your tile project truly seamless from planning to installation.