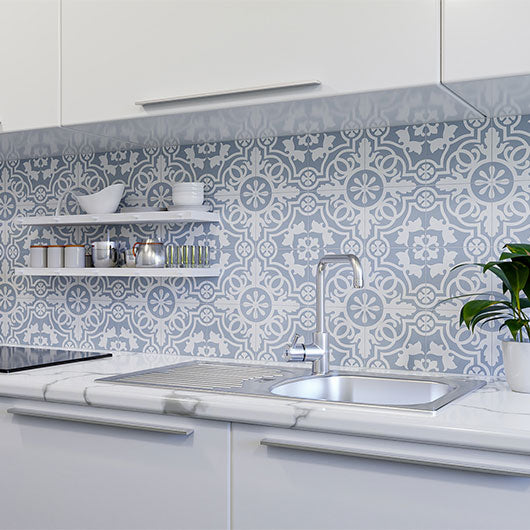
A dry layout in tile installation is one of the most important steps for achieving a professional, visually balanced result—especially when working with high variation tiles. Whether you're installing a backsplash, shower wall, or floor tile, understanding dry layout and variation scale can help you avoid uneven patterns, color clustering, and design mistakes.
In this guide, we explain what a dry layout is, why it matters, and how it works together with tile variation ratings to create a cohesive finished look.
Table of Contents
- What Is a Dry Layout in Tile?
- Why Dry Layout Matters
- How to Do a Dry Layout Step-by-Step
- Understanding Tile Variation Scale
- How Dry Layout Works with High Variation Tiles
- Common Mistakes to Avoid
What Is a Dry Layout in Tile?
A dry layout is the process of arranging tiles on a surface without adhesive before installation. This allows you to preview the final pattern, spacing, and overall appearance before committing to permanent placement.

By laying out tiles in advance, you can adjust positioning, balance colors, and ensure a consistent design throughout the installation area.
Why Dry Layout Matters
Skipping a dry layout can lead to uneven patterns, poor alignment, and unwanted visual clustering—especially with natural stone or high variation tiles.
- Ensures balanced color distribution
- Prevents repeating patterns or noticeable clusters
- Helps plan cuts and edge alignment
- Improves overall visual flow
For high-end tile designs, a dry layout is considered a critical step in the installation process.
How to Do a Dry Layout Step-by-Step
1. Prepare the Area
Clean and measure the installation surface to understand layout dimensions.
2. Lay Out Tiles Without Adhesive
Place tiles on the floor, countertop, or wall area to simulate the final layout.
3. Mix Tiles from Multiple Boxes
Always pull tiles from different boxes to ensure a natural blend of color and pattern.
4. Adjust for Balance
Rearrange tiles to avoid clusters of similar colors or patterns.
5. Mark Key Areas
Once satisfied, mark reference lines or take photos to replicate the layout during installation.
Understanding Tile Variation Scale
Tile variation scale refers to the degree of color, pattern, and texture differences between individual tiles. This is typically rated from V1 to V4.
V1 – Uniform Appearance
Minimal to no variation. Tiles look nearly identical.
V2 – Slight Variation
Subtle differences in shade and pattern.
V3 – Moderate Variation
Noticeable variation in color and design.
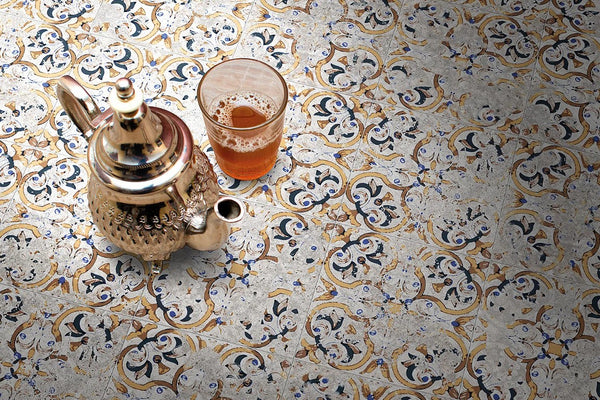
V4 – High Variation
Significant differences between tiles. Each piece may look unique.
High variation tiles (V3 and V4) require careful planning to achieve a balanced and natural appearance.
How Dry Layout Works with High Variation Tiles
Dry layout becomes especially important when working with V3 and V4 tiles. Without proper planning, these tiles can create uneven color groupings or distracting patterns.
- Distributes light and dark tiles evenly
- Prevents patchy or inconsistent areas
- Enhances natural, random appearance
- Ensures a cohesive final design
By combining dry layout techniques with an understanding of variation scale, you can achieve a professional-quality installation.

Common Mistakes to Avoid
- Skipping the dry layout step entirely
- Using tiles from only one box at a time
- Ignoring variation scale ratings
- Allowing similar tiles to cluster together
- Failing to plan edge cuts and transitions
A little extra time spent planning can prevent costly mistakes during installation.
Understanding what a dry layout is and how it works with tile variation scale is essential for achieving a professional finish. Whether you're working with subtle tiles or high variation designs, taking the time to plan your layout will result in a more balanced, visually appealing installation.