A diy kitchen backsplash can completely change the feel of your space. The bright part is even first-timers can get pro results by following a handful of precise steps. Most people think perfect results require expensive pros and fancy materials but it’s actually careful prep and a few simple tricks that make all the difference.
Table of Contents
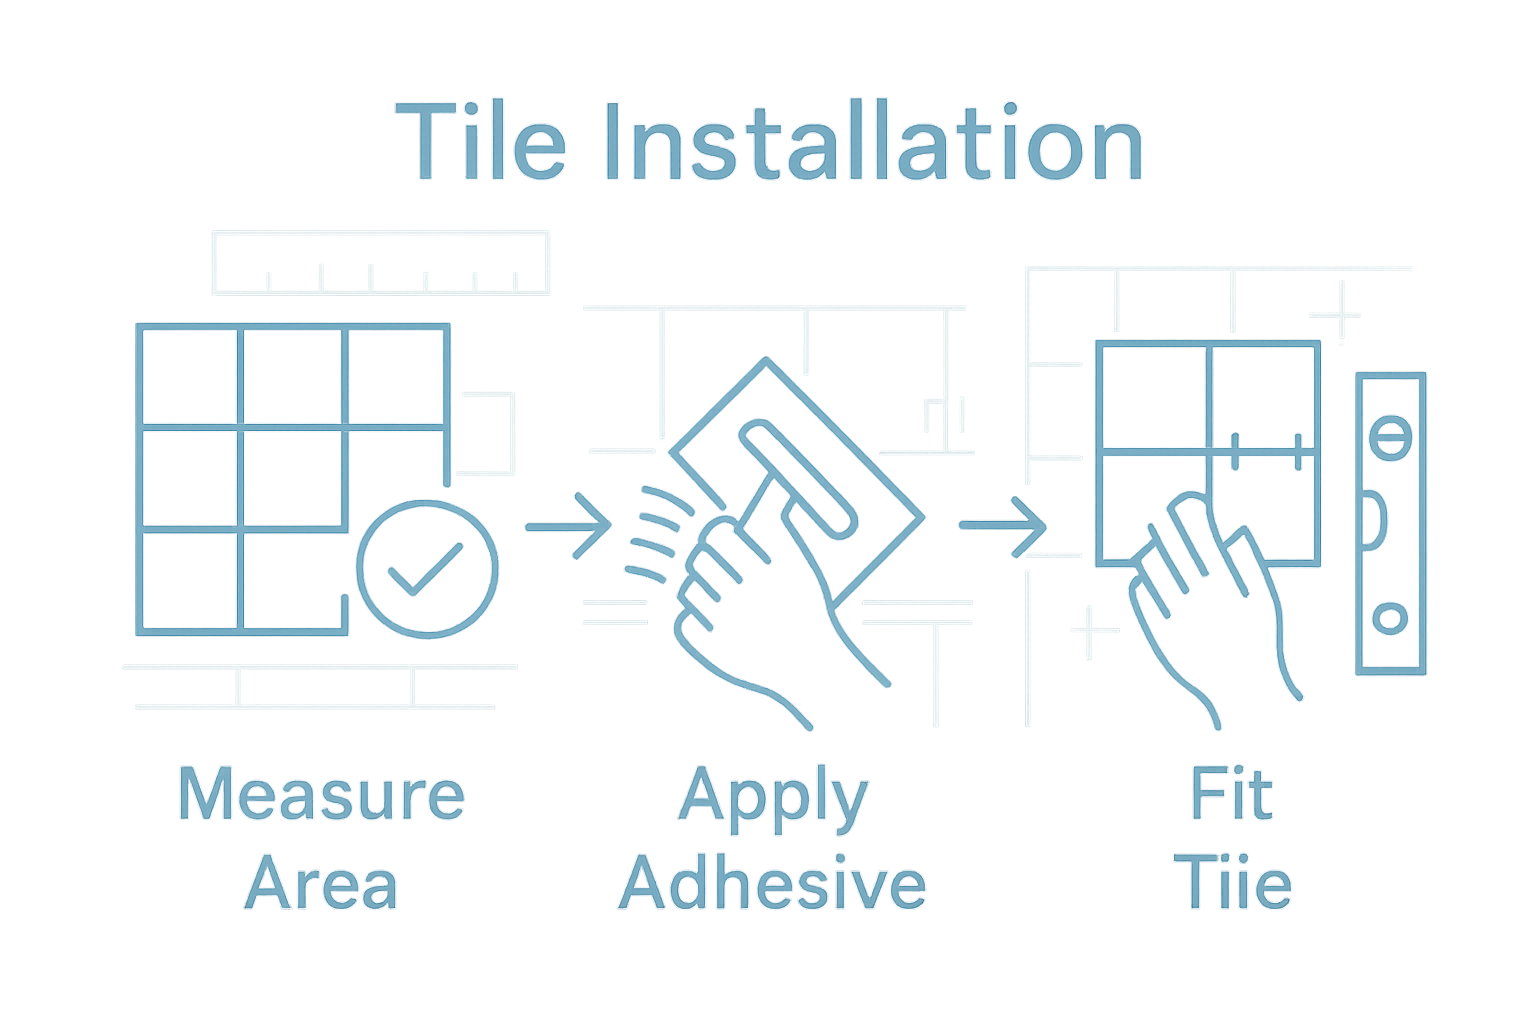
- Step 1: Measure Your Backsplash Area Precisely
- Step 2: Gather Essential Tools and Materials
- Step 3: Prepare the Surface for Installation
- Step 4: Cut and Arrange Tiles for Best Fit
- Step 5: Apply Adhesive and Install the Tiles
- Step 6: Seal Grout Lines for a Finishing Touch
Quick Summary
| Key Point | Explanation |
|---|---|
| 1. Measure accurately before installation | Take precise measurements to avoid costly mistakes and ensure a seamless tile layout. Clearance of space is essential for accurate measurement. |
| 2. Gather the right tools and materials | Having the necessary tools, such as a wet tile saw and adhesive, prepares you for effective tile installation. Consider material compatibility for successful results. |
| 3. Prepare wall surfaces thoroughly | Clean and repair walls to ensure tiles adhere properly, avoiding future issues or deterioration. A smooth surface is essential for professional appearance. |
| 4. Plan tile arrangement before installation | Create a dry layout to visualize the final design and identify cutting needs. Starting from the center out helps maintain a balanced look. |
| 5. Seal grout lines after installation | Apply sealer after grout cures to protect tiles from moisture and stains, ensuring a long-lasting backsplash. Regular maintenance of sealing helps preserve appearance. |
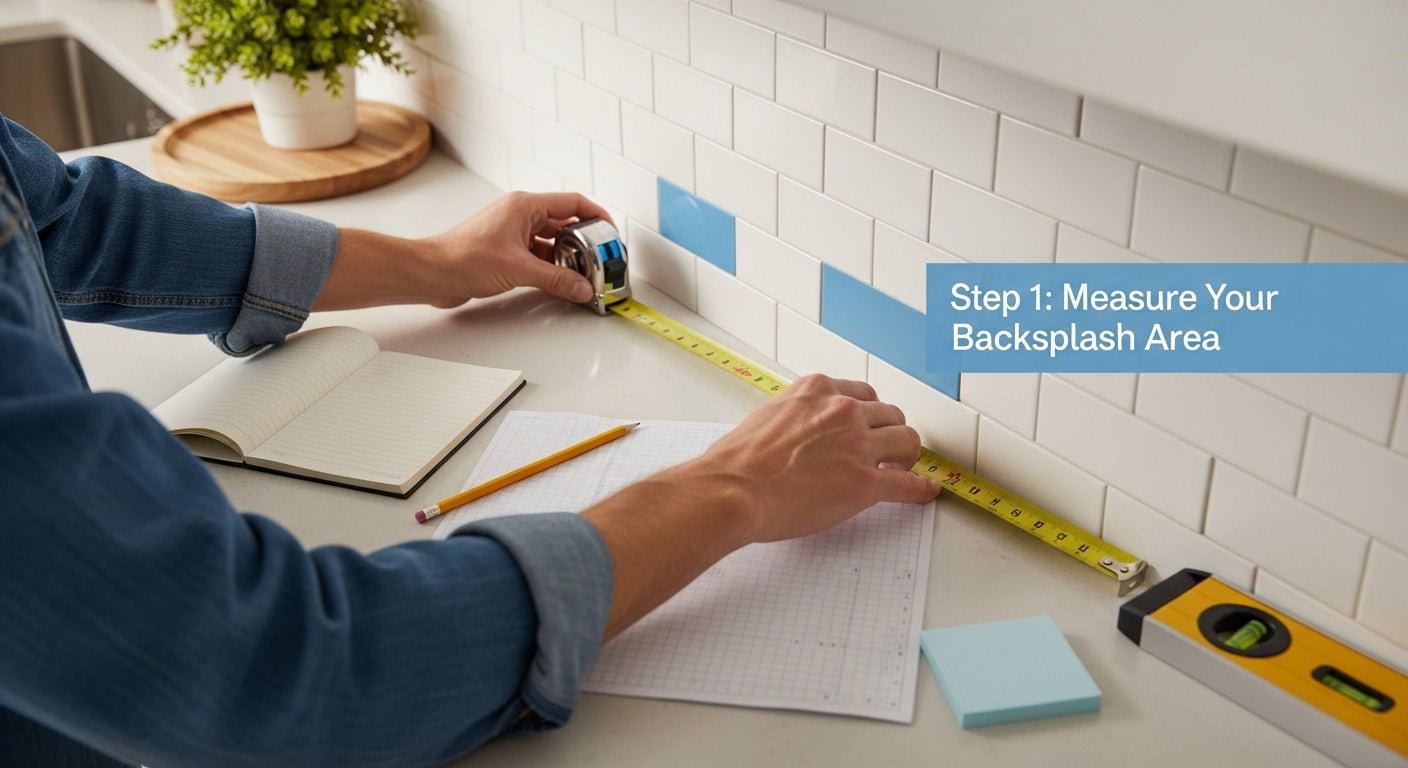
Step 1: Measure Your Backsplash Area Precisely
Successful diy backsplash installation begins with precision measurement. Understanding your space requires more than a quick glance. Accurate measurements form the foundation of a professional looking tile project, preventing costly mistakes and ensuring a seamless design.
Gather your essential measurement tools before starting. You will need a metal tape measure for accuracy, a pencil, graph paper or a notepad, and a level. Professional contractors recommend measuring twice to confirm dimensions. Start by clearing your countertop and removing any items that might obstruct your measurement process.
Measure the length and height of each wall section where you plan to install the backsplash. For standard kitchen layouts, measure from the countertop to the bottom of your kitchen cabinets. Pay special attention to areas around electrical outlets, windows, or other architectural features that might require custom tile cutting. Read our guide on how to cut ceramic tile for more detailed information about handling these intricate sections.
Record your measurements carefully. Note the width of each wall section in inches, rounding up to the nearest whole number to ensure you purchase enough tile. Pro tip: Add an extra 10% to your total square footage to account for cuts, breakage, and future replacements. This buffer prevents mid project disruptions and ensures you have matching tiles for potential future repairs.
Verify your measurements by cross checking length and height. Use your level to confirm vertical surfaces are truly straight, which helps prevent uneven tile installation. A crooked measurement can translate into visible irregularities in your final backsplash design.
 By investing time in precise measurement, you set the stage for a professional quality diy backsplash installation that transforms your kitchen with precision and style.
Step 2: Gather Essential Tools and Materials
Preparing for a diy backsplash installation requires strategic tool selection and material gathering. This crucial preparation stage determines the smoothness and success of your entire project. Professional results start with having the right equipment and materials organized before the first tile touches your wall.
Your basic toolkit should include several precision instruments. A wet tile saw provides clean cuts for intricate tile shapes around outlets and edges. You will need a notched trowel for spreading adhesive evenly, tile spacers to maintain consistent grout lines, a rubber float for grouting, and a level to ensure straight tile placement. Safety equipment is equally important. Wear protective eyewear, work gloves, and a dust mask during cutting and installation phases.
Material selection demands careful consideration. Choose a high quality tile adhesive compatible with your specific tile type ceramic, glass, or porcelain. Learn more about mixing tile patterns to enhance your design vision. Select unsanded grout for narrow grout lines and sanded grout for wider gaps. Purchase approximately 10% more tile than your measured area to account for cuts and potential breakage. This buffer prevents last minute shopping trips and ensures color matching.
Prepare a clean workspace with a sturdy work surface for cutting tiles. Lay down a drop cloth to protect floors and countertops from adhesive and grout spills. Organize your tools within easy reach before starting. Gather additional helpful items like a sponge for cleanup, painter’s tape for protecting adjacent surfaces, and a bucket for mixing grout. By investing time in thorough preparation, you transform a potentially complex project into a manageable and enjoyable home improvement experience. Your meticulous tool and material selection sets the foundation for a professional looking backsplash that will elevate your kitchen’s aesthetic.
Use this table to quickly review the essential tools and materials required for a smooth DIY backsplash installation, including their specific purposes during the project.
| Item | Type | Purpose |
|---|---|---|
| Wet tile saw | Tool | Makes clean, precise tile cuts |
| Notched trowel | Tool | Spreads adhesive evenly on wall |
| Tile spacers | Tool | Maintains uniform grout lines |
| Rubber float | Tool | Applies grout to tile joints |
| Level | Tool | Ensures straight tile and grout lines |
| Protective eyewear, gloves, dust mask | Safety gear | Protects eyes, hands, and lungs during cutting and installation |
| Tile adhesive | Material | Bonds tiles to wall |
| Grout (unsanded/sanded) | Material | Fills gaps between tiles |
| Sponge | Tool | Cleans tiles and removes excess adhesive/grout |
| Drop cloth | Accessory | Protects floors and countertops during work |
Step 3: Prepare the Surface for Installation
Surface preparation is the critical foundation for a flawless diy backsplash installation. A perfectly prepared wall ensures your tiles adhere correctly and create a lasting, professional looking finish. Skipping or rushing this step can lead to tiles falling off, uneven surfaces, or premature deterioration of your beautiful new backsplash.
Begin by completely clearing the area. Remove all electrical outlet covers, switch plates, and any hanging items from the wall. Clean the surface thoroughly using a degreasing cleaner to eliminate cooking residue, dust, and grime. Pay special attention to areas near the stove and sink, which accumulate the most grease and food splatter. Use a heavy duty kitchen degreaser and a scrub sponge to ensure a completely clean surface. After cleaning, wipe the area with a lint free cloth and allow it to dry completely.
Inspect your wall for any imperfections that might compromise tile installation. Look for small holes, cracks, or uneven surfaces. Fill any holes or cracks with spackling compound, using a putty knife to create a smooth, even surface. Learn more about mixing tile patterns to complement your wall preparation. Once the spackling is dry, sand the repaired areas gently to create a perfectly smooth substrate. If your wall has significant texture or uneven areas, consider applying a layer of cement board or using a leveling compound to create a flat surface.
Before applying adhesive, perform a final surface check. The wall should be completely dry, smooth, and free of dust. Use a level to confirm the wall is straight and even. Test the surface by pressing your hand against it to ensure stability. Any movement or softness indicates underlying issues that must be addressed before tile installation. Your meticulous preparation transforms an ordinary wall into the perfect canvas for your new backsplash, ensuring a professional result that will enhance your kitchen’s appearance for years to come.
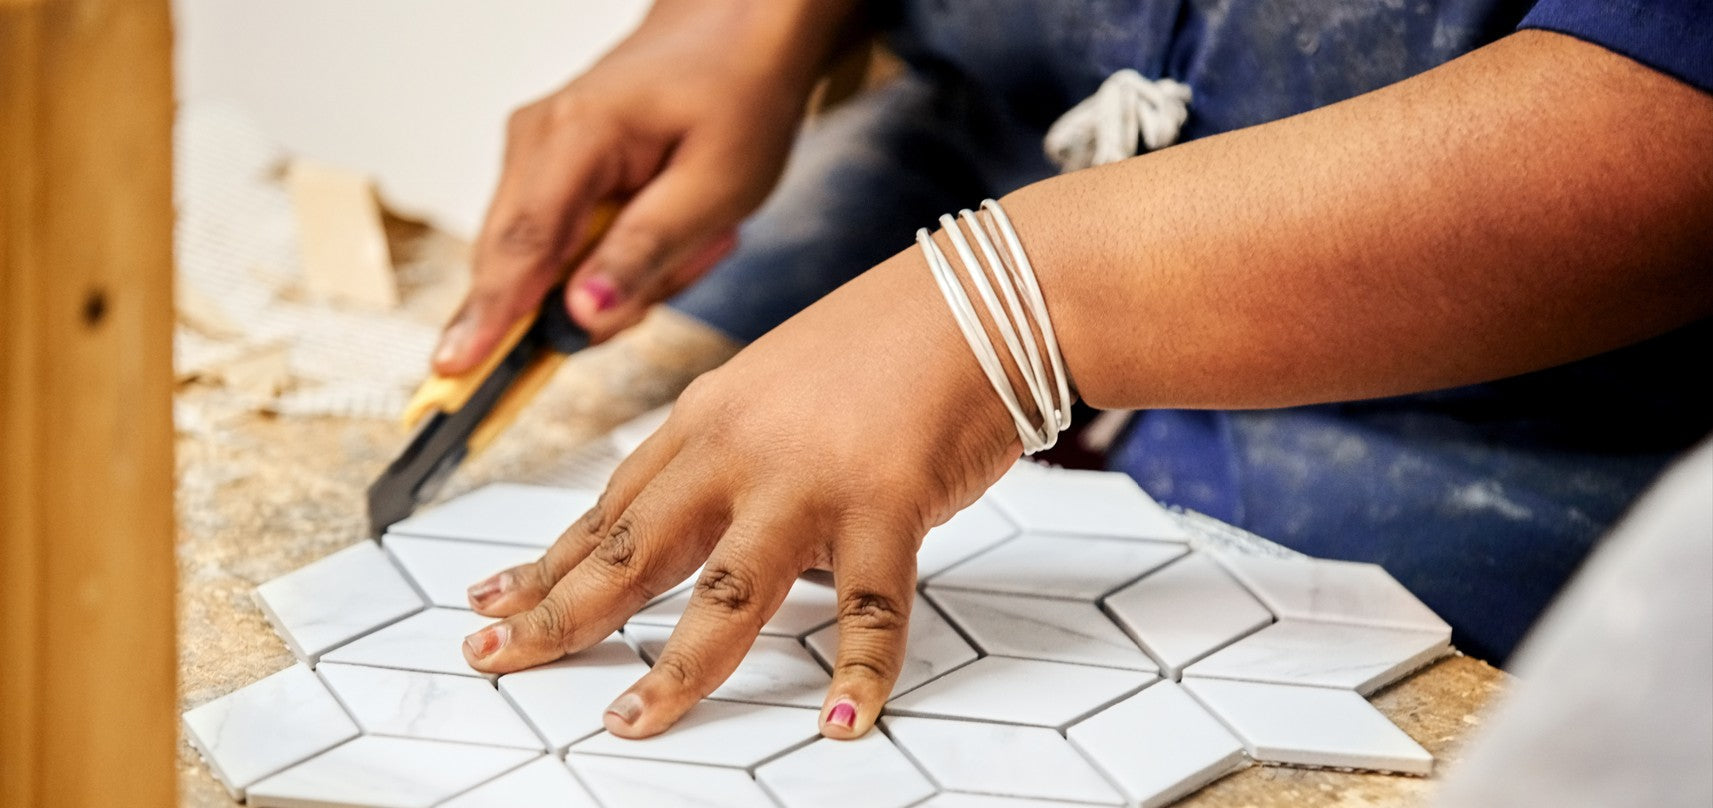
Step 4: Cut and Arrange Tiles for Best Fit
Tile arrangement transforms a simple surface into a stunning visual masterpiece. Cutting and positioning tiles requires precision, patience, and strategic planning. This stage determines the overall aesthetic and professional quality of your diy backsplash installation.
Start by creating a dry layout on your work surface or countertop. This practice run allows you to visualize the final design and identify potential cutting challenges before permanent installation. Arrange tiles from the center outward, which helps create a balanced and symmetrical appearance. Explore our guide on understanding geometric tile shapes to enhance your design strategy. When working around electrical outlets or windows, measure precisely and mark cutting lines using a permanent marker and straightedge.
Prepare your wet saw or tile cutter for making clean, precise cuts. Always wear safety glasses and work gloves. For complex cuts around outlets, use a specialized tile hole saw or diamond drill bit. Make slow, steady cuts and allow the saw to do the work. Cool the blade periodically with water to prevent overheating and maintain cutting precision. Practice cutting on spare tiles first to build confidence and technique. When cutting tiles for edge sections, remember to cut the decorative side facing up to prevent chipping on the visible surface.
Test fit each cut tile before applying adhesive. Ensure tiles are level and maintain consistent spacing using tile spacers. Check that cut edges align seamlessly with surrounding tiles. Look for any gaps or uneven surfaces that might require additional trimming. A perfect dry layout is your blueprint for a professional looking backsplash. By investing time in careful measurement and strategic cutting, you create a foundation for a beautiful, long lasting tile installation that will transform your kitchen’s aesthetic.
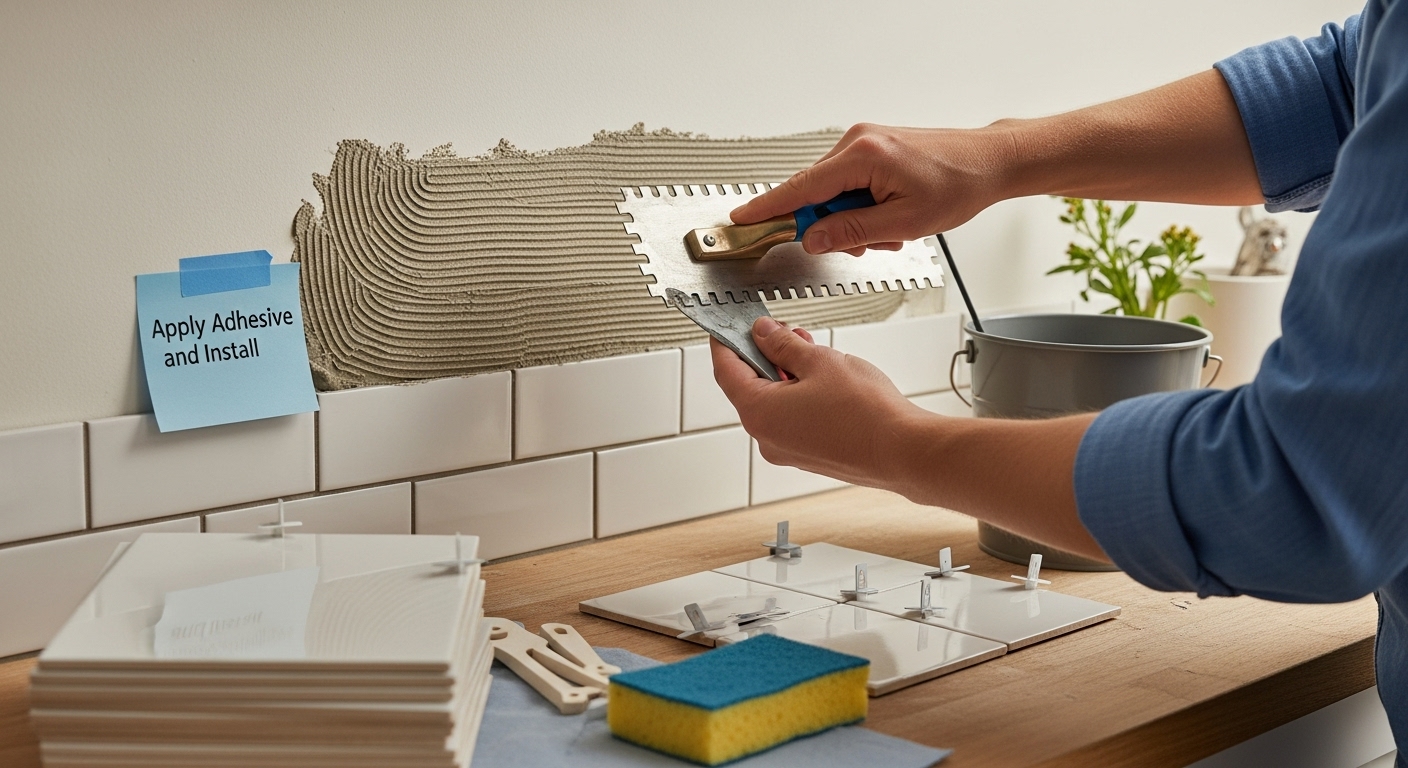
Step 5: Apply Adhesive and Install the Tiles
Applying adhesive and installing tiles represents the most critical phase of your diy backsplash installation. This step transforms your carefully planned design into a reality, demanding precision and patience. The quality of your adhesive application directly impacts the longevity and appearance of your finished backsplash.
Begin by selecting a high quality tile adhesive compatible with your specific tile type. Mix the adhesive according to manufacturer instructions, ensuring a smooth, consistent texture. Use a notched trowel held at a 45 degree angle to spread adhesive evenly across a small section of the wall. Work in manageable areas approximately 3 square feet at a time to prevent the adhesive from drying before tile placement. Learn more about waterproofing techniques to enhance your installation’s durability.
Carefully place tiles using your predetermined layout pattern. Press each tile firmly into the adhesive, using a slight twisting motion to ensure complete coverage. Insert tile spacers between tiles to maintain consistent grout lines. Check horizontal and vertical alignment frequently using a level. Pay extra attention to edges and corners where precision matters most. Work systematically from the bottom of the backsplash upward, which helps prevent tiles from sliding and maintains a clean, professional appearance.
As you progress, periodically step back and verify your work. Remove any excess adhesive immediately using a damp sponge. Wipe tile surfaces clean to prevent dried adhesive from marring the finished look. Keep your workspace organized and tools readily accessible. After completing tile placement, allow the adhesive to cure completely according to the manufacturer’s recommended time frame. This critical waiting period ensures a strong, lasting bond that will support your beautiful new backsplash for years to come.
Step 6: Seal Grout Lines for a Finishing Touch
Sealing grout lines represents the final protective step in your diy backsplash installation, transforming a good project into a professional looking masterpiece. This crucial process shields your newly installed tiles from moisture, stains, and potential damage while enhancing the overall appearance of your kitchen backsplash.
Wait 48 to 72 hours after grouting before applying sealer, allowing sufficient time for the grout to cure completely. Select a high quality penetrating sealer compatible with your specific grout type. Silicone based sealers work exceptionally well for ceramic and porcelain tiles, providing robust protection against water and oil based stains. Carefully read the manufacturer’s instructions, as application techniques can vary between different sealer formulations.
Apply the sealer systematically using a small foam brush or specialized applicator. Work in small sections, carefully painting the sealer directly onto the grout lines. Use a clean cloth to immediately wipe away any excess sealer from tile surfaces to prevent residue buildup. Move methodically across the entire backsplash, ensuring complete and even coverage. Pay extra attention to areas near the stove and sink, which experience more moisture and potential staining. Explore our techniques for waterproofing tiles to understand additional protection methods. Allow the first coat to dry completely before applying a second layer for maximum protection.
Verify your sealing work by performing a water droplet test after 24 hours. Sprinkle a few water drops on the grout lines. If the water beads up and does not absorb quickly, your sealing is successful. Reapply sealer annually or as recommended by the manufacturer to maintain your backsplash’s pristine appearance and protect your investment. Your careful attention to this final step ensures a beautiful, durable backsplash that will resist stains and enhance your kitchen’s aesthetic for years to come.
Below is a checklist table to help you verify each critical step of your DIY backsplash installation for a professional and durable result.
| Step | Verification Item | How to Confirm |
|---|---|---|
| Measurement | All areas measured, 10% extra tile allowance | Measurements recorded, extra tile calculated |
| Tools & Materials | Tools, adhesive, grout gathered | All items organized and ready |
| Surface Prep | Clean, dry, smooth, level wall | Surface passes hand and level check |
| Tile Cutting/Layout | Tiles dry-laid, cuts test fitted | Layout checked, edges align seamlessly |
| Tile Installation | Tiles pressed evenly, spacers used | Alignment confirmed with a level |
| Grout Sealing | Sealer applied after 48–72 hours | Water droplet test shows beading |
Ready to Achieve a Flawless DIY Backsplash?
Discover how easy it is to create the kitchen you have always dreamed of. If the thought of measuring, cutting, and installing backsplash tiles feels overwhelming, you are not alone. Many DIYers struggle with finding the right tile styles, choosing reliable materials, and ensuring precision through every step. At TileChoices.com, we understand how important it is to have both quality products and expert guidance, whether you are worrying about tile fit, grout protection, or keeping your project on time and on budget.

Unleash your creativity and enjoy peace of mind with our curated selection of backsplash-ready tiles, detailed installation resources, and personalized support for every stage. Do not wait to make your kitchen transformation easy and mistake-free. Visit TileChoices.com today and get started with tools, inspiration, and materials that ensure your backsplash project shines from start to finish.
Frequently Asked Questions
How do I measure my backsplash area accurately?
To measure your backsplash area, use a metal tape measure to determine the length and height of each wall section. Measure from the countertop to the bottom of your cabinets and take special care around outlets and windows. Record these measurements and add an extra 10% to account for cuts and breakage.
What tools do I need for a DIY backsplash installation?
Essential tools for DIY backsplash installation include a wet tile saw, notched trowel, tile spacers, rubber float, level, and safety gear like protective eyewear and gloves. Additionally, you’ll need tile adhesive and grout suitable for your chosen tile type.
How do I prepare the wall surface for tile installation?
To prepare your wall surface, remove any outlet covers and clean the area thoroughly with a degreaser. Repair any holes or cracks with spackling compound, then sand the surface smooth. Ensure the wall is dry, clean, and level before applying adhesive.
What is the importance of sealing grout lines, and how do I do it?
Sealing grout lines is essential for protecting against moisture, stains, and damage. After allowing grout to cure for 48 to 72 hours, apply a high-quality penetrating sealer with a foam brush. Wipe away any excess sealer immediately to prevent residue and allow to dry completely before reapplying for maximum protection.