
Mixing tile patterns can completely transform a room, turning plain walls or floors into eye-catching works of art. Surprisingly, even a single mismatched grout line can throw off an entire design and make an expensive project look amateur. Yet most people obsess over tile colors or shapes and miss the critical first move: understanding how space, light, and texture will influence every tile you pick. That’s where the real magic happens.
Table of Contents
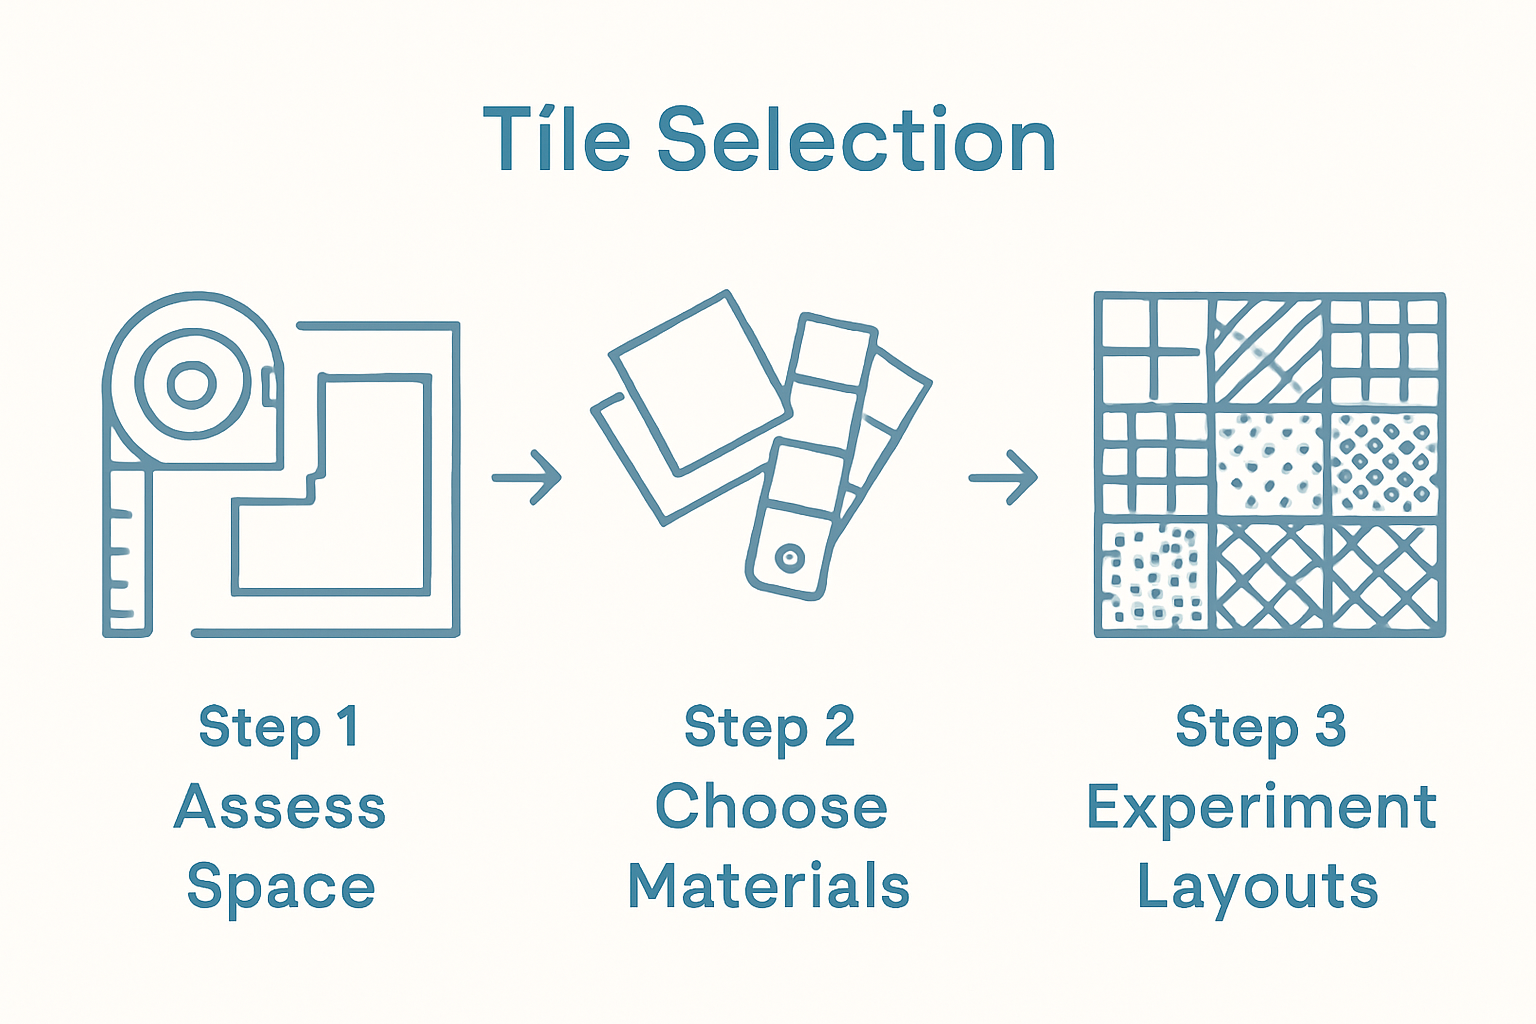
- Step 1: Assess Your Space’s Style And Functionality
- Step 2: Choose Complementary Tile Materials And Colors
- Step 3: Experiment With Layout Options And Sample Tiles
- Step 4: Plan The Installation Sequence For Optimal Flow
- Step 5: Execute The Installation With Precision
- Step 6: Verify Design Consistency And Final Touches
Quick Summary
| Key Point | Explanation |
|---|---|
| 1. Assess style and functionality first | Understand your room’s purpose and traffic patterns to guide tile selection and arrangement. |
| 2. Choose durable and complementary materials | Select tile materials and colors based on aesthetics and durability for your specific environment. |
| 3. Experiment with layout options | Use physical and digital samples to test various tile arrangements before finalizing your design. |
| 4. Plan installation strategically | Create a detailed installation blueprint to ensure proper sequence and prevent misalignments during tile placement. |
| 5. Verify consistency with thorough inspection | Conduct a comprehensive final inspection to ensure alignment, grout consistency, and overall design quality. |
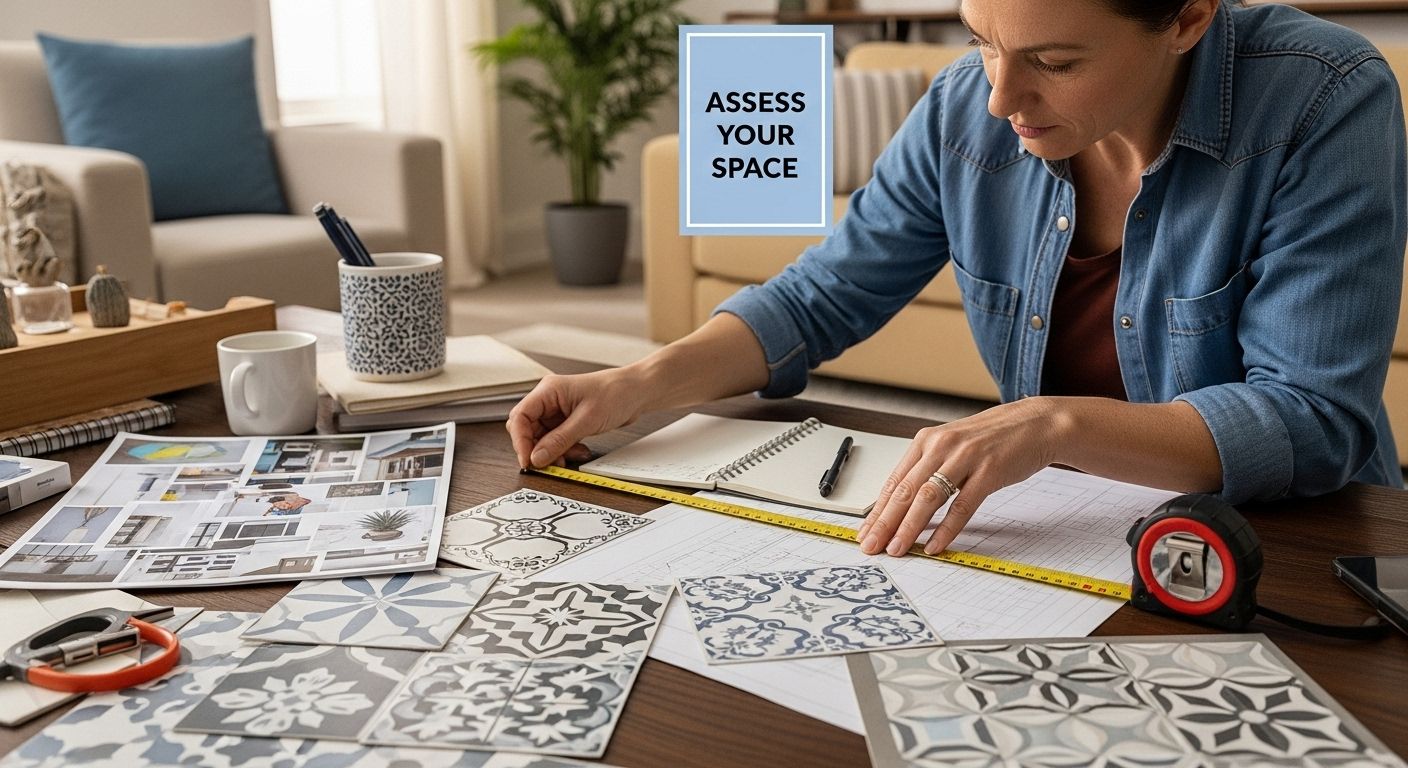
Step 1: Assess Your Space’s Style and Functionality
Before diving into mixing tile patterns, understanding your space’s unique characteristics is crucial for creating a harmonious and visually compelling design. This initial assessment will serve as the foundation for your entire tile selection and arrangement strategy.
Analyzing Room Functionality
Start by carefully examining the room’s primary purpose and traffic patterns. A kitchen backsplash requires different tile considerations compared to a bathroom floor or a living room accent wall. High moisture areas like showers demand tiles with superior water resistance, while high traffic zones need extremely durable materials that can withstand constant wear.
Consider the room’s existing color palette, architectural features, and natural lighting. These elements will significantly influence your tile pattern mixing approach. A room with abundant natural light can handle more complex and bold pattern combinations, whereas spaces with limited light might benefit from more subtle, streamlined tile arrangements.
Measuring and Mapping Your Space
Precise measurements are fundamental to successful tile pattern mixing. Break out a measuring tape and sketch a detailed floor plan or wall layout. Note critical architectural elements like windows, built in cabinets, electrical outlets, and unusual angles. These details will help you strategically place different tile patterns without creating visual chaos.
Professional designers recommend creating a digital or physical mood board to visualize potential tile combinations. Collect tile samples, paint swatches, and fabric textures that represent your desired aesthetic. This preliminary work allows you to experiment with mixing tile patterns before making a significant investment.
By meticulously assessing your space’s functional requirements and visual potential, you set the stage for a tile design that is not just visually stunning but also perfectly tailored to your specific environment. The next steps will build upon this foundational understanding, guiding you toward creating a truly remarkable tile pattern composition.
Step 2: Choose Complementary Tile Materials and Colors
Selecting the right tile materials and colors is a delicate art that transforms your space from ordinary to extraordinary. This step requires a thoughtful approach that balances visual appeal with practical considerations, creating a harmonious design that reflects your personal style.
Understanding Color Psychology and Material Interaction
Color selection goes far beyond simple aesthetic preference. Different materials and colors can dramatically influence the perceived size, mood, and energy of a space. Ceramic tiles in cool blues can create a calming atmosphere, while terracotta or warm-toned stone tiles might introduce a sense of warmth and comfort. Pay close attention to how various materials interact with natural and artificial light in your specific room.
Consider creating a color palette that includes a dominant color, secondary colors, and accent shades. This strategy helps prevent visual monotony while maintaining a cohesive look. For instance, if you’re working with neutral base tiles, introduce intricate patterns or vibrant accent tiles to add visual interest. Explore design inspiration for creating stunning tile combinations that can help spark your creativity.
Practical Considerations for Material Selection
Material durability is just as crucial as visual appeal when mixing tile patterns. High traffic areas like kitchen floors or bathroom walls require tiles that can withstand moisture, temperature changes, and constant use. Porcelain and ceramic tiles offer excellent durability, while natural stone provides unique textures and character. Consider the maintenance requirements of each material - some natural stones need regular sealing, whereas ceramic tiles are typically low maintenance.
Texture plays a significant role in tile pattern mixing. Combining smooth glazed tiles with rough-hewn stone or textured ceramic can create depth and visual complexity. Think about how different tile surfaces will feel underfoot or to the touch, and how they complement the room’s overall sensory experience.
By carefully selecting complementary materials and colors, you set the foundation for a tile design that is not just visually stunning but also functionally appropriate for your specific space. The next steps will help you refine these initial choices into a cohesive, breathtaking tile pattern composition.
Step 3: Experiment with Layout Options and Sample Tiles
Experimentation is the key to discovering unique and captivating tile pattern combinations. This critical step transforms theoretical design concepts into tangible visual experiences, allowing you to test different arrangements before making final commitments.
Creating a Physical Design Exploration
Begin by collecting physical tile samples that represent your chosen materials and colors. Arrange these samples on a large flat surface or directly in the intended space, experimenting with various layout configurations. Grid patterns, herringbone designs, diagonal placements, and staggered arrangements each create dramatically different visual impacts. Pro tip: Take photographs of each arrangement to compare and analyze later.
Light plays a transformative role in tile perception. Observe how your sample arrangements look under different lighting conditions - natural daylight, morning light, and evening artificial illumination. Some patterns might appear striking in bright light but lose their impact in softer settings. Check out our guide for creative tile layout inspiration to spark innovative design approaches.
Digital and Physical Visualization Techniques
Modern technology offers powerful visualization tools that complement physical sample testing. Many design software applications allow you to upload room dimensions and digitally experiment with tile patterns. These digital mockups can help you preview complex arrangements without purchasing materials. For those who prefer tactile approaches, consider creating a scaled mockup using cardboard or poster board to represent different tile sizes and patterns.
Pay attention to scale and proportion when mixing tile patterns. Large format tiles can make spaces feel more expansive, while smaller mosaic tiles introduce intricate visual complexity.
Here is a handy comparison of common tile layout options to help you visualize how different patterns can impact your space during experimentation.
| Layout Option | Visual Impact | Best Suited For |
|---|---|---|
| Grid | Clean, classic, orderly | Modern or minimalist spaces |
| Herringbone | Dynamic, eye-catching, energetic | Feature walls, splashbacks, narrow rooms |
| Diagonal | Expands perceived space, unique | Small rooms, making floors appear wider |
| Staggered (Brick) | Informal, reduces visible seams | High-traffic areas, rustic designs |
| Mosaic | Intricate, decorative, detailed | Accent walls, showers, statement floors |
| The goal is to create a balanced composition that guides the eye naturally through the space without overwhelming the viewer. |
By thoroughly experimenting with layout options and sample tiles, you develop a nuanced understanding of how different patterns interact. This methodical approach ensures your final tile design will be both visually stunning and perfectly suited to your specific environment.
Step 4: Plan the Installation Sequence for Optimal Flow
Successful tile pattern mixing requires a strategic installation approach that transforms your design vision into a flawless reality. This step is about precision, planning, and understanding how different tile types and patterns interact during the installation process.
Strategic Installation Preparation
Before placing a single tile, create a comprehensive installation blueprint that accounts for every surface detail. Critical preparation involves ensuring your substrate is perfectly level, clean, and structurally sound. Uneven surfaces can cause catastrophic pattern misalignments, especially when mixing different tile sizes and materials. Professional installers recommend using a laser level and creating detailed layout lines that serve as precise guides for your tile placement.
Consider the installation sequence carefully. Start with the most visually prominent or complex area of your space, such as a feature wall or central floor section. This approach allows you to position your most intricate tile patterns in focal points while using simpler tiles to transition between different design zones. Explore professional installation techniques for complex tile patterns to refine your approach.
Managing Material Transitions and Complexity
When mixing multiple tile materials, understand their individual installation requirements. Ceramic tiles might require different adhesives and techniques compared to natural stone or glass tiles. Pay special attention to tile thickness variations, as these can create installation challenges. Some materials may need specialized cutting tools or require more precise edge treatments to achieve a seamless look.
Calculate your material requirements with extreme precision. Purchase approximately 10-15% extra tiles to account for cuts, breakage, and future repairs. This buffer prevents potential project delays and ensures you have matching tiles for future maintenance. Create a detailed installation timeline that breaks down each phase, accounting for drying times, grout application, and potential complex pattern intersections.
By meticulously planning your installation sequence, you transform a potentially complex tile mixing project into a structured, manageable process. This strategic approach ensures that your creative design vision translates perfectly from concept to finished space.
Step 5: Execute the Installation with Precision
The moment of truth arrives when your carefully planned tile pattern design transforms from concept to reality. Executing the installation with precision requires a combination of technical skill, patience, and meticulous attention to detail that separates exceptional tile work from ordinary installations.
Preparing Your Workspace and Tools
Preparation is paramount before the first tile touches the surface. Gather all necessary tools including notched trowels specific to your tile material, high quality tile adhesive, spacers, level, measuring tape, tile cutter, and safety equipment. Clean your workspace thoroughly, removing any dust, debris, or previous flooring materials that could compromise the tile adhesion. Ensure the substrate is completely dry, level, and structurally sound. Professional installers recommend creating a dry layout of your tiles first, marking precise reference lines that will guide your actual installation.
To ensure a flawless tile installation, use this table as a quick reference for essential tools and their purposes during your project.
| Tool/Material | Purpose |
|---|---|
| Measuring tape | Take precise room and tile measurements |
| Level (laser/long) | Check and maintain tile alignment |
| Notched trowel | Evenly apply adhesive to surfaces |
| Tile spacers | Achieve consistent grout line spacing |
| Tile cutter/wet saw | Cut tiles to size/shape as needed |
| Adhesive | Secure tiles to substrate |
| Safety equipment | Protect hands, eyes, and body |
Pay special attention to your cutting technique. Different tile materials require specific cutting approaches. Ceramic tiles might need a standard tile cutter, while natural stone could require a wet saw with diamond blade to prevent chipping. Explore professional installation techniques for complex tile patterns to refine your approach and avoid common mistakes.
Executing Precise Pattern Placement
Begin installation from the most visible or central area of your space, working methodically outward. Apply adhesive using consistent pressure and angle with your notched trowel, creating even ridges that will support your tiles perfectly. When placing tiles, use gentle twisting motions to ensure maximum surface contact and remove any air pockets. Maintain consistent spacing using tile spacers, which guarantee uniform grout lines across different tile materials and patterns.
Monitor your progress constantly. Use a long level to check horizontal and vertical alignment frequently, making minor adjustments before the adhesive sets. Complex pattern mixing requires extra vigilance to maintain visual flow and prevent awkward transitions between different tile types. After tile placement, allow adequate drying time before applying grout, ensuring each tile is firmly and precisely positioned.
By executing your installation with surgical precision, you transform your carefully designed tile pattern into a stunning, professional quality result that will enhance your space for years to come.
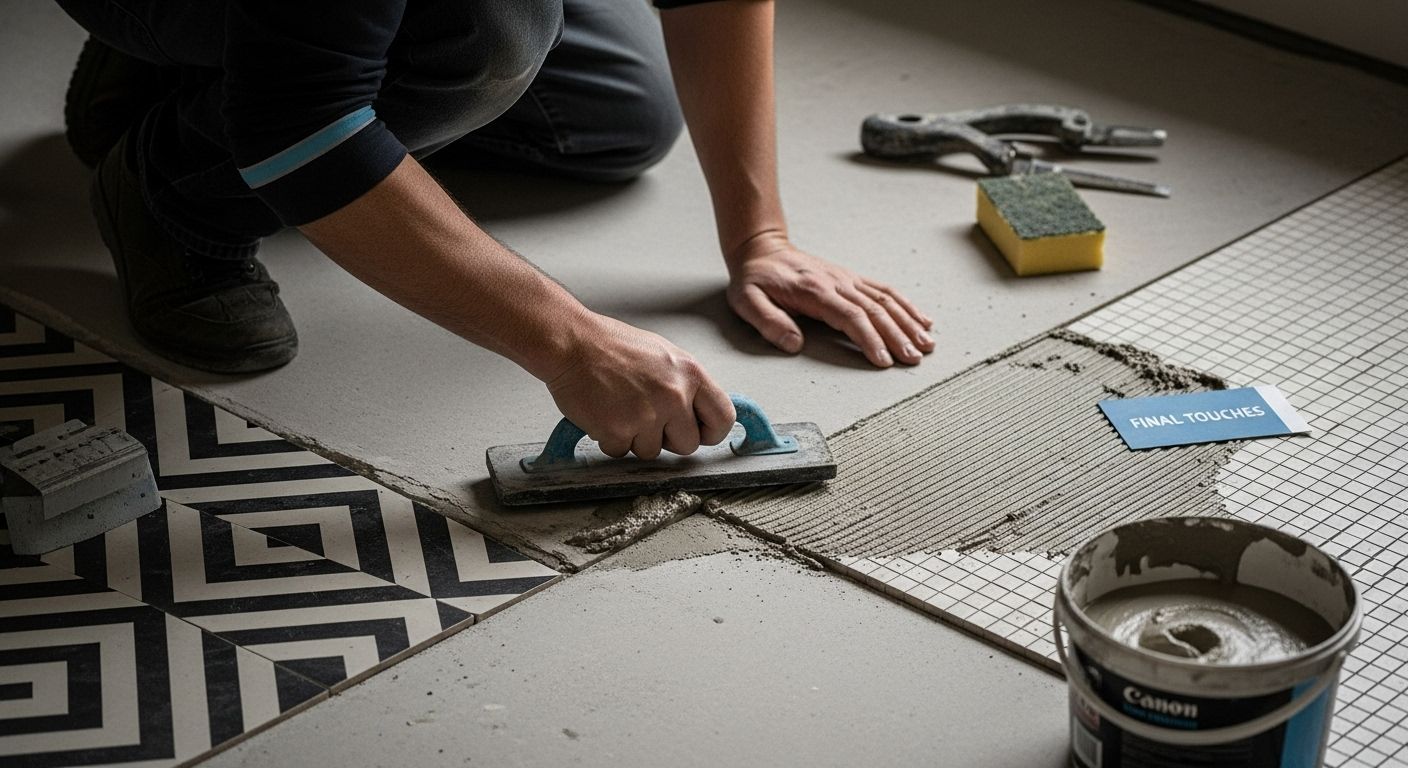
Step 6: Verify Design Consistency and Final Touches
The final stage of mixing tile patterns transforms your meticulous installation into a polished, professional design. This critical verification process ensures every detail aligns with your original vision, addressing subtle nuances that elevate your tile project from good to extraordinary.
Comprehensive Visual Inspection
Systematic examination is crucial during the final verification. Begin by stepping back and viewing the entire tiled surface from multiple angles and lighting conditions. Natural daylight, overhead lighting, and evening illumination will reveal different perspectives of your tile pattern mixing. Look for consistent grout line thickness, precise tile alignment, and smooth transitions between different tile materials and patterns. Critical detail: Photograph the installation and compare it with your original design mockups to identify any unexpected variations.
Pay special attention to edge treatments and corner transitions. These areas often reveal the true quality of tile installation. Ensure cuts are clean, edges are smooth, and pattern continuity remains uninterrupted. Explore professional techniques for perfecting tile design details to refine your final touches.
Grout and Finishing Refinements
Grout application represents the final opportunity to enhance your tile pattern design. Select a grout color that complements and integrates your tile materials seamlessly. Some installers prefer neutral tones that create a subtle background, while others choose contrasting colors to highlight pattern complexity. Apply grout carefully, using precise techniques to fill joints completely without creating messy overflow.
After grout application, conduct a thorough cleaning process. Remove any excess grout residue, polish tile surfaces, and ensure each tile’s natural beauty remains unobscured. Allow adequate curing time before subjecting the surface to regular use. Consider applying a protective sealant to preserve the intricate patterns and protect your investment, especially for natural stone or more porous tile materials.
By meticulously verifying design consistency and applying thoughtful final touches, you transform a complex tile installation into a stunning visual masterpiece that reflects your creative vision and technical precision.
Bring Your Tile Pattern Vision to Life with TileChoices.com
Struggling to mix tile patterns that truly transform your space? You are not alone. Many home renovators and design professionals hit roadblocks when trying to pick the right materials, match tile colors, or create complex pattern layouts that flow seamlessly between floors, backsplashes, and accent walls. The pressure to balance functionality with visual appeal can be overwhelming, especially if you are worried about making costly mistakes with size, light reflection, or tricky installation details.
At TileChoices.com, we make it easy to move from inspiration to flawless results. Browse our huge selection of premium ceramic, porcelain, glass, and natural stone tiles. Request samples so you can see and feel the quality before you buy. Use our blog for expert tips and design ideas tailored to mixing patterns for kitchens, bathrooms, and more.

Ready to move from planning to action? Visit TileChoices.com to explore curated collections, find your perfect tile, and access real product photos and guidance every step of the way. Shop with confidence and give your next tile pattern project the quality it deserves. Start creating your standout space now.
Frequently Asked Questions
What should I consider when assessing my space for tile pattern mixing?
Consider the room’s primary purpose, existing color palette, architectural features, and natural lighting to create a harmonious design.
How do I select complementary tile materials and colors?
Create a color palette with a dominant color, secondary colors, and accent shades. Consider how materials interact with light and ensure durability for high-traffic areas.
What layout options should I experiment with for tile patterns?
Experiment with various arrangements such as grid patterns, herringbone designs, and staggered placements. Use physical tile samples or digital design tools to visualize these options.
How can I ensure precise tile installation?
Prepare your workspace thoroughly, use proper tools, and follow a strategic installation blueprint. Check alignment frequently to maintain visual flow and avoid misalignment.


