Waterproofing bathroom tiles can feel overwhelming and most people assume a quick coat of sealer is enough. But studies show that even tile with flawless surfaces can allow up to 15 percent water absorption if grout or membranes are missed. Most homeowners miss the most vulnerable spots and end up facing hidden leaks. The real secret? Success starts with a meticulous inspection and cleaning long before any waterproofing begins.
Table of Contents
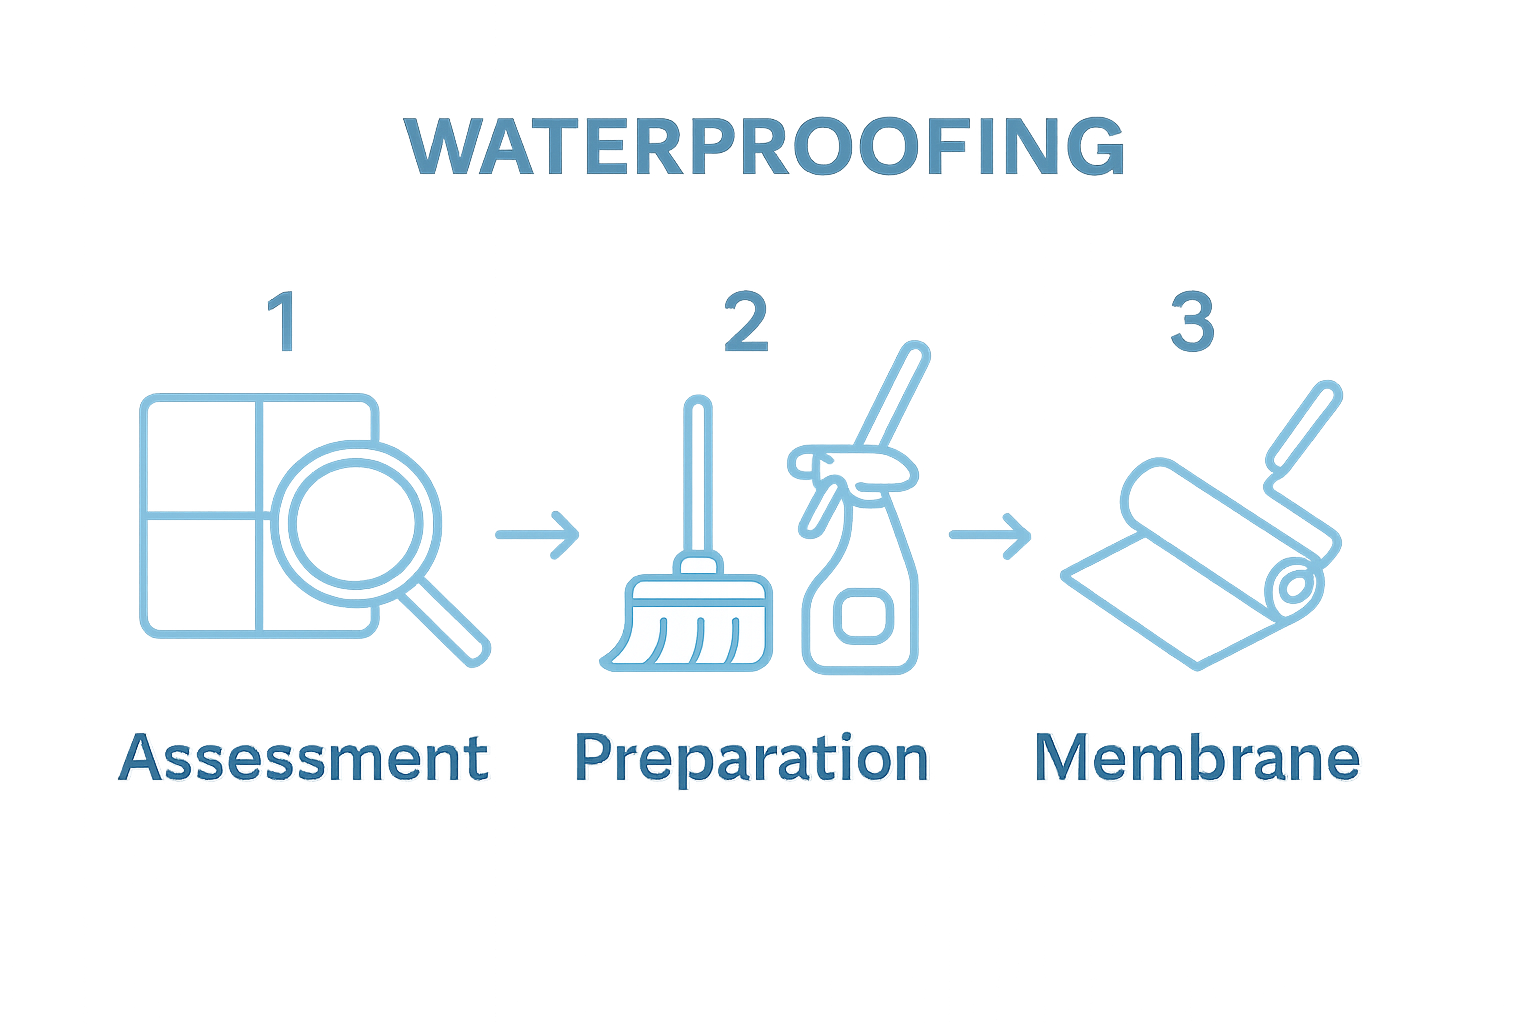
- Step 1: Assess Your Current Tiles And Surface
- Step 2: Prepare The Area For Waterproofing
- Step 3: Clean The Tile Surfaces Thoroughly
- Step 4: Apply Waterproofing Membrane To Tiles
- Step 5: Seal Grout Lines For Maximum Protection
- Step 6: Test The Waterproofing Effectiveness
Quick Summary
| Key Point | Explanation |
|---|---|
| 1. Inspect for damage before waterproofing | Conduct a thorough inspection of tiles for cracks or looseness that could hinder waterproofing efforts. |
| 2. Clean surfaces with specialized cleaners | Use a professional-grade alkaline cleaner to ensure surfaces are free from residues that affect adhesion. |
| 3. Apply waterproofing membrane precisely | Use even application methods to fully cover the tile surface, paying attention to vulnerable areas. |
| 4. Seal grout lines effectively | Utilize a high-quality silicone grout sealer to protect grout from moisture penetration, especially in high-water zones. |
| 5. Test waterproofing after application | Perform water exposure tests on treated areas to confirm the effectiveness of the waterproofing materials. |
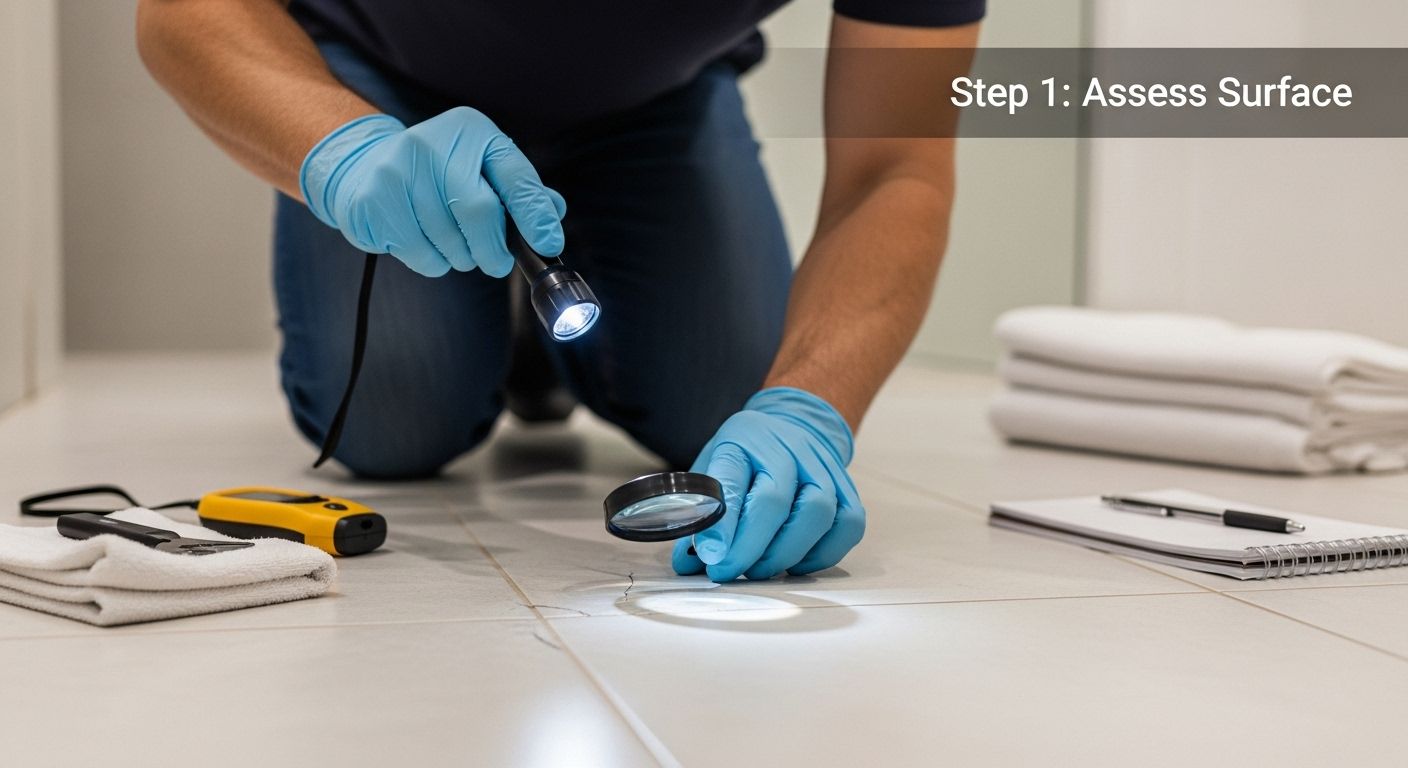
Step 1: Assess Your Current Tiles and Surface
Before diving into waterproofing bathroom tiles, understanding your current surface condition is crucial. This initial assessment determines the success of your entire waterproofing project and helps prevent potential water damage and costly repairs.
Begin by conducting a thorough visual inspection of your bathroom tiles. Look closely for subtle signs of wear and damage such as hairline cracks, chipped edges, loose grout, or areas where tiles appear slightly lifted from the underlying surface. Pay special attention to high moisture zones like shower walls, around the bathtub, and near sink areas. Even tiny imperfections can compromise your waterproofing efforts.
Using a bright flashlight will help you detect less obvious issues. Shine the light at different angles across the tile surface to reveal potential problem areas that might be invisible under normal lighting. Grout lines are particularly vulnerable points where water can penetrate and cause long-term structural damage. Check if grout appears crumbly, discolored, or has significant gaps between tiles.
You will need a few basic tools for a comprehensive assessment:
- Bright flashlight
- Magnifying glass
- Moisture meter (optional but recommended)
- White cloth or paper towel
If you want more detailed guidance on preparing your surface, check out our comprehensive tile preparation guide to ensure you’re fully equipped for the waterproofing process.
After your initial inspection, perform a simple water absorption test. Press a white cloth against suspect areas and observe whether moisture quickly transfers or sits on the surface. Tiles that rapidly absorb water indicate higher porosity and will require more intensive waterproofing techniques. By meticulously assessing your current tile surface, you’re setting the foundation for a successful waterproofing project that protects your bathroom from potential water damage.
Step 2: Prepare the Area for Waterproofing
Preparing your bathroom for waterproofing is a critical step that ensures maximum protection and long-lasting results. Proper preparation removes potential obstacles and creates an ideal surface for waterproofing application. Your goal is to create a clean, smooth, and stable foundation that will allow waterproofing materials to adhere effectively.
Begin by thoroughly cleaning the entire tile surface. Use a professional grade alkaline cleaner designed specifically for ceramic and porcelain tiles. This will remove soap scum, mineral deposits, and any residual cleaning chemicals that might interfere with waterproofing adhesion. Scrub each tile and grout line meticulously with a stiff-bristled brush, paying extra attention to corners and edges where moisture tends to accumulate. Rinse the surface completely with clean water and allow it to dry fully for at least 24 hours.
Next, address any existing grout issues. Damaged or deteriorating grout can compromise your waterproofing efforts. Remove loose or cracked grout using a grout removal tool or oscillating multi-tool with a grout removal blade. Work carefully to avoid damaging surrounding tiles. Once removed, clean the gaps thoroughly and prepare for fresh grout application. Consider using a waterproof grout specifically formulated for high-moisture environments.
Essential tools for area preparation:
- Professional tile cleaner
- Stiff-bristled scrub brush
- Grout removal tool
- Protective gloves
- Safety glasses
- Clean microfiber towels
- Bucket for cleaning solutions
Learn more about proper tile surface preparation techniques to ensure your waterproofing project starts on the right foot.
Before proceeding to waterproofing, perform a final surface check. The area should be completely dry, free of debris, with smooth grout lines and no visible damage. A well-prepared surface not only enhances waterproofing effectiveness but also extends the longevity of your bathroom tiles, protecting your investment for years to come.
Here is a quick reference table summarizing the essential tools and materials needed for each major waterproofing step described in this guide.
| Step | Essential Tools & Materials | Purpose |
|---|---|---|
| Assess & Inspect | Bright flashlight, magnifying glass, moisture meter, white cloth | Identify damage, check tile/grout condition, test for moisture |
| Prepare Area | Professional tile cleaner, stiff-bristled brush, grout removal tool, protective gloves, microfiber towels | Clean surfaces, remove loose grout, prep for waterproofing |
| Clean Tiles | Alkaline tile cleaner, microfiber mop, scrub brush, non-metallic scrubbing pad, rubber gloves | Remove dirt, soap scum, residues for bonding |
| Apply Membrane | Liquid waterproofing membrane, roller/brush, painter’s tape, reinforcing fabric, gloves | Create water barrier, cover critical joints |
| Grout Sealing | Silicone grout sealer, foam applicator, clean cloths, painter’s tape | Seal grout lines, block moisture entry |
| Testing | White towels, spray bottle, flashlight, measuring cup, notepad | Confirm effectiveness, spot leaks, document results |
Step 3: Clean the Tile Surfaces Thoroughly
Cleaning tile surfaces is more than a simple cosmetic task when preparing for waterproofing. Thorough cleaning ensures optimal adhesion of waterproofing materials and removes contaminants that could compromise the protective layer. Your goal is to create an immaculately clean surface that allows waterproofing products to bond effectively.
Start by selecting a professional-grade alkaline cleaner specifically formulated for ceramic and porcelain tiles. Avoid generic household cleaners that might leave residual films or chemical compounds that interfere with waterproofing adhesion. Mix the cleaner according to manufacturer instructions, typically using warm water to enhance its cleaning power. Work in small sections to ensure comprehensive coverage and prevent the cleaning solution from drying before you can rinse it thoroughly.
Apply the cleaning solution using a microfiber mop or soft-bristled brush, using consistent circular motions to lift dirt and grime from tile surfaces and grout lines. Pay special attention to areas around fixtures, corners, and edges where soap scum and mineral deposits tend to accumulate. For stubborn stains or hard water marks, you might need to use a slightly abrasive non-metallic scrubbing pad. Remember to apply gentle pressure to avoid scratching the tile surface.
Critical cleaning tools and materials:
- Professional alkaline tile cleaner
- Microfiber mop
- Soft-bristled scrub brush
- Non-metallic scrubbing pad
- Clean water for rinsing
- Rubber gloves
- Protective eyewear
Explore our comprehensive guide on tile maintenance to learn more about keeping your tiles in pristine condition.
After cleaning, rinse the entire surface multiple times with clean water to remove all cleaning solution residues. Use clean, lint-free towels to dry the tiles completely, ensuring no moisture remains. A properly cleaned surface will feel smooth, look uniform, and be free of any visible dirt or chemical film, setting the stage for successful waterproofing.
Step 4: Apply Waterproofing Membrane to Tiles
Applying a waterproofing membrane is the critical barrier that transforms your bathroom tiles from water-vulnerable to water-resistant. This step requires precision and careful technique to ensure complete protection against moisture penetration. The membrane acts as a critical shield, preventing water from seeping behind tiles and causing potential structural damage.
Choose between liquid-applied membranes or sheet membranes based on your specific tile configuration and bathroom layout. Liquid membranes offer more flexibility and can easily cover complex surface areas with irregular shapes. Begin by stirring the liquid membrane thoroughly to ensure consistent texture. Use a high-quality roller or specialized membrane brush to apply an even, thick coat across the entire tile surface. Work systematically from one corner of the room to another, maintaining a consistent application thickness of approximately 20 to 25 millimeters.
Pay extra attention to critical junction points where water is most likely to penetrate. Corners, edges around fixtures, and seams between tiles require special treatment. Use reinforcing fabric or waterproofing tape to create additional protection in these vulnerable areas. Apply the membrane in smooth, overlapping strokes, ensuring complete coverage without leaving any pinhole gaps or thin spots. Allow the first coat to dry completely according to manufacturer instructions before applying a second protective layer for maximum waterproofing effectiveness.
Essential tools for membrane application:
- Liquid waterproofing membrane
- Specialized roller or membrane brush
- Protective gloves
- Safety glasses
- Painter’s tape
- Reinforcing fabric
- Clean rags for potential spills
Explore our comprehensive guide on tile installation techniques to complement your waterproofing project.
After application, perform a detailed visual inspection under bright lighting. The membrane should appear uniform, without streaks or uneven patches. Allow the membrane to cure completely before proceeding to the next step, typically 24 to 48 hours depending on product specifications and environmental conditions.
Step 5: Seal Grout Lines for Maximum Protection
Sealing grout lines is the final defensive layer in your waterproofing strategy, transforming vulnerable tile joints into a robust moisture barrier. Grout is inherently porous, making it a potential entry point for water that can lead to structural damage, mold growth, and tile deterioration. Your goal is to create an impenetrable seal that prevents water absorption and maintains the integrity of your bathroom tiles.
Select a high-quality penetrating silicone-based grout sealer specifically designed for bathroom environments. These advanced sealers provide superior water resistance without altering the visual appearance of your grout. Before application, ensure the grout lines are completely clean and dry from previous waterproofing steps. Use a small foam applicator or specialized grout sealer brush to apply the product precisely along each grout line. Work methodically in small sections, applying the sealer in smooth, consistent strokes to guarantee complete coverage.
Pay special attention to areas exposed to direct water contact, such as shower walls, bathtub perimeters, and sink backsplashes. These high-moisture zones require extra sealing precision. Apply the sealer in thin, even layers, allowing each coat to dry completely before adding a second protective layer. Use painter’s tape along tile edges to prevent accidental sealer contact with tile surfaces, which could create unsightly residue or discoloration.
Critical tools for grout sealing:
- Penetrating silicone grout sealer
- Foam applicator brush
- Protective gloves
- Clean microfiber cloths
- Painter’s tape
- Ventilation fan
- Safety glasses
Discover more advanced tile maintenance techniques to complement your waterproofing project.
After sealing, allow the grout lines to cure fully for at least 24 to 48 hours before exposing them to moisture. Conduct a water droplet test by carefully placing a few drops on sealed grout lines. If the water beads up and does not absorb, your sealing process has been successful, providing maximum protection against water penetration.

Step 6: Test the Waterproofing Effectiveness
Testing the waterproofing effectiveness is the final critical step that validates all your previous efforts. This comprehensive evaluation ensures your bathroom tiles are genuinely protected against moisture intrusion, preventing potential water damage that could compromise your bathroom’s structural integrity. A thorough testing process provides peace of mind and confirms the success of your waterproofing project.
Begin with a controlled water exposure test. Carefully create small water pools in different areas of your newly waterproofed surface, focusing on high-risk zones like corners, edges around fixtures, and grout lines. Use a clean white towel or paper to monitor any potential moisture penetration. Leave these water pools for approximately 24 to 48 hours, checking periodically for signs of water absorption or seepage. Pay special attention to areas where tiles meet walls, around shower fixtures, and near the bathroom floor, as these are typically the most vulnerable points for water infiltration.
For a more comprehensive assessment, simulate real-world bathroom conditions by creating a controlled moisture environment. Use a spray bottle to simulate shower-like conditions, spraying water at various angles and intensities across the waterproofed surface. Observe how water beads and runs off the tiles, checking for any signs of absorption or discoloration. Look for consistent water repellency across the entire surface, ensuring that your waterproofing membrane and grout sealer perform uniformly.
Essential testing tools and materials:
- White absorbent towels
- Spray bottle
- Moisture meter (optional)
- Bright flashlight
- Magnifying glass
- Notepad for recording observations
- Clean measuring cup
Explore our advanced tile maintenance techniques to complement your waterproofing assessment.
After testing, carefully document your findings. Completely dry waterproofed surfaces after testing and inspect for any subtle changes in tile or grout appearance. Successful waterproofing will demonstrate consistent water repellency, no moisture absorption, and maintained tile integrity, providing long-lasting protection for your bathroom environment.
This step-by-step overview table provides a snapshot of the key actions and expected results for each phase of waterproofing bathroom tiles, helping you plan your project timeline and workflow.
| Step | Main Action | Key Outcome |
|---|---|---|
| 1. Assess Tiles & Surface | Inspect for cracks, loose grout, damage, or porous tiles | Identify vulnerabilities that could hinder waterproofing |
| 2. Prepare Area | Remove debris, clean tiles, replace damaged grout | Ensure a clean and stable base |
| 3. Clean Tile Surfaces | Deep clean with professional products, rinse well | Create an ideal surface for membrane adhesion |
| 4. Apply Membrane | Brush or roll on liquid membrane, reinforce joints | Install a seamless waterproof barrier |
| 5. Seal Grout Lines | Apply silicone sealer carefully along grout joints | Block moisture penetration through grout |
| 6. Test Effectiveness | Use water exposure or spray tests, inspect | Verify waterproofing performance and spot leaks |
Transform Your Bathroom With Dependable Waterproofing Solutions
Are you worried that hidden cracks or porous grout might sabotage your waterproofing project? Many homeowners find that even tiny surface flaws or moisture-prone grout can quickly turn into costly water damage. With the real risk of mold growth and tile deterioration, ensuring every step of your waterproofing process is backed by quality materials becomes absolutely vital. At TileChoices.com, we understand these concerns, and we offer not just advice, but the right products and professional guidance to help you protect your bathroom investment.

Take control of your bathroom’s future by choosing tiles, membranes, and grout solutions designed for lasting performance. Explore our extensive selection of durable, stylish bathroom tiles and discover essential tips for sealing and maintenance in our helpful blog articles. Ready to start your waterproofing project with confidence? Visit TileChoices.com today and unlock the quality solutions you need to prevent water issues before they begin.
Frequently Asked Questions
How do I assess my bathroom tiles before waterproofing?
Begin by conducting a thorough visual inspection, checking for signs of wear and damage such as cracks, chipped edges, or loose grout. Use a flashlight to reveal any hidden issues and perform a simple water absorption test to determine the porosity of the tiles.
What materials do I need for waterproofing bathroom tiles?
Essential materials include a professional-grade alkaline cleaner for cleaning, a liquid or sheet waterproofing membrane, and a silicone-based grout sealer. Tools like brushes, rollers, grout removal tools, and protective gear are also necessary for effective application.
How long does the waterproofing process take?
The waterproofing process generally takes a few days, considering the time needed for cleaning, application, and drying of each layer of membrane and grout sealer. It is important to allow full curing of products per manufacturer instructions before exposing surfaces to moisture.
How can I test the effectiveness of the waterproofing?
Conduct a controlled water exposure test by placing small water pools in different areas of the waterproofed surface for 24 to 48 hours. Observe for any signs of water absorption or seepage. You can also use a spray bottle to simulate shower conditions and check for consistent water repellency.