How to Install Mosaic Tile: Step-by-Step Guide for a Professional Finish

We recommend

PowerGel Pro Tile Adhesive – High-Performance Anti-Fracture Epoxy Gel

PowerGel Pro Tile Adhesive – High-Performance Anti-Fracture Epoxy Gel

Upgrade your tile installation with PowerGel Pro, a next-generation epoxy gel adhesive engineered for unmatched strength, flexibility, and durability. Designed for professional installers and demanding...

View product

Installing mosaic tile is one of the most impactful upgrades you can make in a kitchen or bathroom. While the detailed patterns may look complex, the reality is that mosaic tiles are often easier to install than larger tiles thanks to their mesh-backed sheets.

If you're preparing for a project, start by selecting high-quality materials from our mosaic tiles collection to ensure the best results.

Why Mosaic Tiles Are Easier to Install Than You Think

Unlike individual tiles that require precise spacing, mosaic tiles come pre-arranged on sheets. This helps maintain consistent spacing and alignment, especially for beginners.

Tools & Materials You’ll Need
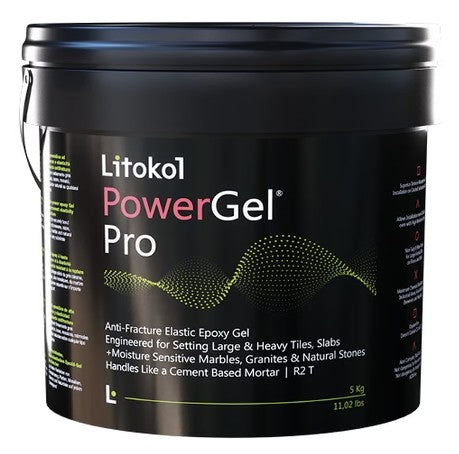
  • Thin-set mortar
  • Notched trowel
  • Tile cutter or wet saw
  • Grout
  • Grout float
  • Level
  • Sponge and bucket

Step 1: Prepare the Surface

Proper surface preparation is critical. The surface must be clean, dry, and completely level. Any imperfections can show through the mosaic sheets and affect the final look.

Step 2: Plan Your Layout

Before applying adhesive, lay out your tile sheets to determine placement and minimize cuts. This step helps ensure a balanced and professional finish.

Step 3: Apply Thin-Set Mortar

Using a notched trowel, spread mortar evenly across a small section of the surface. Work in manageable areas to prevent the adhesive from drying too quickly.

Step 4: Install Mosaic Tile Sheets

Press each sheet into the mortar, using gentle pressure to ensure full contact. Use a level to keep everything aligned and avoid uneven edges.

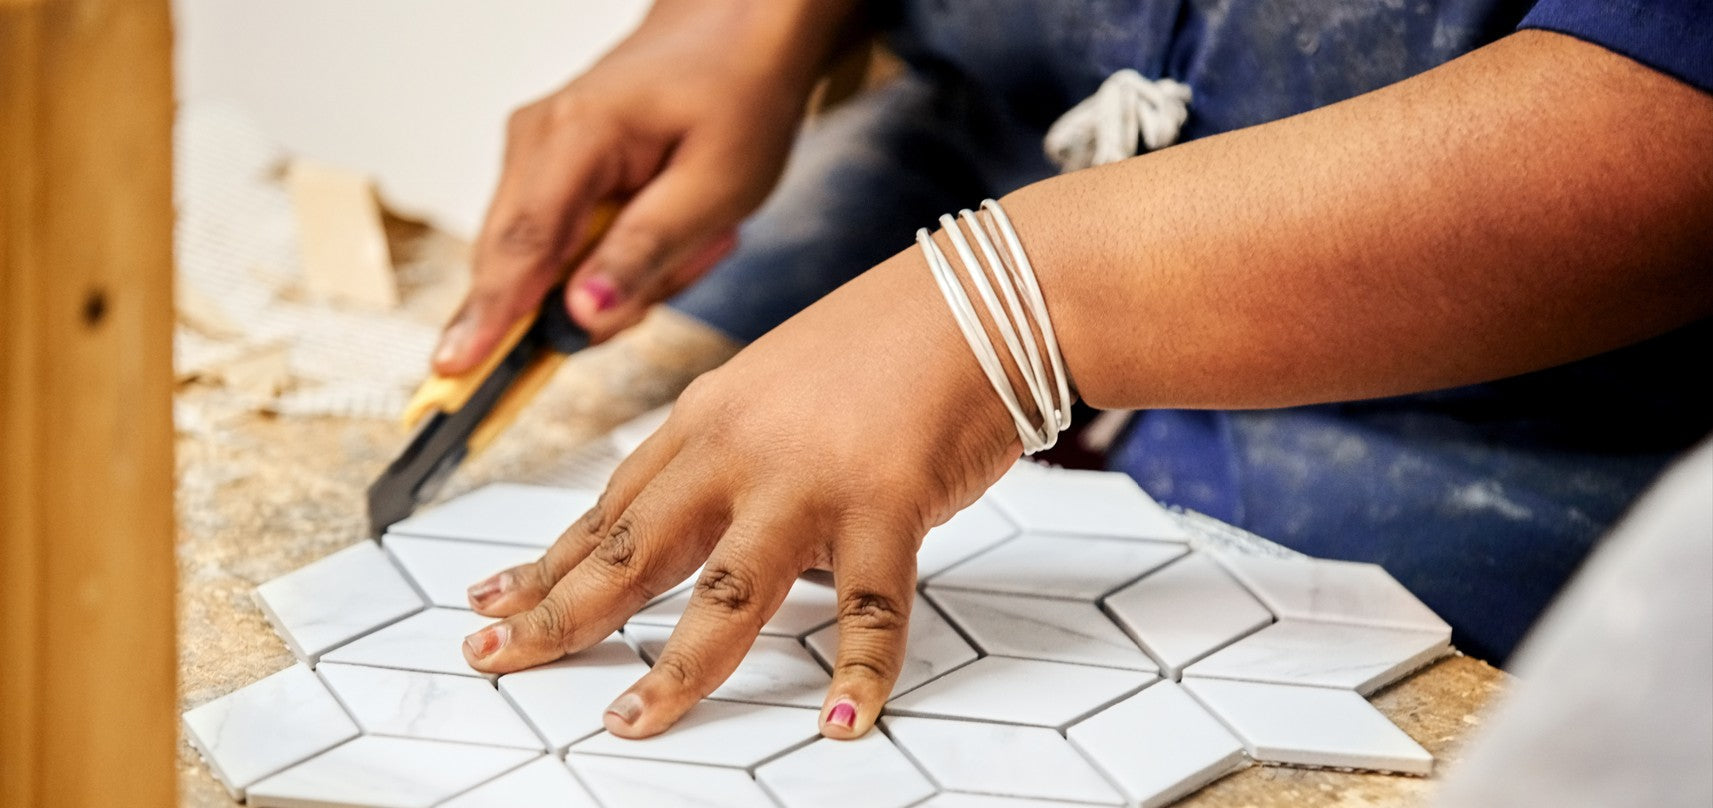
Step 5: Cut Tiles Where Needed

Use a tile cutter or wet saw to trim sheets for edges and corners. Take your time to ensure clean, precise cuts.

Step 6: Apply Grout

Once the adhesive has cured, apply grout using a float. Work it into the joints and remove excess with a damp sponge.

Common Mistakes to Avoid

  • Using too much mortar, causing uneven tiles
  • Not aligning sheets properly
  • Letting grout haze sit too long
  • Skipping layout planning

Explore More Mosaic Tile Guides

Ready to start your project? Browse our full mosaic tiles collection to find the perfect style.

We recommend

Starlike EVO 700 Crystal

Starlike EVO 700 Crystal

The Starlike Crystal EVO Grout (SKU: 700-5.5lb) is a premium-quality, translucent epoxy grout ideal for enhancing the beauty of glass, mosaic, and ceramic tile installations....

View product
Bruno Mendolini Tile Expert

Written by

Bruno Mendolini

Tile Expert & Founder of Tile Choices

Bruno has over 25 years of experience in tile manufacturing, sourcing, and installation guidance. With deep roots in the Italian tile industry, he helps homeowners and designers choose materials that balance durability, performance, and timeless design.

  • 25+ years in the tile industry
  • Italian tile heritage & sourcing expertise
  • Specialist in backsplash & shower tile selection
  • Founder of Tile Choices

Frequently Asked Questions?

Yes, mosaic tile is often easier for beginners because the tiles are pre-mounted on sheets, which simplifies spacing and alignment. However, attention to detail is still important for a clean finish.

Most small projects, like a backsplash, can be completed in a day or two. Larger projects, such as shower installations, may take longer depending on preparation and drying times.

While not always required, a wet saw is helpful for making clean cuts, especially when working around edges or fixtures. A wet saw will be needed for stone or glass mosaic tiles. Ceramic and or porcelain might be able to cut with a score and snap, but not always.

The choice depends on the tile and joint size. Sanded grout is typically used for wider joints, while unsanded grout works better for smaller gaps and delicate materials like glass. We recommend going with Epoxy as it is the most expensive, but down the road is the best option for homeowners.

Yes, many mosaic tiles are suitable for floors, especially in bathrooms and showers. Just ensure they are rated for floor use.

Tile Choices Podcast Latest Episode:

Blog posts

View all
Euro Glass Tiles vs My Tile Backsplash vs Glazzio Tiles

Euro Glass Tiles vs My Tile Backsplash: Which Tile Brand Should You Choose?

Bruno Mendolini
Choosing the right tile brand can make a major difference in the look and feel of your kitchen backsplash, bathroom wall, or accent space. Two popu...

Ceramic Tile Backsplash: Complete Kitchen Design & Installation Guide

Bruno Mendolini
A ceramic tile backsplash is one of the most popular and practical upgrades for modern kitchens. Combining durability, affordability, and timeless ...
bisque tile manufacturing from Tile Choices

What Is Bisque in Tile and Ceramic Manufacturing?

Bruno Mendolini
In tile and ceramic manufacturing, bisque—also known as biscuit—refers to a clay body that has undergone its first firing in a kiln but has not yet...