Grout may seem like a small detail in your home, but dirty grout lines can make even the cleanest bathroom or kitchen look old and neglected. Most people are shocked to learn that careful preparation and the right tools can cut grout cleaning time in half compared to random scrubbing. What really surprises is that the secret to sparkling grout is not about hard scrubbing or fancy products at all. Success almost always comes down to the right prep and protection long before you even grab a brush.
Table of Contents
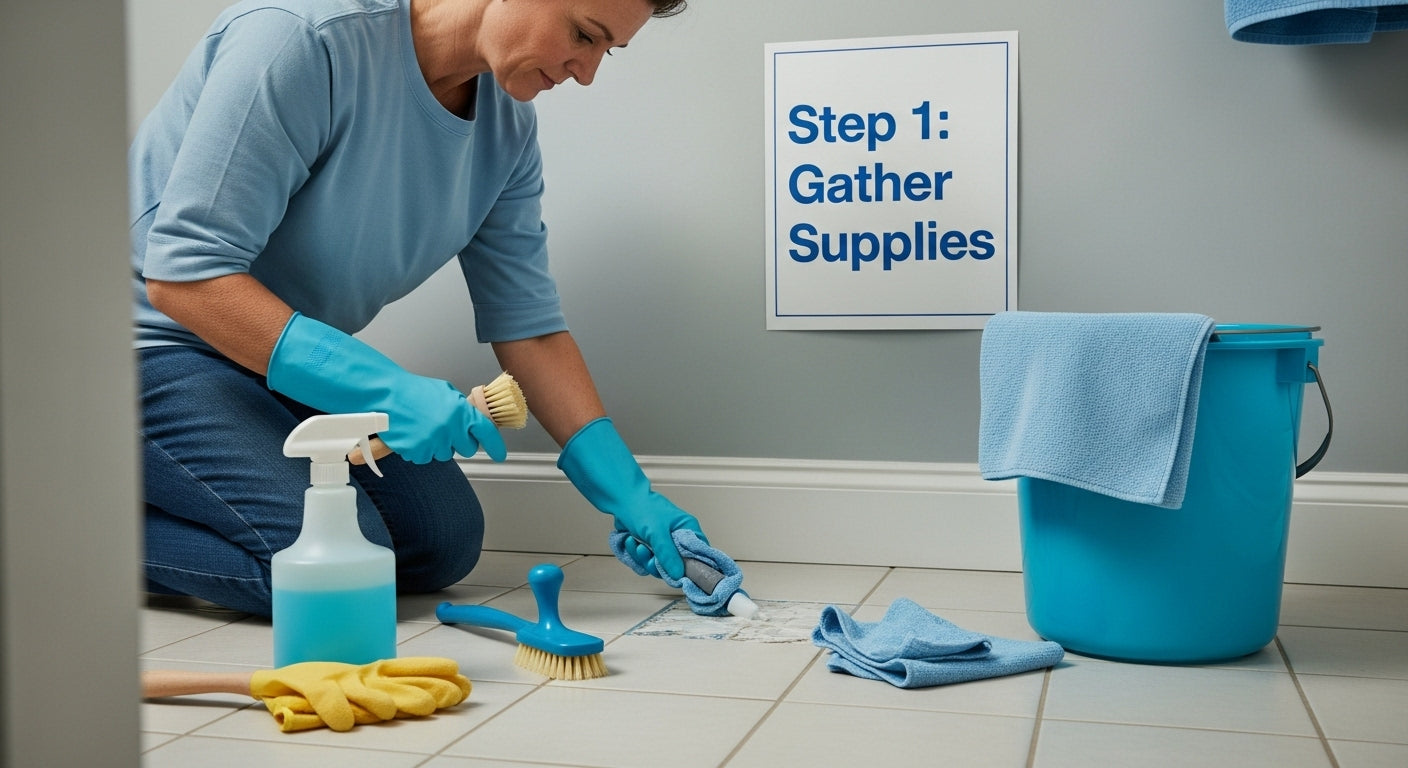
- Step 1: Gather Your Cleaning Supplies
- Step 2: Prepare The Grout Area For Cleaning
- Step 3: Apply The Cleaning Solution To The Grout
- Step 4: Scrub The Grout Using Appropriate Tools
- Step 5: Rinse And Inspect The Grout For Cleanliness
- Step 6: Seal The Grout For Long-Lasting Results
Quick Summary
| Key Point | Explanation |
|---|---|
| 1. Gather essential cleaning supplies | Collect protective gear, tools, and solutions prior to starting the grout cleaning process. |
| 2. Prepare the area thoroughly | Clear movable objects, perform dry cleaning, and protect surrounding surfaces to enhance cleaning effectiveness. |
| 3. Choose the right cleaning solution | Use appropriate mixtures based on stain severity, following instructions for either commercial or homemade products. |
| 4. Scrub methodically with suitable tools | Use a stiff-bristled brush, applying consistent pressure and maintaining a systematic approach to avoid damaging tiles. |
| 5. Seal grout for long-lasting protection | After cleaning, apply a suitable sealer to protect grout from future stains and moisture for enhanced durability. |
Step 1: Gather Your Cleaning Supplies
Cleaning grout effectively starts with assembling the right tools and materials. Your preparation determines the success of the entire grout cleaning process, so taking time to collect everything beforehand will save you frustration and ensure a thorough job.
Essential Cleaning Tools and Materials
To tackle grout cleaning successfully, you will need a comprehensive set of supplies. The core collection includes protective gear like rubber gloves to shield your hands from harsh chemicals, safety glasses to protect your eyes, and comfortable clothing you do not mind potentially staining. For cleaning implements, gather a stiff-bristled brush (preferably with a long handle for hard-to-reach areas), several clean white cloths or microfiber towels, and a spray bottle for applying cleaning solutions.
Your cleaning arsenal should include multiple potential solutions depending on the severity of your grout’s condition. For light cleaning, a mixture of warm water and mild dish soap can work wonders. For more challenging stains, you will want to prepare a specialized grout cleaner. Options range from commercial grout cleaning products to homemade solutions using household ingredients like baking soda, white vinegar, and hydrogen peroxide.
Before beginning, assess your specific grout situation. Different tile types and grout compositions require tailored approaches. Ceramic and porcelain tiles can generally withstand more aggressive cleaning methods, while natural stone tiles demand gentler treatments to prevent potential damage. Consider testing your chosen cleaning method on a small, inconspicuous area first to ensure it will not discolor or harm your specific surface.
Preparing Your Workspace
Prepare your workspace by clearing the area you will be cleaning. Remove any rugs, bath mats, or movable items that might obstruct your cleaning process. Lay down old towels or drop cloths to catch any splashes or drips, protecting your flooring or surrounding surfaces. Ensure proper ventilation by opening windows or running fans, especially if you will be using chemical cleaners that might produce strong fumes.
Have a bucket of clean water nearby for rinsing your tools and wiping away cleaning solutions. Paper towels or additional clean cloths will help you manage any excess moisture or quickly address unexpected spills. By taking these preparatory steps, you set yourself up for a systematic, efficient grout cleaning experience.
To help you assemble everything efficiently, here’s a table summarizing the essential supplies, what they’re used for, and important notes for safe, effective grout cleaning.
| Tool/Material | Purpose | Notes |
|---|---|---|
| Rubber gloves | Protect hands from chemicals | Use durable, chemical-resistant gloves |
| Safety glasses | Shield eyes from splashes | Especially n eeded with strong cleaners |
| Stiff-bristled brush | Scrub grout lines | Preferably with long handle |
| Clean cloths/towels | Wipe surfaces, manage spills | Use white microfiber or cotton |
| Spray bottle | Apply cleaning solution | For even solution distribution |
| Cleaning solution | Remove stains and dirt from grout | DIY: Baking soda/vinegar/peroxide mix |
| Bucket of clean water | Rinse tools and wipe away residue | Keep nearby for easy access |
| Drop cloths/towels | Protect surrounding areas from splashes | Lay down before applying solutions |
Step 2: Prepare the Grout Area for Cleaning
Preparing your grout area is a critical foundation for successful cleaning. This step ensures that your cleaning efforts will be most effective by removing loose debris, protecting surrounding surfaces, and creating an optimal environment for thorough grout restoration.
Begin by completely clearing the area you will be cleaning. Remove all movable objects like bath mats, rugs, toiletries, and decorative items. This gives you unobstructed access to the entire grout surface and prevents potential damage to these items during the cleaning process. Careful preparation prevents potential complications and allows you to focus entirely on restoring your grout to its original condition.
Next, perform a comprehensive dry cleaning to eliminate loose dirt and debris. Use a vacuum with a hard floor attachment or a soft-bristled broom to sweep away dust, hair, and loose particles from the tile and grout lines. Pay special attention to corners, edges, and areas around fixtures where dirt tends to accumulate. A detailed initial sweep dramatically improves the effectiveness of subsequent wet cleaning methods.
Protecting Your Surrounding Surfaces
Before applying any cleaning solutions, take time to protect surrounding surfaces. Lay down old towels, plastic drop cloths, or waterproof protective sheets to catch potential drips or splashes. This is particularly important in areas like bathrooms or kitchens where water damage could harm wooden baseboards, cabinets, or adjacent flooring. If you are working near electrical outlets or sensitive equipment, use additional protective coverings to prevent accidental moisture exposure.
For tiled areas with multiple surface types, such as read more about waterproofing bathroom tiles, extra caution is necessary. Different materials react differently to cleaning solutions, so creating clear boundaries between your work area and surrounding surfaces helps maintain the integrity of your entire space.
Before proceeding to the actual cleaning, perform a final visual inspection. Look for any existing cracks, chips, or areas of significant discoloration in the grout. These zones might require specialized treatment or repair before standard cleaning methods can be applied. By identifying these areas in advance, you can adjust your cleaning approach and prevent potential further damage. Your meticulous preparation sets the stage for a successful grout restoration that will breathe new life into your tiled surfaces.
Step 3: Apply the Cleaning Solution to the Grout
Applying the right cleaning solution is a critical moment in your grout restoration process. This step transforms your preparation work into meaningful cleaning action, targeting dirt, stains, and accumulated grime that have settled deep within the grout lines.
Choosing the right cleaning solution is paramount. For light stains and routine maintenance, a simple mixture of warm water and mild dish soap can be surprisingly effective. More stubborn stains require specialized approaches. Commercial grout cleaners offer targeted formulations, while homemade solutions using baking soda, white vinegar, and hydrogen peroxide provide natural alternatives that can be equally powerful.
Begin by mixing your chosen cleaning solution in a spray bottle or clean bucket. If using a commercial product, carefully follow the manufacturer’s instructions regarding dilution and application. For homemade solutions, create a paste-like consistency with baking soda and water, or mix equal parts white vinegar and water in your spray bottle. Wear protective gloves and ensure adequate ventilation to protect yourself during the application process.
Systematic Solution Application
Apply the cleaning solution systematically to prevent missing any areas. Start in a small, manageable section, typically about three to four square feet at a time. For spray solutions, apply directly onto the grout lines, ensuring thorough but not excessive coverage. If using a baking soda paste, carefully spread it along the grout lines using a clean, soft-bristled brush. The goal is complete coverage without oversaturating the area.
When working with how to cut ceramic tile, you likely understand the importance of precision. Apply the same principle here. Work methodically, moving in a consistent pattern to ensure no grout lines are overlooked. Allow the cleaning solution to sit for the recommended time typically between 5 to 10 minutes. This dwell time enables the solution to break down dirt and stains effectively.
Be mindful of different tile types during application.
Below is a comparison of common cleaning solutions mentioned in the guide, outlining their typical uses, preparation, and best application scenarios for your grout cleaning needs.
| Solution Type | Typical Ingredients | Best For | Preparation/Notes |
|---|---|---|---|
| Mild Dish Soap Mix | Warm water, dish soap | Light, routine cleaning | Mix in spray bottle, apply directly |
| Baking Soda Paste | Baking soda, (water, vinegar) | Moderate stains, heavier soil | Form paste, apply on grout lines |
| Vinegar Solution | White vinegar, water | General stain removal | Mix equal parts in spray bottle |
| Hydrogen Peroxide | Hydrogen peroxide, baking soda | Tough, persistent stains | Use as directed or in homemade paste |
| Commercial Cleaner | Store-bought formulation | Deep-seated or old stains | Follow label directions exactly |
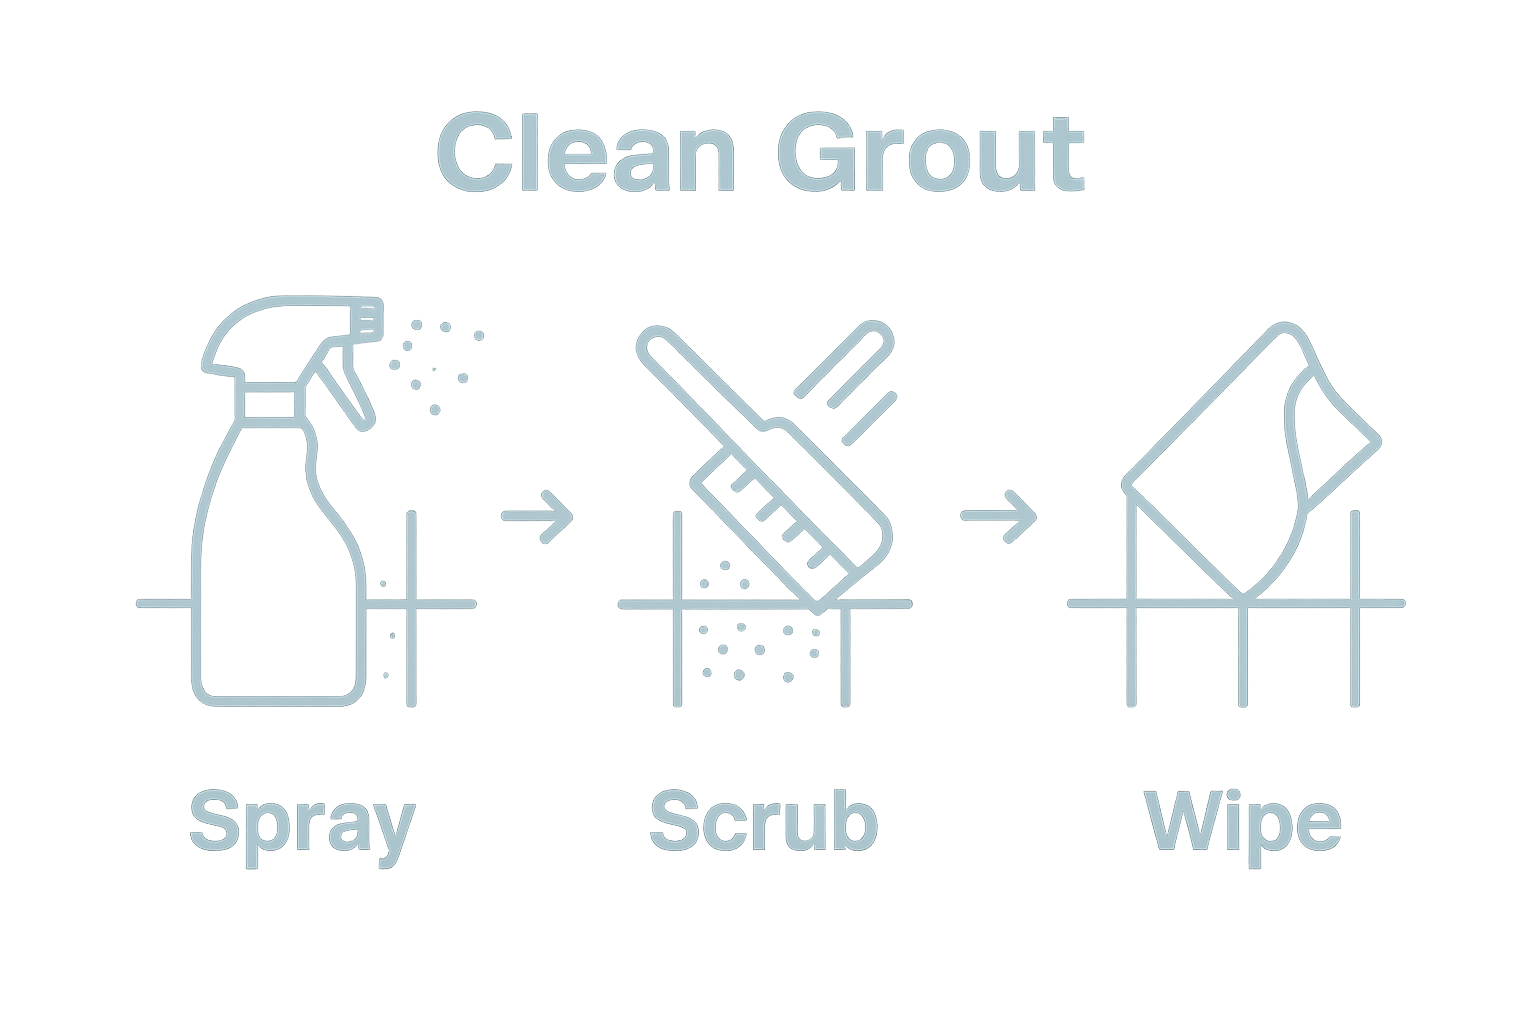
Step 4: Scrub the Grout Using Appropriate Tools
Scrubbing is the transformative stage where your cleaning solution and physical effort combine to restore grout to its original condition. This step requires precision, the right tools, and a systematic approach to effectively remove embedded dirt and stains without damaging your tile surfaces.
Choose your scrubbing tool wisely. A stiff-bristled brush with medium firmness works best for most grout cleaning scenarios. Avoid metal brushes, which can scratch or damage tile surfaces. Instead, opt for brushes with nylon or synthetic bristles that provide strong scrubbing power without causing surface damage. For tight corners and intricate areas, consider using an old toothbrush or a specialized grout brush with angled or narrow bristles that can reach challenging spaces.
Apply consistent, moderate pressure while scrubbing. Use circular motions that work the cleaning solution deep into the grout lines. Start at one end of your prepared section and methodically work across the surface, ensuring no area is overlooked. Rotate your brush frequently to prevent dirt buildup on the bristles and maintain maximum cleaning effectiveness. If you are working on larger surfaces or have extensive grout areas, consider using a long-handled brush to reduce physical strain and provide better leverage.
Managing Different Grout and Tile Surfaces
Recognize that different tile types require nuanced approaches. Ceramic and porcelain tiles can typically withstand more aggressive scrubbing, while natural stone tiles demand gentler techniques. When mixing tile patterns for stunning spaces, understanding each material’s specific cleaning requirements becomes even more critical. For delicate surfaces, reduce scrubbing pressure and consider using softer brushes or microfiber cloths to prevent potential damage.
As you scrub, periodically rinse your brush in clean water to prevent redistributing dirt. Pay close attention to your progress, watching how the grout lines transform. Some stubborn stains might require multiple passes or targeted spot treatments. Be patient and persistent, allowing the cleaning solution and your scrubbing technique to gradually break down accumulated grime. The goal is not just surface cleaning but a comprehensive restoration that reveals the grout’s original color and texture. When you notice the grout lines becoming progressively cleaner and brighter, you will know your careful scrubbing is achieving the desired results.

Step 5: Rinse and Inspect the Grout for Cleanliness
Rinsing and inspection represent the critical evaluation stage of your grout cleaning process. This step transforms your hard work into visible results, revealing the true effectiveness of your cleaning efforts and identifying any areas that might require additional attention.
Begin the rinsing process systematically. Use clean, warm water and a fresh microfiber cloth or soft sponge to thoroughly rinse away all cleaning solution residue. Work in the same methodical pattern you used during scrubbing, ensuring complete coverage. Avoid flooding the area with water, which can redeposit dirt or potentially damage underlying surfaces. Instead, use a damp cloth or carefully controlled water stream to remove cleaning agents and loosened dirt.
As you rinse, pay close attention to the water’s clarity. Clean, progressively clearer water indicates successful dirt removal. If the water remains consistently dirty, this signals that additional scrubbing might be necessary. Wring out your cloth or sponge frequently to prevent redepositing grime onto the newly cleaned grout lines.
Detailed Visual Inspection
Once rinsing is complete, perform a comprehensive visual inspection under good lighting conditions. Natural daylight or bright overhead lighting helps reveal subtle variations in grout cleanliness. Look for three key indicators of successful cleaning:
- Even coloration across grout lines
- Absence of visible stains or discoloration
- Restored original grout color
For areas that still appear stained or discolored, consider a targeted approach. You might need to repeat the cleaning process or use a more specialized cleaning solution. Some stubborn stains might require multiple treatment cycles or professional intervention. When reading more about waterproofing bathroom tiles, you will discover that maintaining clean grout is part of overall tile maintenance and protection.
After inspection, use clean, dry towels to remove excess moisture. Proper drying prevents potential water damage and allows you to see the grout’s true condition. Running a fan or opening windows can expedite the drying process, giving you a clear view of your cleaning results. Your meticulous approach ensures not just clean grout, but a restored surface that looks fresh and well-maintained.
Step 6: Seal the Grout for Long-Lasting Results
Grout sealing represents the final protective layer that transforms your hard work into a lasting solution. This critical step creates a barrier against future stains, moisture penetration, and bacterial growth, effectively extending the life and appearance of your newly cleaned grout lines.
Select the appropriate grout sealer with careful consideration. Penetrating sealers work best for porous grout, absorbing into the material to provide internal protection. Membrane-forming sealers create a surface layer that sits on top of the grout, offering a visible protective coating. Your choice depends on the specific tile type, location, and expected wear and tear. For high-moisture areas like bathrooms and kitchen backsplashes, choose a sealer with enhanced water-resistant properties.
Prepare your workspace by ensuring the grout is completely dry from previous cleaning steps. Temperature and humidity play crucial roles in sealer application, so aim for a well-ventilated area with moderate temperature. Wear protective gloves and work in a well-ventilated space to minimize exposure to chemical fumes. Some sealers emit strong odors, so opening windows or using fans can help manage air quality during application.
Precise Application Techniques
Apply the sealer systematically using a small foam brush, applicator bottle, or specialized sealer brush. Work in small sections, typically three to four square feet at a time. Use deliberate, even strokes to ensure complete coverage of grout lines. Avoid oversaturation, which can lead to uneven sealing or potential discoloration. When exploring mixing tile patterns for stunning spaces, remember that proper sealing maintains the aesthetic integrity of your carefully designed surface.
After application, allow the sealer to penetrate according to manufacturer instructions. Most products require 10 to 15 minutes of absorption time. Wipe away any excess sealer from tile surfaces using a clean, dry cloth to prevent potential residue or hazy appearance. Some sealers require multiple coats for optimal protection, so carefully read and follow the specific product guidelines. A properly sealed grout line will repel water, resist staining, and maintain its clean appearance much longer than unsealed grout, making this final step an investment in your tile’s long-term beauty and durability.
Tired of Dirty Grout Bringing Down Your Tile’s Beauty?
You put in the time and effort to clean your grout, only to realize stained lines and tired tiles can still ruin the look and feel of your space. Even after scrubbing, stubborn discoloration or worn surfaces remind you that restoring grout is just the first step. True transformation happens when you pair spotless grout with modern, stylish tiles that last—and that match your vision for a fresh, inviting home.

Now is the perfect moment to take your project a step further. Explore our curated range of high-quality tiles for every application, from kitchen backsplashes to bathroom walls and floors. Sample products, get design guidance, and discover materials that make cleaning and maintenance a breeze. Whether you want to update a single room or reimagine your home, find everything you need on TileChoices.com, the destination for homeowners who value both beauty and durability. Shop today and experience the difference that expert support and exceptional products can bring to your next tile upgrade.
Frequently Asked Questions
How often should I clean my grout?
Cleaning your grout every three to six months is ideal for maintaining its appearance and preventing stains from setting in. For high-traffic areas or bathrooms, consider more frequent cleaning.
What is the best homemade solution for cleaning grout?
A mixture of baking soda and white vinegar is an effective homemade solution for cleaning grout. You can create a paste with baking soda and water, or mix equal parts white vinegar and water in a spray bottle for cleaning.
Can I use bleach to clean grout?
While bleach can effectively clean grout, it may not be the best choice as it can weaken grout over time and potentially damage colored grout. It’s better to use milder solutions or commercial grout cleaners specifically designed for this purpose.
Is it necessary to seal grout after cleaning?
Yes, sealing grout after cleaning is crucial. This creates a protective barrier against moisture, stains, and mold, extending the life and appearance of your grout. Make sure the grout is completely dry before applying the sealant.
Recommended
- Achieve Effective Waterproofing Bathroom Tiles in 2025 – Tile Choices
- How to Cut Ceramic Tile: A Step-by-Step Guide – Tile Choices
- Master Mixing Tile Patterns for Stunning Spaces – Tile Choices
- Understanding Glazed vs Unglazed Tiles: A Clear Guide – Tile Choices
- How to Clean Siding on House: Easy Tips for a Fresh Look | Sabatalo Contracting