Picking a grout color for your tile renovation seems simple, but one wrong choice can completely change the look of your space. Some grout shades will actually make your tiles disappear, while others create bold, graphic lines you cannot ignore. What most people miss is that lighting can make grout colors look totally different from what you saw in the store, so a color that looked perfect under bright bulbs might clash in your own home by sunset.
Table of Contents
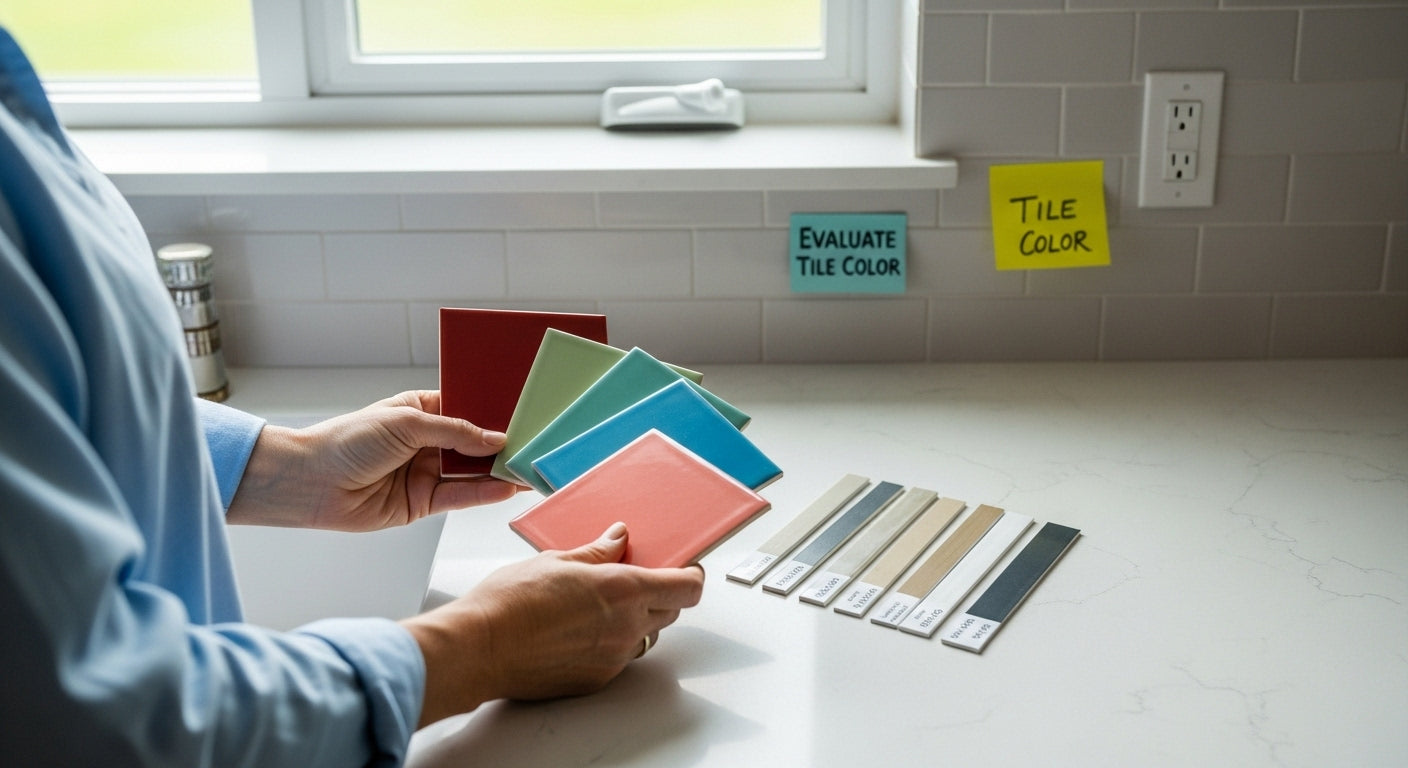
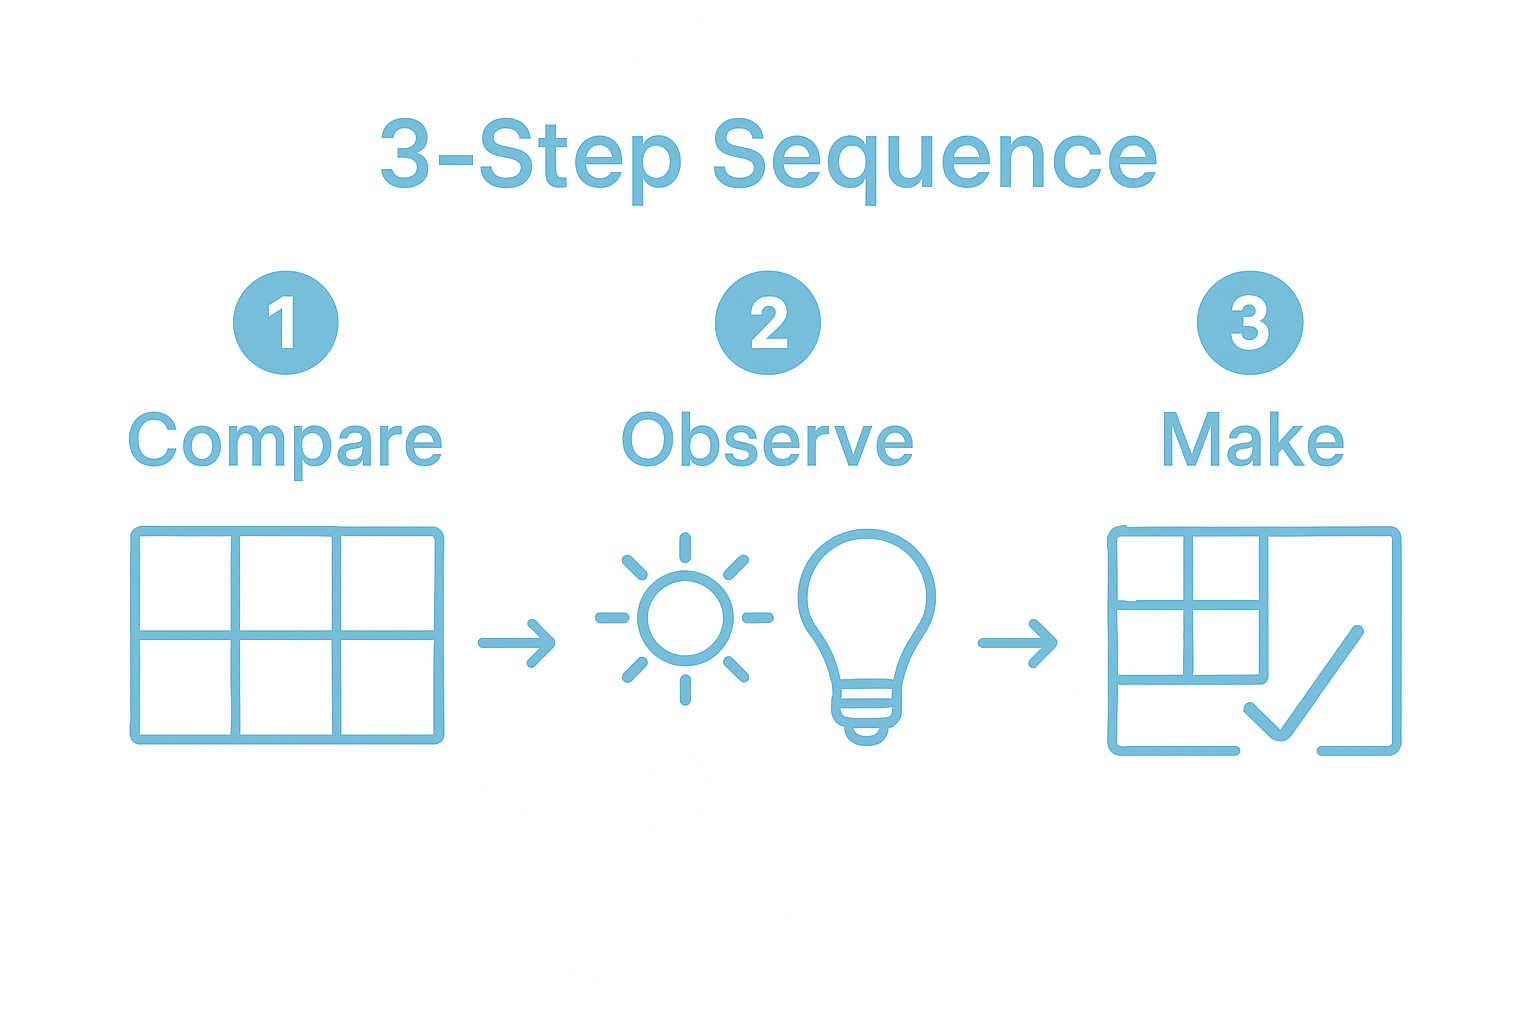
- Step 1: Evaluate Your Tile Color And Style
- Step 2: Determine Your Desired Aesthetic Effect
- Step 3: Consider The Room’s Lighting Conditions
- Step 4: Gather Samples And Test Combinations
- Step 5: Finalize Your Grout Color Choice
Quick Summary
| Key Point | Explanation |
|---|---|
| 1. Evaluate tile color and style | Assess the primary colors and textures of your tiles to choose a grout color that highlights or minimizes their design features. |
| 2. Determine desired aesthetic effect | Decide if you want blending, complementing, or contrasting grout colors to influence the visual impact of your space. |
| 3. Test grout colors under various lighting | Observe grout color samples in natural and artificial light to understand how they will appear in your actual installation. |
| 4. Gather samples for testing combinations | Collect full-sized tile and grout samples to experiment with combinations on a test board to visualize the effective design. |
| 5. Finalize grout color with careful review | Conduct a thorough evaluation of your chosen grout color with an eye on long-term maintenance and how it fits the entire design scheme. |
Step 1: Evaluate Your Tile Color and Style
Choosing the right grout color begins with a comprehensive evaluation of your existing tile’s color, style, and overall design aesthetic. This critical first step sets the foundation for a visually stunning renovation that harmonizes your space’s unique characteristics.
Start by carefully examining your tile’s primary color palette, texture, and visual complexity. Your grout color will either highlight or minimize the tile’s inherent design features. For instance, ceramic tiles with intricate patterns or varied color tones require a more strategic grout color approach compared to solid, uniform tiles.
Consider the visual effect you want to achieve. Do you want the grout lines to become a prominent design element or blend seamlessly into the background? A high contrast grout color will create definition and emphasize individual tile shapes, while a matching or complementary color will create a more unified, streamlined appearance. Learn more about mixing tile design elements to enhance your renovation strategy.
Take time to collect tile samples and examine them in your actual space under different lighting conditions. Natural daylight, overhead lighting, and evening ambient light can dramatically alter how colors interact. Place tile samples against walls, flooring, and other design elements to understand how grout color will impact the overall visual composition.
Professional designers recommend creating a small test area where you can experiment with different grout color options. This hands-on approach allows you to visualize the final result before committing to a complete installation. Use grout color charts and sample boards available at tile supply stores to explore a range of potential options that complement your specific tile selection.
Key verification criteria for completing this step include:
- Comprehensive tile color and texture assessment
- Understanding desired visual impact (contrast or harmony)
- Testing grout color samples in actual installation environment
- Evaluating color interactions under multiple lighting conditions
By meticulously evaluating your tile’s characteristics and potential grout color interactions, you set the stage for a renovation that transforms your space with intentional, professional design choices.
Step 2: Determine Your Desired Aesthetic Effect
After evaluating your tile’s characteristics, the next crucial step in choosing the perfect grout color is determining the precise aesthetic effect you want to create in your space. This decision goes beyond simple color matching and involves understanding how grout can dramatically transform the visual perception of your tile installation.
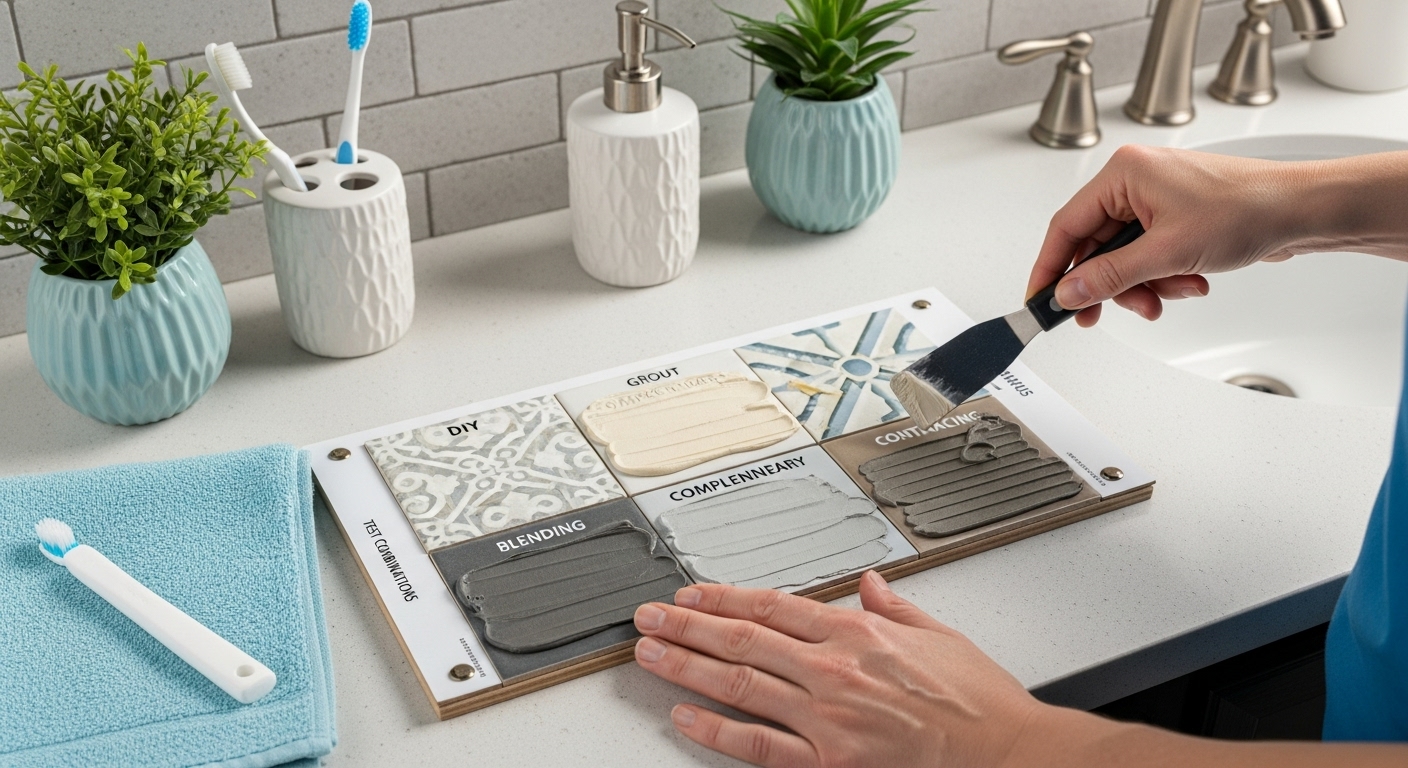
Aesthetic choices typically fall into three primary categories: blending, complementing, or contrasting. Each approach offers unique visual opportunities that can significantly impact your room’s overall design narrative. Blending grout colors create a seamless, uniform appearance where tile edges seem to melt into one another, creating a smooth and continuous surface. This technique works exceptionally well in minimalist or contemporary spaces where visual simplicity is paramount.
Complementary grout colors add subtle definition while maintaining a harmonious relationship with the tile. These colors are typically within the same color family but slightly lighter or darker, creating a gentle visual transition that adds depth without overwhelming the design. Explore vintage tile pattern techniques to understand how complementary colors can enhance traditional design aesthetics.
Contrasting grout colors make a bold design statement by intentionally highlighting tile edges and creating visual boundaries.
Use the table below to compare the three main grout color strategies discussed in the article and understand their key visual effects and suitable design styles.
| Approach | Visual Effect | Best For |
|---|---|---|
| Blending | Seamless, uniform appearance, minimal visible lines | Minimalist or contemporary spaces |
| Complementing | Subtle definition, harmonious transition | Traditional or vintage aesthetics |
| Contrasting | Bold, defined lines, dramatic tile boundaries | Geometric, statement-making designs |
| Dark grout with light tiles or light grout with dark tiles can transform your tile installation into a graphic, almost architectural element. This approach works particularly well in geometric tile patterns or spaces that embrace a more dramatic, statement-making design philosophy. |
To determine your ideal aesthetic effect, consider your room’s existing design elements, architectural style, and personal design preferences. Modern minimalist spaces might benefit from nearly invisible grout lines, while rustic or industrial settings could leverage high-contrast grout to emphasize tile geometry and texture.
Key verification criteria for completing this aesthetic determination include:
- Clear understanding of desired visual impact
- Alignment of grout color strategy with overall room design
- Emotional response to potential grout color choices
- Consideration of long-term design sustainability
Remember that your chosen aesthetic effect is not just about immediate visual appeal but creating a cohesive design language that resonates with your personal style and enhances your living space’s overall ambiance.
Step 3: Consider the Room’s Lighting Conditions
Lighting plays a transformative role in how grout colors are perceived, making it a critical consideration in your selection process. Different lighting conditions can dramatically alter the appearance of grout colors, turning what seemed like a perfect match in the store into something entirely unexpected in your actual space.
Natural daylight provides the most accurate color representation, revealing the true nuance and depth of your grout color. Spend time observing your tile and potential grout samples near windows during different times of day. Morning light often presents a softer, more diffused illumination, while afternoon sunlight can create more intense color saturation and shadows that highlight grout lines distinctly.
Artificial lighting introduces another layer of complexity to color perception. Incandescent lights typically cast a warm, yellowish tone that can make colors appear slightly more golden or amber. LED and fluorescent lighting, in contrast, tend to have cooler undertones that can make colors appear more stark or bluish. Explore luxury bathroom tile design strategies to understand how professional designers navigate these lighting challenges.
Take a strategic approach by collecting multiple grout color samples and testing them directly in the room where they will be installed. Create a simple test board using a piece of your tile and several grout color options. Move this board around the room, observing how the colors interact under different lighting conditions throughout the day. Pay special attention to corners, areas near windows, and spaces with mixed lighting sources.
Consider the room’s overall lighting design as well. Rooms with multiple light sources like recessed ceiling lights, wall sconces, and task lighting will create more complex color interactions. Spaces with primarily overhead lighting might require a different grout color strategy compared to rooms with layered, ambient lighting approaches.
Key verification criteria for completing this lighting assessment include:
- Observation of grout color under multiple lighting conditions
- Understanding how natural and artificial light impacts color perception
- Creating a test board to evaluate color interactions
- Confirming color consistency across different times of day
By meticulously examining how lighting influences your grout color selection, you’ll ensure a choice that looks stunning from morning to night, preserving the intended aesthetic effect in every possible lighting scenario.
Step 4: Gather Samples and Test Combinations
Gathering physical samples and systematically testing grout color combinations is the most reliable method to ensure your final selection meets both aesthetic and practical requirements. This hands-on approach transforms theoretical color selection into a tangible design decision that you can confidently visualize in your space.
Start by collecting full-sized tile samples and corresponding grout color charts from your local tile supply store or home improvement center. Request multiple grout color samples that range from exact matches to complementary and contrasting shades. Professional designers recommend obtaining at least three to five different grout color options to provide a comprehensive range of visual possibilities.
Create a dedicated testing board that allows you to experiment with various combinations. Use a sturdy piece of plywood or a large ceramic tile as your base, arranging your tile samples and grout color tests in a way that mimics your intended installation. Explore advanced tile pattern mixing techniques to inspire creative sample arrangements that showcase your potential design.
Apply small grout samples directly onto your test board, ensuring you use the same application technique you’ll employ during the actual installation. Pay close attention to how different grout colors interact with your tile’s surface texture, edge profile, and underlying color palette. Some grout colors might look stunning in theory but appear dramatically different when actually applied.
Position your testing board in multiple locations throughout the room, observing how lighting and surrounding design elements impact the color combinations. Take photographs of your sample board under different lighting conditions to create a visual record that you can review and compare. This documentation becomes an invaluable reference point when making your final selection.
This checklist table summarizes the essential verification steps you need to complete during grout color sample testing, helping you track your progress and ensure confident selection.
| Checklist Item | Completed (Yes/No) |
|---|---|
| Multiple grout color samples collected | |
| Comprehensive test board created | |
| Samples tested under different lighting conditions | |
| Photos taken for visual record | |
| Emotional response assessed for each combination |
Key verification criteria for completing your sample testing include:
- Collection of multiple grout color samples
- Creation of a comprehensive testing board
- Observation under various lighting conditions
- Photographic documentation of potential combinations
- Emotional and aesthetic response to different options
By meticulously gathering and testing samples, you transform color selection from a guessing game into a strategic design process, ensuring your final grout color will enhance your tile installation perfectly.
Step 5: Finalize Your Grout Color Choice
Finalizing your grout color choice represents the culmination of a strategic design process that balances aesthetic vision, practical considerations, and meticulous testing. This critical decision transforms your tile installation from a mere functional surface into a carefully curated design element that reflects your personal style and enhances your living space.
Objective evaluation becomes paramount when making your final selection. Review the documentation and photographs from your sample testing, paying close attention to how different grout colors perform under various lighting conditions and against your specific tile characteristics. Look beyond initial impressions and consider how the grout color will interact with your room’s overall design palette, furniture, and architectural elements.
Consider the long-term implications of your grout color choice. Lighter grout colors might look pristine initially but can show dirt and stains more readily, especially in high-traffic areas or spaces prone to moisture. Darker grout colors offer better stain resistance and can create a more forgiving surface that maintains its appearance over time. Explore essential bathroom tile waterproofing techniques to understand how grout color can impact maintenance and durability.
Engage trusted perspectives by sharing your top grout color choices with design-savvy friends, family members, or even a professional interior designer. Sometimes an outside perspective can reveal nuances you might have overlooked. Ask for honest feedback about how the grout color complements the tile, integrates with the room’s design, and creates the desired visual effect.
Prepare for potential color variations by purchasing slightly more grout than your initial calculations suggest. Grout color can appear slightly different when applied across a larger surface, and having extra material ensures color consistency during the installation process. Professional installers recommend mixing grout from multiple bags to minimize potential color discrepancies.
Key verification criteria for finalizing your grout color choice include:
- Comprehensive review of sample testing documentation
- Consideration of long-term maintenance requirements
- Consultation with design professionals or trusted advisors
- Emotional and aesthetic satisfaction with the chosen color
- Practical assessment of color performance in your specific environment
By approaching your final grout color selection with a combination of strategic analysis and intuitive design sensibility, you’ll create a tile installation that not only looks stunning but also stands the test of time.
Take the Guesswork Out of Grout Color Selection with TileChoices.com
Feeling overwhelmed by the pressure of choosing the right grout color for your renovation? The smallest detail can make or break your design, especially when tile color, lighting, and aesthetic goals all collide. You deserve to feel confident, not uncertain, about how every design choice fits together. At TileChoices.com, you get access to a world of solutions designed for homeowners and design pros tackling the very challenges highlighted in this guide. Our easy sample requests and curated tile collections let you test real combinations before making a final commitment.

See how effortless your renovation decisions can be by using our downloadable resources, expert guidance, and the largest selection of kitchen, bathroom, or floor tiles. Start by visiting TileChoices.com now to explore, compare, and request samples. Make every room your masterpiece—shop now to ensure your next project is not just stunning but also stress-free.
Frequently Asked Questions
How do I choose the right grout color for my tiles?
Choosing the right grout color involves evaluating your tile’s color and style, determining your desired aesthetic effect (blending, complementing, or contrasting), and considering how the chosen color interacts with different lighting conditions.
What is the impact of lighting on grout color selection?
Lighting plays a crucial role in how grout colors appear. Natural light can reveal the true color nuances, while artificial lighting can alter the perception of colors. Testing grout colors under various lighting conditions is essential for a successful choice.
How can I test grout color combinations before finalizing my choice?
You can test grout color combinations by gathering full-sized tile samples and a range of grout color charts. Create a testing board where you can apply samples and observe how they interact with your tile and existing design elements in different lighting conditions.
What should I consider for long-term maintenance when choosing grout color?
When selecting grout color, consider that lighter colors may show dirt and stains more easily, while darker colors offer better stain resistance. Long-term maintenance requirements, such as cleaning and durability, should influence your decision.