

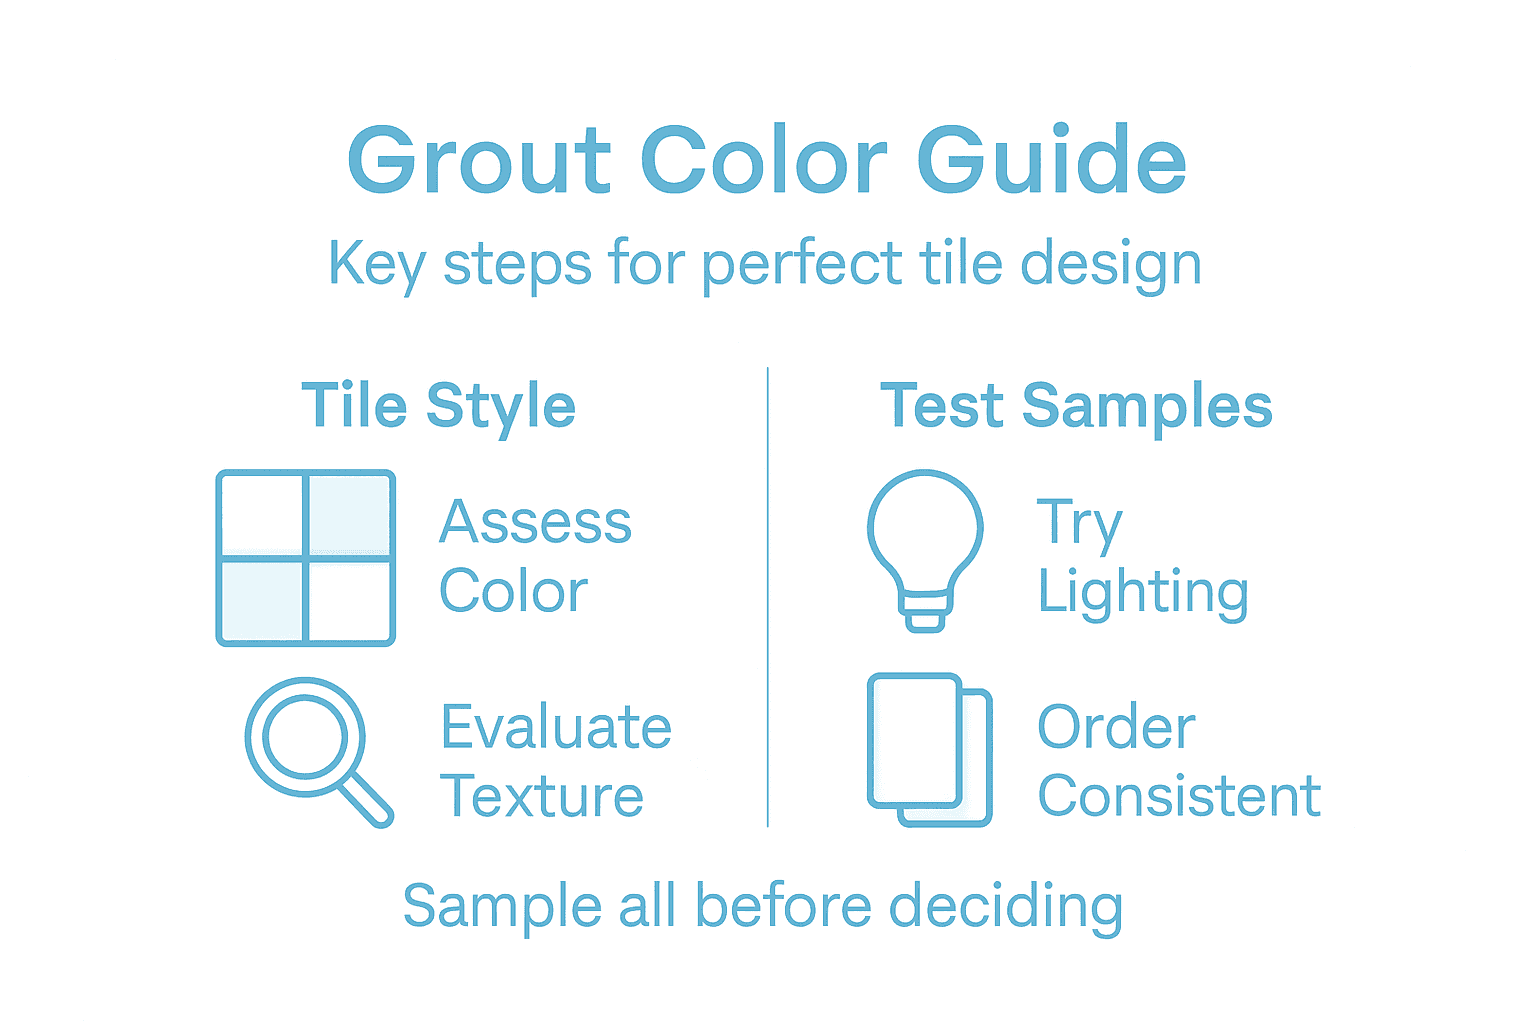
It might surprise many American homeowners that over 80 percent regret not spending more time choosing grout colors during their kitchen renovations. When updating a tile backsplash or floor, the grout shade can make or break the final look. Understanding how tile style, color theory, and lighting influence grout selection ensures your kitchen design feels intentional and visually stunning from every angle.
Table of Contents
- Step 1: Assess Your Tile Style And Color Palette
- Step 2: Gather Tile And Grout Samples For Comparison
- Step 3: Evaluate Lighting And Room Conditions
- Step 4: Test Grout Samples Next To Tiles
- Step 5: Confirm Your Grout Choice And Order Materials
Quick Summary
| Key Insight | Explanation |
|---|---|
| 1. Evaluate Tile Style and Color | Examine the tile’s colors and design to choose a grout that enhances overall aesthetics. |
| 2. Test Grout Samples in Lighting | Arrange and observe grout samples with tiles under varied lighting to assess their interaction. |
| 3. Confirm Grout Color Consistency | Verify color specifications with suppliers and order grout from the same batch for uniformity. |
| 4. Consider Color Theory Principles | Use color harmonies to achieve complementary or contrasting grout effects that align with your design goals. |
| 5. Observe Room Environment Effects | Pay attention to surrounding surfaces and their reflectivity, as they influence tile and grout color perception. |
Step 1: Assess Your Tile Style and Color Palette
Before selecting your grout color, you need to carefully evaluate your tile’s visual characteristics and overall design aesthetic. Understanding your tile’s style provides critical insights for making an informed grout color selection that enhances the entire space.
Start by examining your tile’s primary color palette and texture. Some tiles feature complex color variations that require strategic grout color assessment, while others have more uniform appearances. Consider whether you want the grout to blend seamlessly or create intentional contrast. Modern ceramic tile designs offer incredible versatility in color and pattern, which means your grout selection can dramatically transform the visual impact of your surface.
Color theory plays a significant role in this process. Understanding color harmonies can help you select grout colors that either complement or subtly distinguish your tile design. Pay attention to undertones, surface reflectivity, and how different lighting conditions might impact the perceived color interaction between tile and grout.
Pro tip: Always purchase small grout samples and test them directly next to your tiles in the actual space to see how natural and artificial lighting affect their appearance.
Here’s a quick overview of popular grout color strategies and their design impact:
| Grout Color Strategy | Visual Effect | Best For |
|---|---|---|
| Matching (Blend) | Seamless, unified surface | Modern, minimalist spaces |
| Contrasting | Accentuates tile pattern | Vintage, decorative installations |
| Neutral (Gray, Beige) | Soft transition, versatile | Traditional, high-traffic areas |
| Bold/Colored Grout | Adds dramatic interest | Feature walls, artistic projects |
Step 2: Gather Tile and Grout Samples for Comparison
To make an informed grout color decision, you need to collect physical samples that will help you visualize the final design. Systematic sample collection ensures you have accurate representations of both your tile and potential grout colors in real world conditions.
Visit your local tile store or home improvement center and request small tile and grout samples. Select several grout color options that range from complementary to contrasting shades. Look for samples that are large enough to place directly next to your tile, which will help you evaluate aesthetic interactions between the two materials. Pay special attention to how different colors interact under various lighting conditions.

Bring these samples home and arrange them in the actual space where you plan to install the tiles. Natural daylight, overhead lighting, and evening ambient light can dramatically change how colors appear. Move the samples around at different times of day to see how shadows and light intensity impact their visual relationship.
Pro tip: Take smartphone photos of your sample arrangements in different lighting to help you compare and remember subtle color variations more objectively.
Step 3: Evaluate Lighting and Room Conditions
Understanding how lighting impacts your tile and grout appearance is crucial for making the right design choice. Lighting quality significantly affects color perception, meaning the same tile and grout combination can look dramatically different depending on the time of day and light source.
Observe your samples throughout different times and lighting conditions. Morning sunlight will create different visual effects compared to afternoon direct light or evening ambient illumination. Take note of how artificial lights like overhead fixtures, recessed lighting, and task lights interact with your tile and grout samples. Some colors might appear warmer or cooler depending on the light temperature and intensity.
Consider the overall room environment beyond just lighting. Surface reflectance and room finishes play a significant role in how colors are perceived. Wall colors, floor materials, and even furniture can subtly modify how your grout and tile colors appear. Pay attention to how surrounding surfaces reflect or absorb light, which can dramatically alter the visual impact of your tile design.
Pro tip: Install temporary daylight spectrum light bulbs during your evaluation to get the most accurate color representation across different times of day.
Use this table to compare key lighting types and their influence on grout appearance:
| Lighting Type | Effect on Color | When Most Noticeable |
|---|---|---|
| Morning Sunlight | Enhanced warmth, soft | Early morning hours |
| Afternoon Light | Bright, pronounced hues | Midday to afternoon |
| LED/Daylight Bulb | Consistent, vivid tone | Anytime with artificial light |
| Ambient Lighting | Muted, subtle changes | Evening or low-light spaces |
Step 4: Test Grout Samples Next to Tiles
Testing grout samples directly next to your tiles is a critical step in ensuring the perfect visual outcome for your project. Assessing bond performance and visual characteristics involves carefully applying small grout samples adjacent to your tile selections to evaluate their interaction under real conditions.
Prepare a clean, flat surface and arrange your tile samples. Apply small test patches of grout next to each tile, ensuring you cover different areas and angles. Pay close attention to how the grout adheres to the tile and how the colors interact. Some grout colors might look completely different when applied versus how they appear in the sample container. Take time to observe the samples from multiple perspectives and under different lighting conditions.
Standard test methods recommend evaluating the grout mixture’s consistency and workability alongside its visual appearance. Check for any color variations, texture differences, or uneven application that might impact your final design. Allow the test samples to dry completely to see their true color and finish.
Pro tip: Create a dedicated test board with your tile and grout samples, labeling each combination to help you compare and track your options systematically.
Step 5: Confirm Your Grout Choice and Order Materials
Your final step is to verify the grout selection and secure the right materials for your project. Quality assurance testing is crucial before making a large purchase to ensure color consistency and performance standards.
Reach out to your tile supplier or manufacturer to confirm the exact grout specifications that match your tile selection. Ask about color availability, recommended application techniques, and batch consistency. Request official color charts and compare them with your sample tests. Verify the quantity needed by measuring your total tile area and adding approximately 10% extra material to account for potential waste or future repairs.
Material specifications and manufacturer consultation will help prevent installation failures. Discuss your specific project requirements with a professional who can provide insights about grout performance, color retention, and compatibility with your chosen tiles. Consider factors like moisture exposure, traffic levels, and cleaning requirements when finalizing your order.
Pro tip: Order grout samples from the same production batch to ensure uniform color and consistency throughout your entire tiling project.
Achieve Flawless Tile Designs with the Perfect Grout Color
Choosing the right grout color is often the most challenging part of a successful tile installation. As outlined in the article, assessing tile style, testing grout samples, and considering lighting effects are essential steps to avoid mismatched tones and design regrets. At TileChoices.com, we understand these pain points and offer a vast selection of high-quality tile options alongside tips to help you select grout colors that enhance your space effortlessly.
Explore our curated collections of ceramic, porcelain, and natural stone tiles paired with detailed color guides to simplify your decision making. With our convenient sample request service, you can test actual materials in your home to see how light and surroundings affect color harmony. Don’t leave your tile project to chance. Visit TileChoices.com today to browse styles that perfectly match your design vision and get expert guidance for grout pairing. Start your project with confidence and create stunning, harmonious surfaces that last.
Ready to transform your space with precision grout color choices? Discover stylish tile solutions and ordering ease now at TileChoices.com and take the first step toward a flawless tile design.


