
A kitchen that looks genuinely designed, not just renovated, is the result of decisions that were made in relationship to each other rather than in sequence without a connecting logic. Tile selected first. Countertops picked to work with the tile. Cabinetry chosen to balance both. Hardware selected last, if at all, as an afterthought rather than a considered finish to the palette.
That sequence produces kitchens that are individually fine but never entirely resolved. The backsplash is beautiful, the countertops are right, the cabinets are well-built, but something does not quite land. The hardware feels like it belongs to a different kitchen. The grout color fights the finish on the pulls. The tile palette and the metal palette are speaking two different languages.
This guide walks through the full decision sequence of a kitchen design, from tile selection through hardware choice, with a specific focus on how each decision affects the next and how to build a palette where every surface in the room reads as part of the same intention. We carry both tile and Jeffrey Alexander cabinet hardware at Tile Choices because these decisions belong together, and we have seen what happens when they are made that way.
Start With the Tile: Why It Anchors Everything Else
Tile is the right starting point for kitchen design because it is the most permanent and least forgiving element in the room. Repainting cabinets is relatively straightforward. Replacing hardware takes an hour. Re-tiling a kitchen backsplash is a renovation in itself. Starting with tile sets a fixed palette anchor that every subsequent decision can reference.
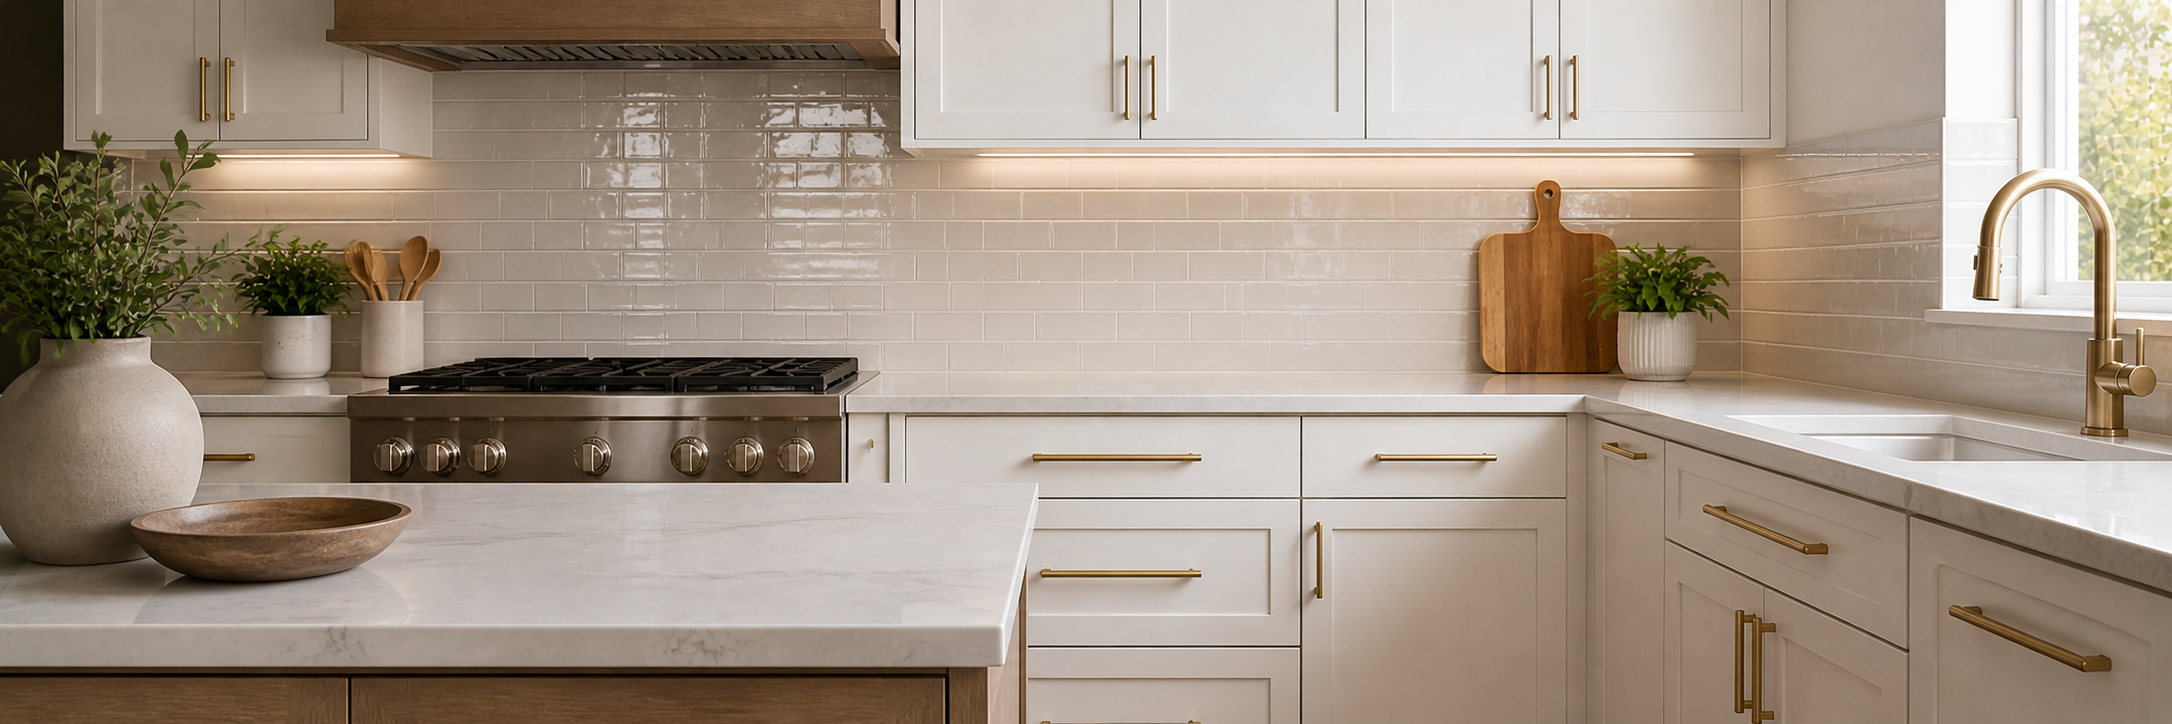
The backsplash tile sets the tonal register of the kitchen, warm or cool, light or dark, neutral or bold. It also establishes the visual texture level: a smooth white subway tile creates a clean, reflective backdrop, while a handmade-look ceramic or textured stone creates a more complex, layered surface. These qualities directly inform what countertop material, cabinet color, and hardware finish will work in the space.
At Tile Choices, the kitchen backsplash tile collection covers the full range of materials, ceramic, glass, porcelain, and natural stone, in every finish, format, and color palette. If you are starting a kitchen design from scratch, this is the right place to begin.
Step One: Establish Your Tile Palette and Tone
Before making any other decision, identify two things about your tile choice: its dominant tone (warm or cool) and its contrast level (how much lighter or darker it is than your cabinet color). These two variables shape every hardware decision that follows.
Warm Tile Palettes
Warm tile palettes, cream subway, terracotta, beige ceramic, warm gray stone, travertine, have an amber, yellow, or brown undertone that runs through the tile even when the base color is neutral. Kitchens built on a warm tile palette want warm metal finishes: Brushed Gold, Satin Bronze, Brushed Oil Rubbed Bronze, or Lightly Distressed Antique Brass. Introducing cool-metal hardware into a warm tile kitchen creates a palette disconnect that the eye reads as an error, the kitchen looks slightly off without an obvious explanation why.
Cool Tile Palettes
Cool tile palettes, bright white glass, icy gray porcelain, blue-gray stone, pale blue ceramic, have a silver, blue, or green undertone. These kitchens accept cool-metal hardware naturally: Polished Chrome, Polished Nickel, Satin Nickel, Matte Black. They can also carry warm finishes as a deliberate contrast, Brushed Gold against white tile is one of the most popular kitchen hardware combinations in current design, but that contrast needs to be intentional and applied consistently to read as a design decision rather than a mismatch.
Neutral Tile Palettes
True neutral tile, medium gray, greige, off-white with no strong undertone, is the most flexible palette to design around because it accepts both warm and cool finishes. In a neutral tile kitchen, the hardware finish decision typically follows the faucet and fixture finish, since the tile itself does not push in either direction. Satin Nickel is the most common hardware choice in neutral tile kitchens precisely because of this flexibility.
Step Two: Choose Your Grout Color With Hardware in Mind
Grout color is underestimated as a design decision. It covers a significant percentage of the backsplash surface, anywhere from 10 to 30 percent depending on tile size and joint width, and it contributes substantially to the overall tone and contrast of the tile installation. Grout color also directly affects which hardware finishes will read well against the completed backsplash wall.
Light grout amplifies the brightness of the tile and increases the contrast between the tile and any hardware nearby. In a white tile kitchen with bright white grout, Matte Black hardware creates a graphic, high-contrast statement. The same Matte Black hardware against dark charcoal grout on the same tile reads as a lower-contrast, more tonal choice.
Dark grout deepens the tile palette, adds visual weight, and tends to push the kitchen toward a richer, moodier tone. Dark grout with warm tile suits warm hardware finishes, Brushed Gold or Satin Bronze reads as part of the warm, deep palette. Dark grout with cool tile (charcoal grout on white subway tile, for example) creates a dramatic combination where Gun Metal or Matte Black hardware reads as part of the dark tone rather than a contrast to it.
A few grout combinations that tend to work well with specific Jeffrey Alexander finishes: white grout with Brushed Gold hardware is a classic warm-on-bright combination; charcoal grout with Polished Chrome or Satin Nickel creates a clean, architectural look; matching grout-to-tile tone with Matte Black hardware is the foundation of the most popular contemporary kitchen aesthetic right now.
Step Three: Align Cabinet Color With Tile and Hardware
Cabinet color is the largest single surface in the kitchen and the element that mediates between the tile and the hardware. It does not need to match either, but it needs to belong to the same tonal family.
White and off-white cabinetry is the most forgiving starting point, it works with every tile palette and accepts warm, cool, and neutral hardware finishes without conflict. The primary decision in a white cabinet kitchen is whether to use warm white (cream, linen) or cool white (bright white, gray-white), because that choice subtly frames whether warm or cool hardware feels more natural.
Dark cabinetry, navy, forest green, charcoal, black, creates a dramatic foundation that benefits from hardware with strong visual presence. Brushed Gold on dark cabinets is the most photographed kitchen combination in current design for good reason: the contrast is striking and the warmth of the gold against dark paint creates a richness that reads as expensive. Matte Black on dark cabinets creates a tonal blend where the hardware almost disappears into the surface, letting the tile and countertops do all the visual work.
Natural wood cabinetry or painted cabinetry in warm green, sage, or earthy tones reinforces a warm palette that benefits from Brushed Gold, Satin Bronze, or Brushed Oil Rubbed Bronze hardware. Cool metal hardware against warm wood cabinets introduces a jarring conflict in most design contexts.
Step Four: Select Hardware Type for Each Application
Once finish is established, hardware type is the practical decision. The full breakdown of knobs versus pulls versus bar pulls is covered in detail in our companion post, Cabinet Knobs vs. Pulls vs. Bar Pulls: Which Hardware Type Goes Where, but the brief version for a cohesive kitchen design is this:
Choose a single hardware family from the Jeffrey Alexander collection that offers the pull sizes you need across your full drawer range, a coordinating knob if you want knobs on doors, and a compatible appliance pull if your refrigerator or dishwasher panel needs one. Working within a single collection in a single finish is the fastest path to a kitchen where the hardware reads as designed rather than selected from a catalog page by page.
Bar pulls are the right call for flat-panel and slab-door kitchens in any contemporary or transitional design direction. Cabinet pulls with more architectural profile suit Shaker and raised-panel doors in transitional and traditional kitchens. Cabinet knobs on doors with coordinating pulls on drawers is the classic combination that suits almost every kitchen style. Handle pulls are the right scale for wide drawer fronts and furniture-style cabinetry where a standard pull profile would look thin.
Step Five: Coordinate Across the Full Room
A kitchen has more metal surfaces than hardware alone, faucet, light fixtures, range hood, and sometimes visible plumbing and appliances. A cohesive kitchen does not require all of these to match exactly, but they need to follow a consistent tonal logic. The professional standard is to keep all metals within the same warm or cool family, with no more than two distinct finishes in the room, and to concentrate the more prominent finish on the hardware and faucet where it is most visible.
A kitchen where the cabinet hardware, the faucet, and the pendant lights are all in the same finish family, even if the exact finish differs slightly, reads as designed from the start. A kitchen where each metal surface is a different finish from a different tonal family reads as assembled from separate shopping trips, no matter how high the quality of each individual piece.
The guide to choosing cabinet hardware finish for your tile palette covers this coordination logic in depth, including finish-by-finish pairings for every major tile type.
A Room-by-Room Summary
Kitchen
The kitchen is where hardware and tile interact most visibly and most frequently. The backsplash tile is the reference palette for hardware finish selection. The hardware type should scale across the full range of drawer widths using a single collection from the Jeffrey Alexander line. Faucet and hardware finish should be in the same tonal family. Browse the full Jeffrey Alexander cabinet hardware collection and the kitchen backsplash tile collection together for the most efficient selection process.
Bathroom
The bathroom presents the same palette logic as the kitchen in a smaller, more concentrated space. Vanity tile, wall tile, floor tile, and shower tile, establishes the tonal register. Hardware finish should follow from the tile palette and the faucet finish. Jeffrey Alexander's range of knob and pull sizes suited to vanity cabinetry makes it practical to coordinate across a master bathroom's full vanity configuration. Explore the bathroom tile collection alongside the hardware options for a complete palette view.
Laundry Room and Butler's Pantry
Adjacent rooms that connect to the kitchen visually benefit from hardware in the same finish family as the kitchen. Using the same Jeffrey Alexander collection throughout an open-plan home creates a through-line that makes the entire space feel intentional. The hardware does not need to be identical in every room, a smaller knob in the laundry room is appropriate where a larger pull would be on the kitchen island, but the finish and design family should be consistent.


