Choosing mosaic tile designs for your American kitchen or bathroom can feel like a big decision, especially when every space has its own quirks and challenges. With proper evaluation of your room’s dimensions, lighting, and surface conditions, you can transform your renovation into a lasting showpiece. This guide offers practical steps to help you achieve a balance of beauty and durability, highlighting thorough spatial assessment as the foundation of any successful mosaic project.
Table of Contents
- Step 1: Assess Your Space For Mosaic Tile Design
- Step 2: Select The Ideal Mosaic Tile Materials And Patterns
- Step 3: Prepare Your Surface For Tile Installation
- Step 4: Install Mosaic Tiles With Precise Alignment
- Step 5: Inspect And Finalize Your Mosaic Tile Project
Quick Summary
| Important Insight | Explanation |
|---|---|
| 1. Thoroughly assess your space | Evaluate room dimensions, lighting, and structural conditions before designing, ensuring functionality and aesthetics work together effectively. |
| 2. Choose suitable tile materials | Select mosaic tiles based on durability, moisture resistance, and design compatibility to meet the specific requirements of your space. |
| 3. Properly prepare your surface | Ensure the installation surface is clean, level, and structurally sound to prevent issues during and after tile installation. |
| 4. Focus on precise tile installation | Use proper alignment techniques and tools for accurate tile placement to achieve a professional-looking finish and enhance visual appeal. |
| 5. Conduct a thorough final inspection | Check tile alignment, grout lines, and overall aesthetics to ensure quality. Clean and seal to protect and enhance durability. |
Step 1: Assess your space for mosaic tile design
Designing with mosaic tiles begins with a comprehensive evaluation of your target renovation space. Understanding your room’s unique characteristics will help you create a stunning design that seamlessly blends functionality and aesthetic appeal.
Start by conducting a detailed spatial assessment that considers multiple critical factors. Space evaluation guidelines recommend measuring your area with precision. Key aspects to document include:
- Room dimensions (length, width, height)
- Available wall or floor surface area
- Natural and artificial lighting conditions
- Existing architectural features
- Traffic patterns and usage intensity
Your spatial assessment should also account for structural considerations. Examine surface conditions carefully - check for levelness, moisture resistance, and structural integrity. Some spaces might require additional preparation before mosaic tile installation.
Pay special attention to areas with potential moisture exposure, such as bathrooms and kitchen backsplashes. These environments demand extra scrutiny to ensure proper tile adhesion and long-term durability.
Thorough spatial assessment is the foundation of a successful mosaic tile design project.
Pro tip: Create a detailed sketch or digital measurement map of your space to guide your mosaic tile design process and minimize potential installation challenges.
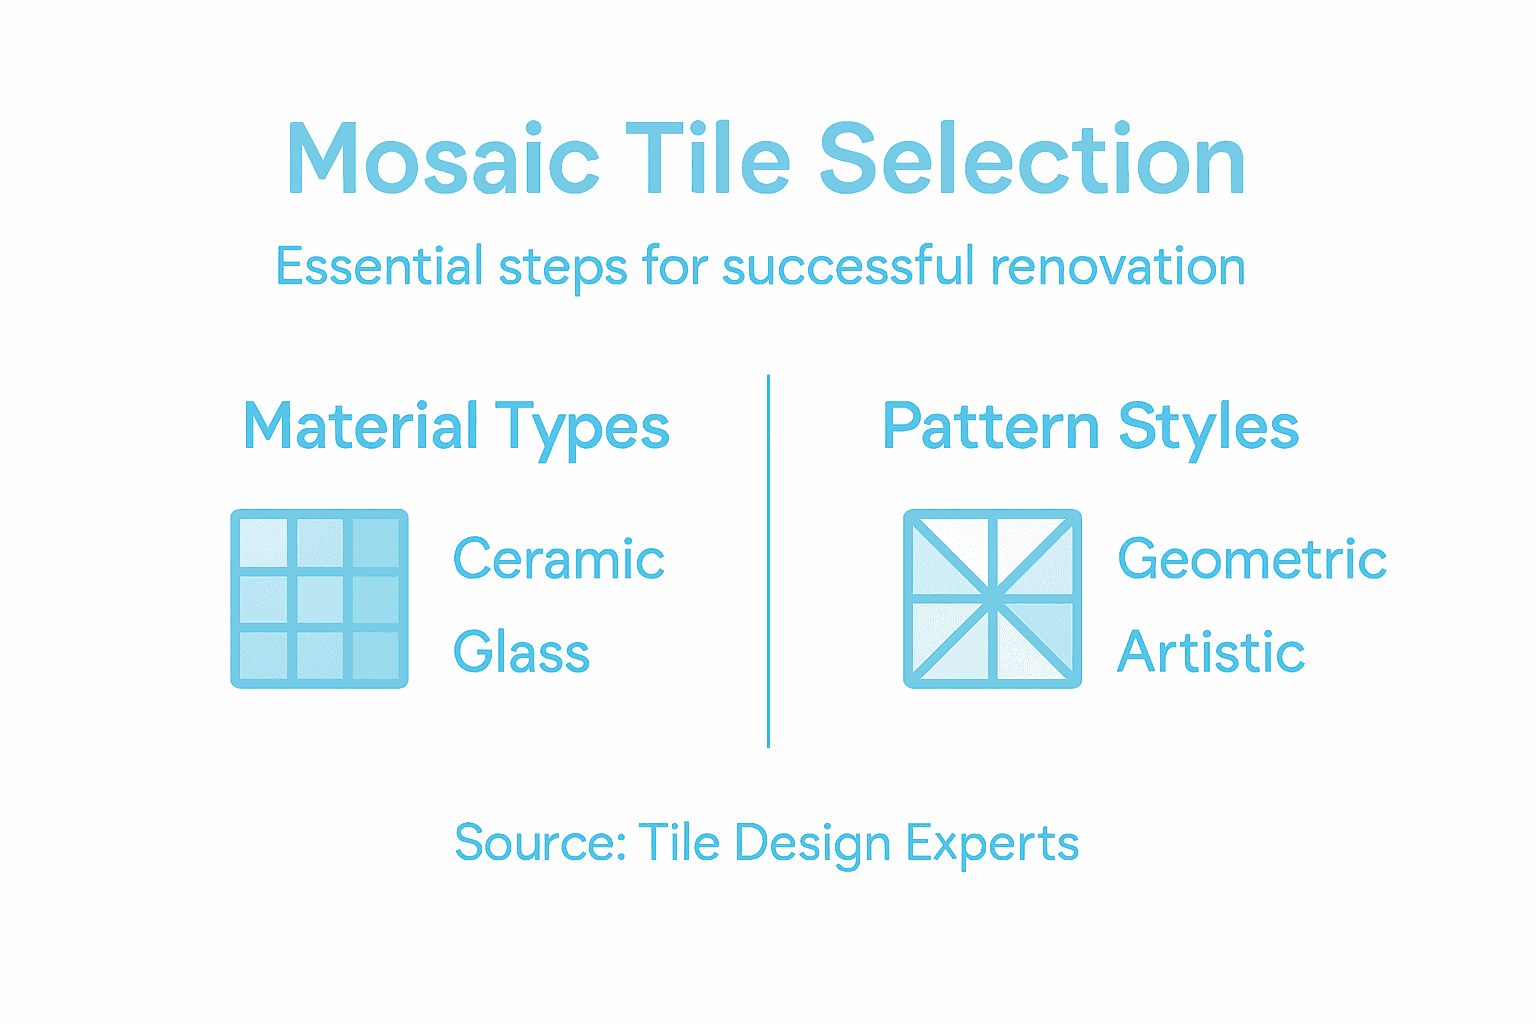
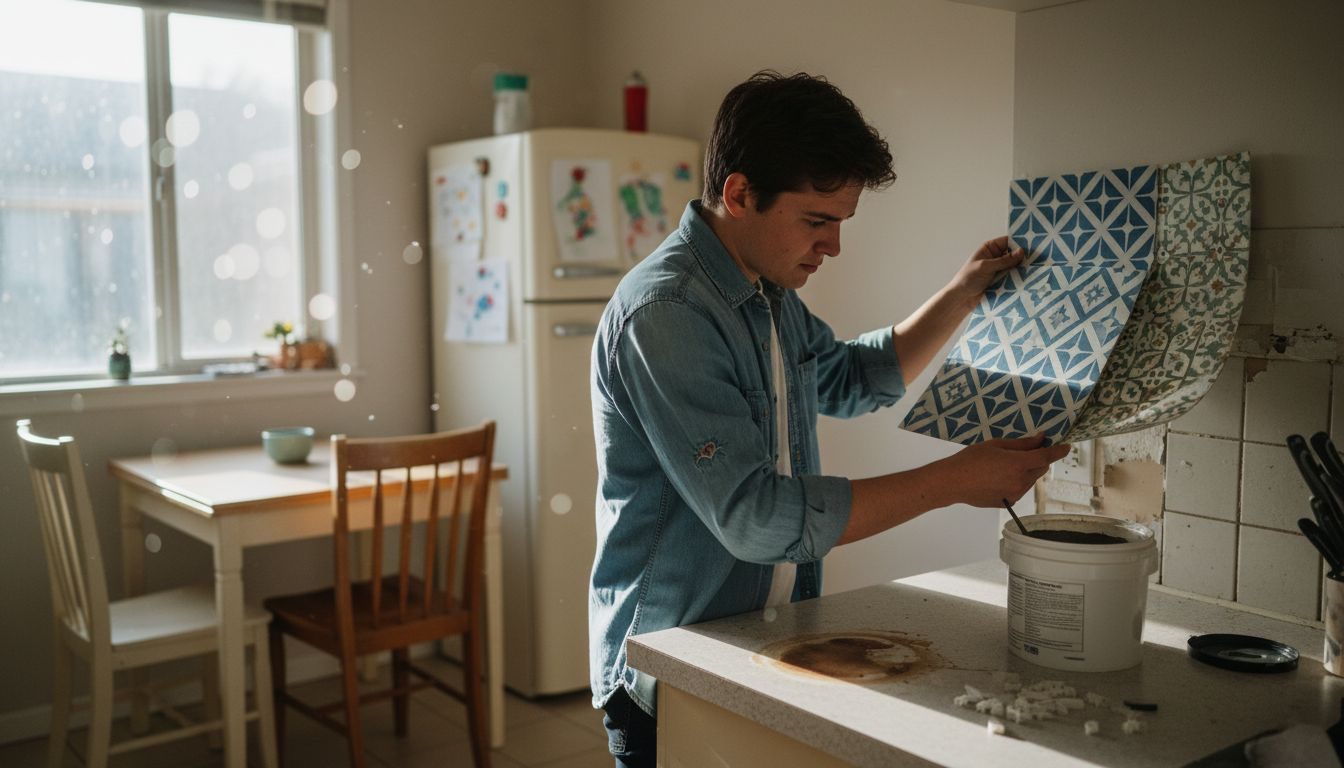
Step 2: Select the ideal mosaic tile materials and patterns
Choosing the right mosaic tile materials and patterns is crucial for creating a stunning and functional design that transforms your space. Your selection will ultimately define the aesthetic, durability, and overall performance of your renovation project.
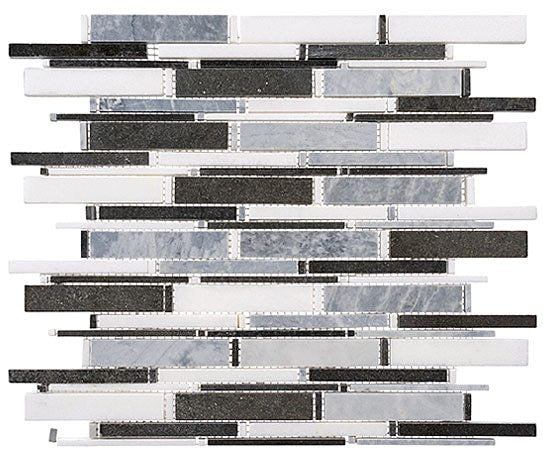
Tile selection guidelines emphasize understanding the unique properties of different tile materials. Common mosaic tile options include:
- Ceramic tiles: Budget-friendly, versatile, wide color range
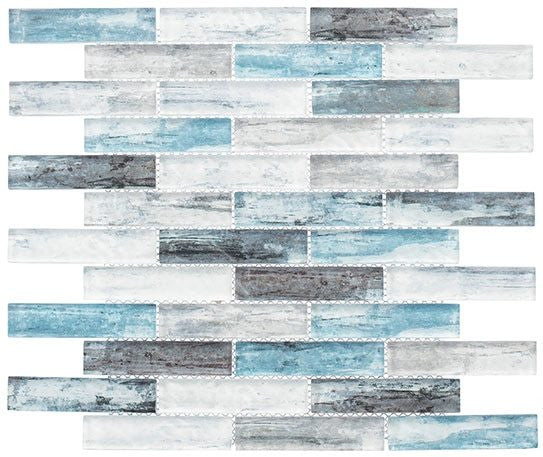
- Glass tiles: Reflective, modern, excellent for accent areas
- Natural stone tiles: Luxurious, unique textures, high-end appearance
- Porcelain tiles: Extremely durable, low maintenance, water-resistant
Consider your space’s specific requirements when selecting materials. Bathroom and kitchen areas need water-resistant options, while living spaces can prioritize aesthetic appeal. Evaluate each material’s performance characteristics carefully, including:
Here is a quick comparison of common mosaic tile materials to help select the most suitable option for your space:
| Material | Best For | Key Benefit | Typical Limitation |
|---|---|---|---|
| Ceramic | Budget projects | Wide color selection | Lower moisture resistance |
| Glass | Accents and feature walls | Reflects light, modern look | Can chip more easily |
| Natural Stone | Luxury renovations | Unique high-end appearance | Higher maintenance needs |
| Porcelain | Wet or high-traffic areas | Extreme durability, low upkeep | Fewer pattern choices |
- Moisture resistance
- Durability
- Maintenance needs
- Color and texture compatibility
- Installation complexity
Patterns play an equally important role in your mosaic design. From classic geometric arrangements to intricate artistic motifs, your chosen pattern can dramatically transform the visual impact of the space.
This table offers a summary of common mosaic patterns and their visual effects:
| Pattern Type | Visual Effect | Ideal Space |
|---|---|---|
| Geometric | Balanced, clean, orderly | Bathrooms, kitchens |
| Random/Freeform | Artistic and dynamic | Accent walls |
| Herringbone | Elegant, elongates space | Entryways |
| Classic Grid | Timeless, uniform look | Floors and backsplashes |
The right combination of material and pattern can elevate a simple renovation into a remarkable design statement.
Pro tip: Always purchase 10-15% extra tiles to account for cuts, breakage, and future repairs.
Step 3: Prepare your surface for tile installation
Prepping your surface is a critical foundation for a successful mosaic tile installation. Every detail matters when creating a stable, long-lasting surface that will showcase your beautiful new tiles.
Surface preparation standards emphasize thorough surface evaluation and treatment. Before beginning your tile project, you’ll need to complete several essential steps:
- Remove existing flooring completely
- Clean the substrate thoroughly
- Inspect for structural integrity
- Level the surface using appropriate techniques
- Address moisture concerns
Assess surface condition carefully before installation. Different surfaces require unique preparation techniques:
- Concrete surfaces need cleaning and potential grinding
- Wood subfloors require reinforcement and moisture barriers
- Existing tile might need complete removal or specialized treatment
Key preparation tasks include checking for:
- Flatness and evenness
- Structural stability
- Moisture content
- Potential underlying damage
- Compatibility with tile adhesive
Proper surface preparation is 50% of a successful tile installation project.
Pro tip: Use a long level or straightedge to identify uneven areas that need addressing before tile installation.
Step 4: Install mosaic tiles with precise alignment
Mosaic tile installation demands meticulous attention to detail and strategic planning to achieve a professional, flawless result. Your goal is to create a visually stunning surface with perfect tile placement and minimal disruptions.
Tile installation techniques emphasize systematic approaches to ensure accurate alignment. Before beginning, gather these essential tools:
- Tile spacers
- Notched trowel
- Tile adhesive
- Level
- Rubber mallet
- Tile cutter
- Measuring tape
Apply adhesive strategically using consistent techniques:
- Spread adhesive in small sections
- Use notched trowel at 45-degree angle
- Create uniform adhesive ridges
- Work in manageable areas
Key alignment strategies include:
- Start from the center of the room
- Use laser level for straight lines
- Maintain consistent spacer distances
- Check horizontal and vertical alignment frequently
- Cut border tiles precisely
Precision in tile placement determines the overall aesthetic quality of your mosaic design.
Pro tip: Dry-lay your tiles before final installation to visualize the pattern and make necessary adjustments.
Step 5: Inspect and finalize your mosaic tile project
With your mosaic tiles meticulously installed, the final stage involves a comprehensive inspection to ensure your renovation meets the highest standards of quality and craftsmanship. This critical review will validate your hard work and provide an opportunity to address any potential imperfections.
Project inspection guidelines recommend a systematic approach to evaluating your tile installation. Conduct a thorough examination using these key criteria:
- Check tile alignment for consistency
- Verify grout lines are even and uniform
- Inspect for surface smoothness
- Test tile adhesion by gently pressing tiles
- Look for any visible damage or chips
- Assess overall design aesthetic
Pay special attention to these critical areas during your final inspection:
- Edges and border tiles
- High-traffic zones
- Moisture-prone sections
- Complex pattern intersections
- Overall color and pattern harmony
Clean and seal the surface to protect your new mosaic design. This final step will enhance durability and maintain the tiles’ aesthetic appeal.
A meticulous final inspection transforms a good tile project into an exceptional one.
Pro tip: Take high-resolution photos of your completed project from multiple angles to document your craftsmanship and help with future maintenance.
Transform Your Mosaic Tile Design Vision Into Reality
Designing with mosaic tiles can be overwhelming when faced with selecting the right materials, patterns, and ensuring precise installation for a stunning finish. The challenges of assessing your space, choosing durable and beautiful tiles that withstand moisture, and achieving flawless alignment demand reliable solutions and expert resources. At TileChoices.com, we understand these critical pain points and offer a vast collection of high-quality ceramic, glass, porcelain, and natural stone mosaic tiles that perfectly balance style and function.
Explore our curated selections to find tiles that match your vision and meet the performance needs outlined in your design process. With detailed product descriptions, images, and customer support, you can confidently prepare, select, and install with professional-grade materials. Don’t wait until your renovation hits a snag due to material uncertainty or availability. Visit TileChoices.com now to unlock the benefits of a comprehensive mosaic tile resource tailored just for your project needs. Start planning your flawless tile installation today by browsing our full collection at TileChoices.com and turn your stunning renovation dreams into a lasting reality.