Floor tile removal sounds simple, but even a small project can send dust soaring and reveal serious risks. OSHA points out that skipping proper safety gear and preparation can lead to costly mistakes or health hazards. Whether you want smoother floors for a remodel or peace of mind, getting each step right sets the foundation for flawless new floors. This step-by-step guide will help you handle tools, protect your health, and clear away old tiles without worry.
Table of Contents
- Step 1: Gather Essential Tools And Protective Gear
- Step 2: Prepare The Floor Area For Tile Removal
- Step 3: Loosen And Lift Existing Floor Tiles
- Step 4: Remove Adhesive And Clean The Subfloor
- Step 5: Inspect And Repair The Subfloor Surface
Quick Summary
| Key Point | Explanation |
|---|---|
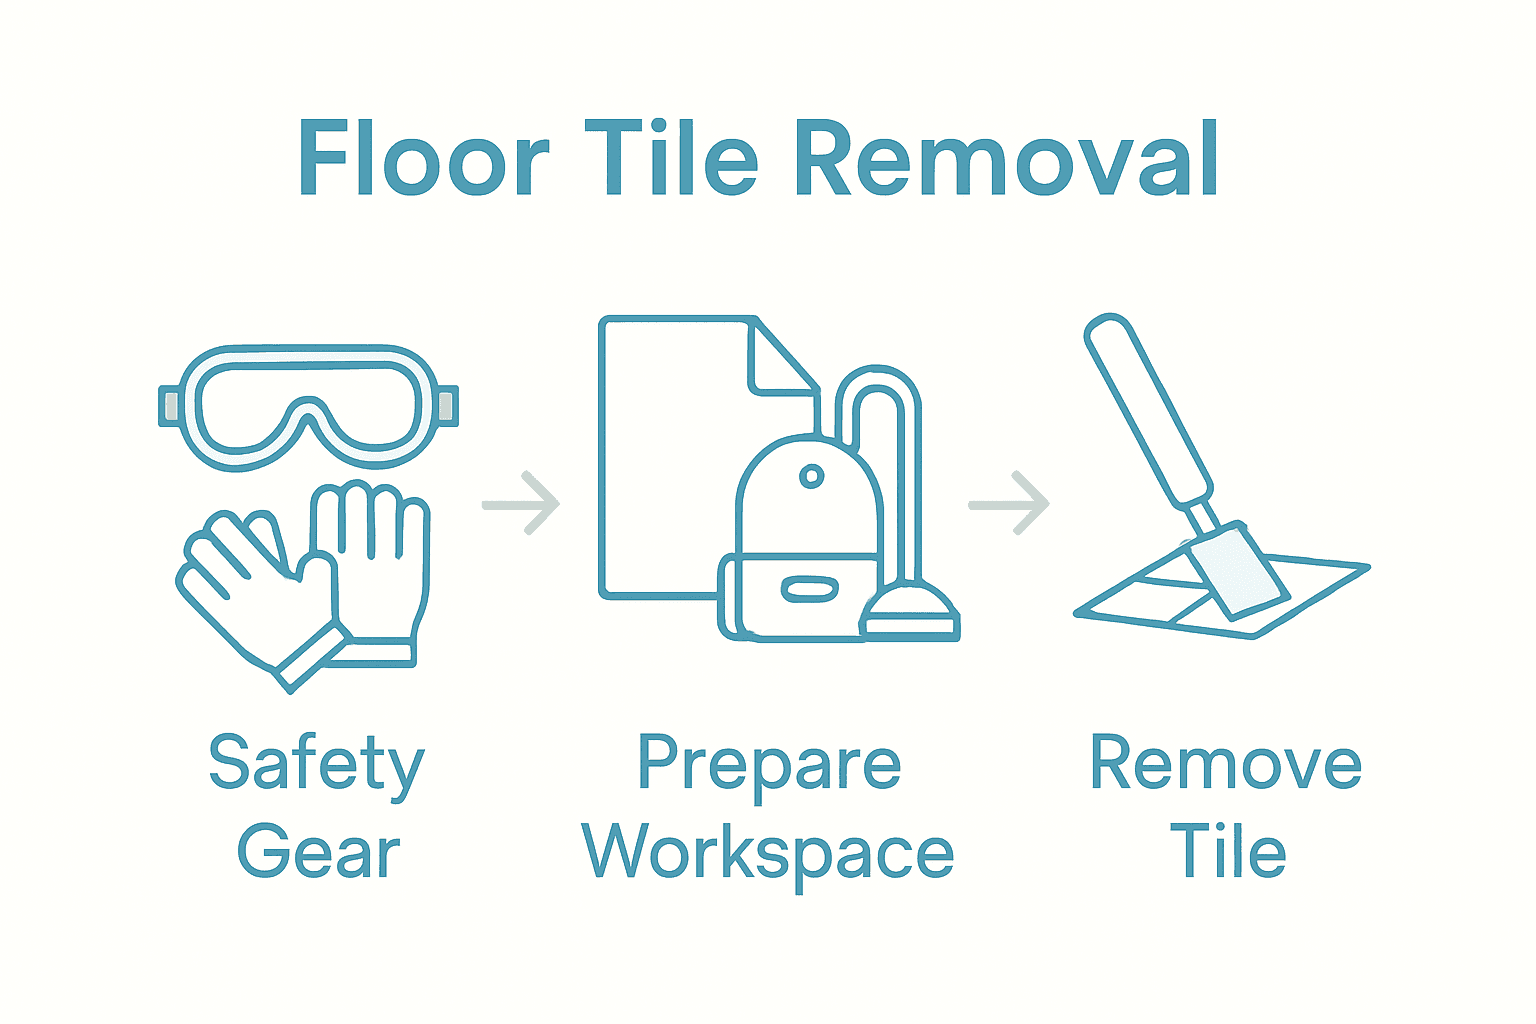
| 1. Gather safety gear before starting | Equip yourself with gloves, safety glasses, and respirators to protect against hazards like asbestos and dust exposure. |
| 2. Prepare workspace properly | Clear objects and seal areas with plastic to control dust and maintain a safe working environment during tile removal. |
| 3. Remove tiles systematically | Start at a corner, use a scraper, and apply heat if necessary to safely loosen and remove each tile without damaging the subfloor. |
| 4. Clean adhesive thoroughly | Use a floor scraper and wet mopping to remove adhesive residue, ensuring a smooth surface for new flooring installation. |
| 5. Inspect and repair subfloor condition | Check for damage or unevenness in the subfloor; repair as needed to ensure a stable foundation for the new tiles. |
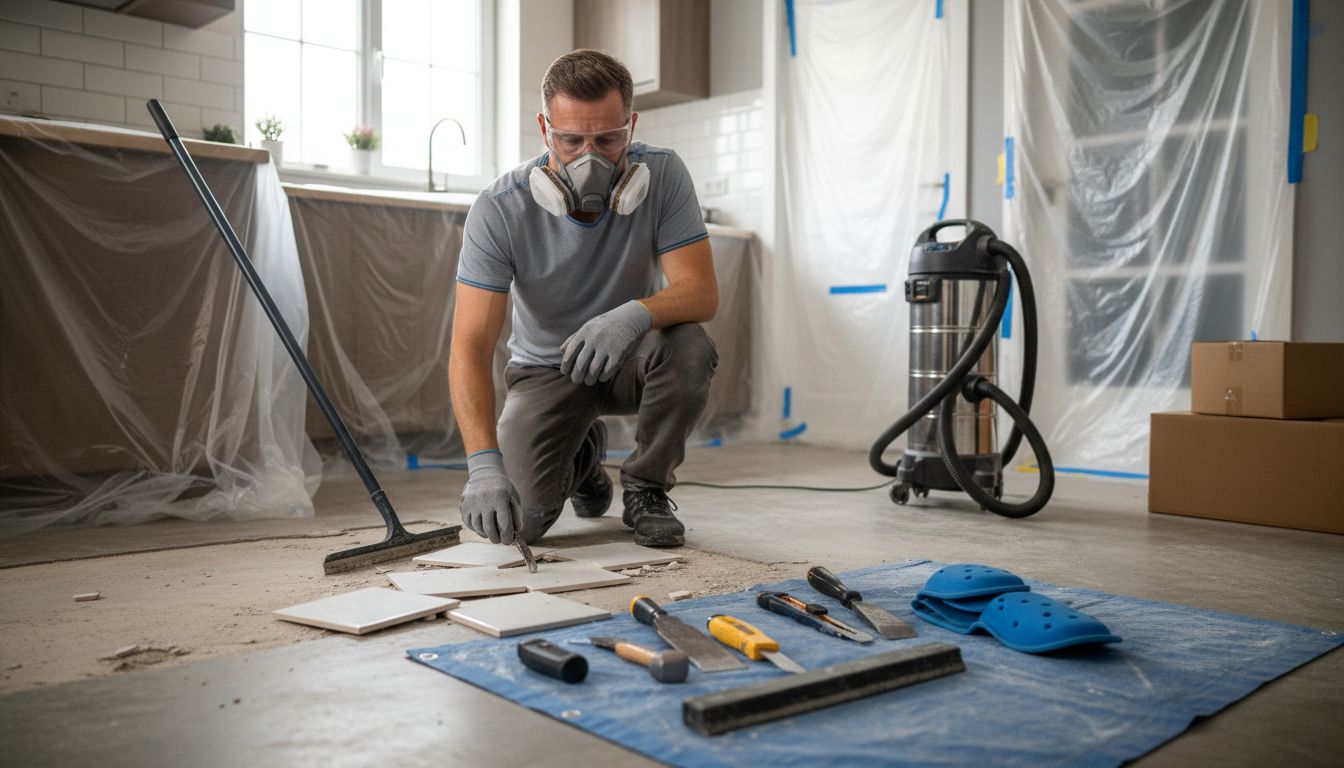
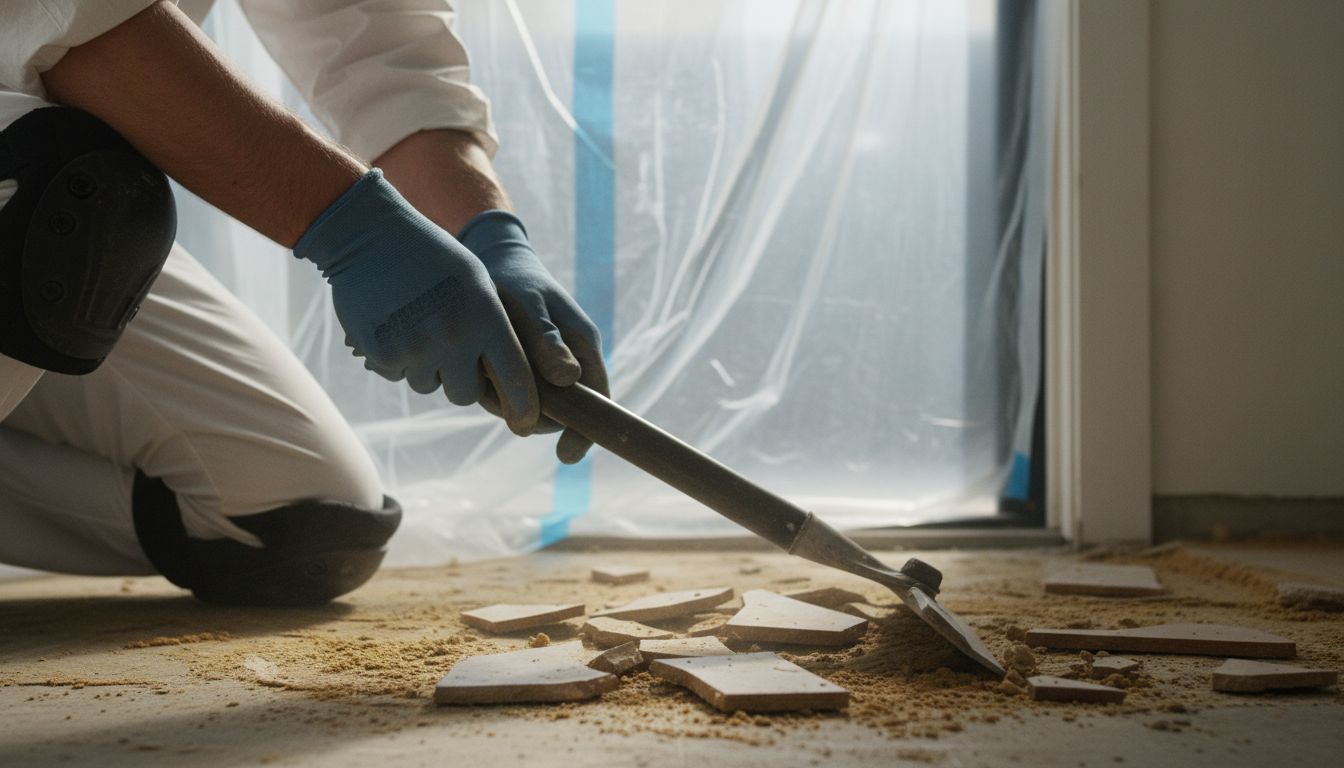
Step 1: Gather Essential Tools and Protective Gear
Before diving into tile removal, you need a strategic arsenal of tools and safety equipment. According to OSHA, proper protective gear is crucial when removing floor tiles to prevent potential health risks.
Your essential toolkit will include several key items. For tools, gather a robust floor scraper, a sturdy pry bar, utility knife, hammer, chisel, work gloves, safety glasses, and knee pads. From a safety perspective, OSHA recommends NIOSH-approved respirators, disposable coveralls, and eye protection especially if you suspect older tiles might contain hazardous materials like asbestos.
A pro tip from professionals: always check the condition and age of your existing tiles before starting. Older tiles installed before the 1980s might contain asbestos, which requires specialized removal procedures. Wear your respirator, long sleeves, and protective eyewear regardless of tile age to minimize potential dust exposure. With your tools and gear ready, you are now prepared to start the tile removal process safely and efficiently.
Ready to move on? Let’s talk about preparing your workspace in the next step.
Step 2: Prepare the Floor Area for Tile Removal
Before you start removing tiles, creating a clean and safe workspace is crucial. According to Tennessee Department of Transportation, proper area preparation involves sealing off the workspace and ensuring proper ventilation to prevent potential hazards.
Start by clearing the room completely. Remove furniture, rugs, and any movable objects to create an unobstructed workspace. Cover all adjacent areas and doorways with plastic sheeting and secure them with painter’s tape to prevent dust from spreading. As recommended by OSHA, use a HEPA vacuum to thoroughly clean the floor surface before beginning tile removal, which helps minimize dust and debris. Learn more about tile installation preparation in our comprehensive guide on tile subfloor preparation.
A critical pro tip: check your electrical outlets and baseboards. Cover them with painter’s tape and plastic to protect them from potential damage during the tile removal process. Ensure good ventilation by opening windows or using fans to help manage dust and keep the workspace comfortable. With your area prepped and protected, you are now ready to start the actual tile removal process.
Up next? Let’s discuss the initial steps of breaking up and removing those old tiles.
Step 3: Loosen and Lift Existing Floor Tiles
Now comes the challenging part of physically removing your old floor tiles. According to OSHA, the key is to approach tile removal systematically and carefully, using a stiff-bladed scraper and potentially applying heat to soften stubborn adhesive.
Begin at one corner of the room, preferably near a wall where tiles are typically less secured. Take your floor scraper and wedge it firmly underneath a tile at a 45-degree angle. As recommended by the Tennessee Department of Transportation, if the tile does not immediately release, gently strike the scraper with a rubber mallet to help break the adhesive bond. Work slowly and methodically, applying consistent but controlled pressure to prevent damaging the subfloor beneath. Explore our comprehensive guide on understanding tile underlayment for insights into protecting your subfloor.
A critical pro tip: work in small sections and take breaks to prevent fatigue. If you encounter tiles that are particularly stubborn, consider using a heat gun to warm the adhesive slightly, making removal easier. Always wear your protective gear and move systematically to ensure a clean, even removal process. Remember that patience is key when lifting floor tiles.
Ready to move to the next stage? Let’s discuss managing the debris and preparing for new flooring.
Step 4: Remove Adhesive and Clean the Subfloor
With the tiles removed, the next critical phase is tackling the stubborn adhesive residue left behind. According to OSHA, the key to successful adhesive removal is using a stiff-bladed floor scraper and carefully wetting the surface to help loosen the remaining material.
Begin by using your floor scraper at a 45-degree angle to systematically remove as much adhesive backing as possible. As recommended by the Tennessee Department of Transportation, follow up the scraping process with repeated wet mopping using an approved solvent. This approach helps break down any remaining adhesive and prepares your subfloor for its next covering. Check out our guide on understanding tile underlayment to ensure your subfloor is properly prepared.
A critical pro tip: work in small, manageable sections and change your scraper blade frequently to maintain optimal scraping efficiency. Be patient and thorough, as any remaining adhesive can create an uneven surface for new flooring. If you encounter particularly stubborn adhesive patches, consider using a heat gun to soften the material before scraping. Always wear protective gloves and ensure good ventilation during this process.
Ready for the final preparation steps? Next, we will assess the subfloor condition and address any potential issues before installing new flooring.
Step 5: Inspect and Repair the Subfloor Surface
With the adhesive removed, it is time to thoroughly examine your subfloor for any potential damage or irregularities. According to the Ceramic Tile Education Foundation, ensuring your subfloor is completely flat and free of defects is crucial for a successful tile installation.
Begin by conducting a comprehensive visual and physical inspection. Use a long straight edge or level to check for unevenness across the entire surface. Look for signs of water damage, rot, warping, or structural issues. Small cracks or slight imperfections can be addressed using floor leveling compound, which will help create a smooth foundation. For more significant damage, you may need to replace sections of the subfloor entirely. Learn more about preparing your subfloor with our comprehensive underlayment guide.
A critical pro tip: pay special attention to areas around plumbing or previous water sources. Moisture damage might not be immediately visible but can compromise your new tile installation. If you discover any soft spots or signs of potential water intrusion, consider consulting a professional before proceeding. Take your time with this inspection the quality of your final tile installation depends on the condition of the subfloor beneath.
Ready to move forward? Next, we will discuss the final preparation steps before laying your new tiles.
Ready to Transform Your Space After Removing Old Tiles
Removing old floor tiles can be tough and exhausting. From managing stubborn adhesive to inspecting and repairing your subfloor, the process demands patience, the right tools, and a clear plan to achieve a smooth surface ready for fresh, beautiful tile. If you have completed these critical steps and now need stylish, durable, and high-quality tile options, TileChoices.com is here to help.
Explore our extensive selection of ceramic, porcelain, glass, natural stone, and metal tiles specially curated for any room or design vision. Whether you want to revive your kitchen backsplash, bathroom floor, or a whole new flooring project, our site offers detailed product descriptions, images, and samples to guide your decision. Don’t let all your hard work go to waste with low-quality materials. Visit TileChoices.com now to find your perfect tiles and turn your renovation project into the stunning space you deserve. Start browsing today and take the next step towards a gorgeous, lasting finish.