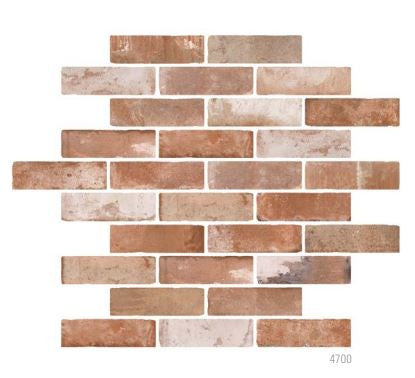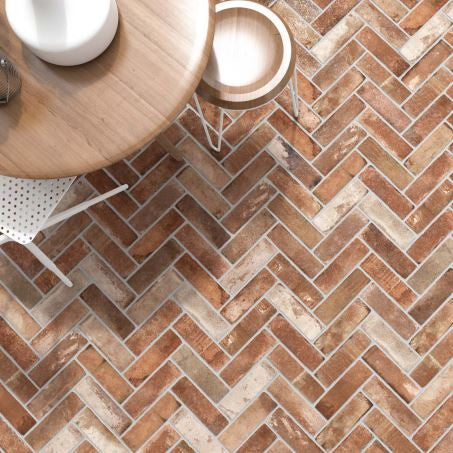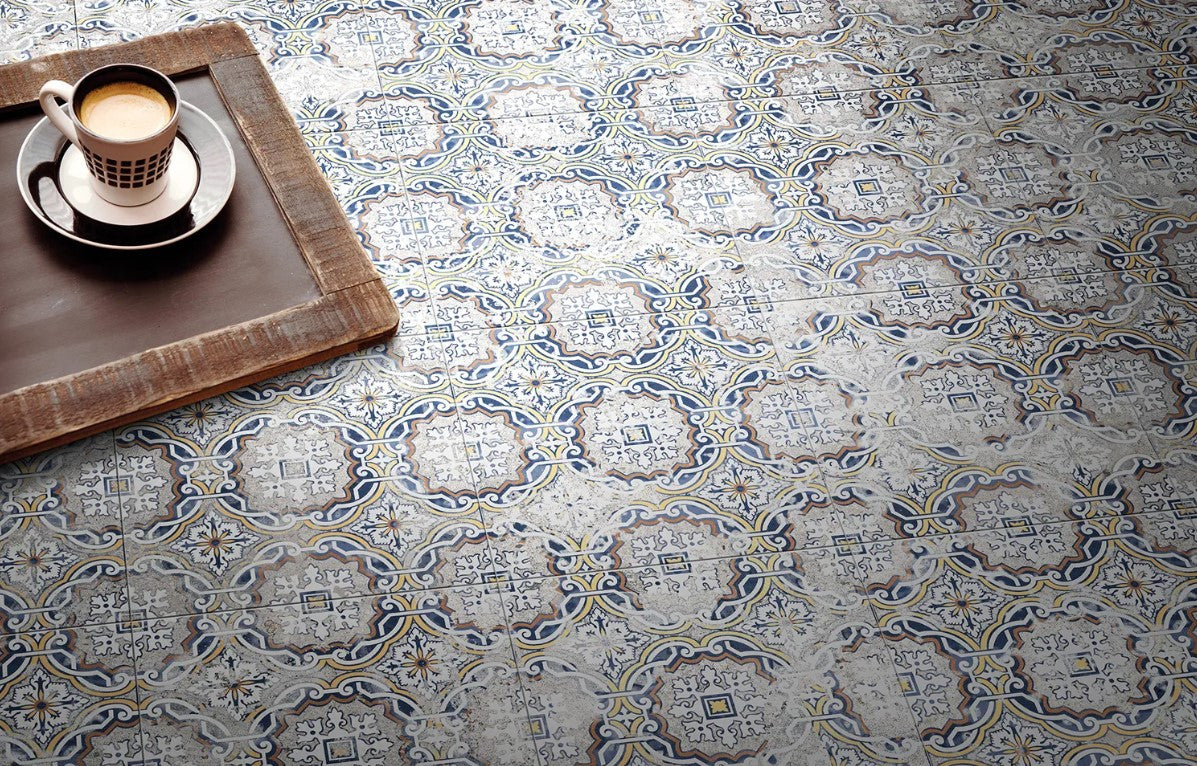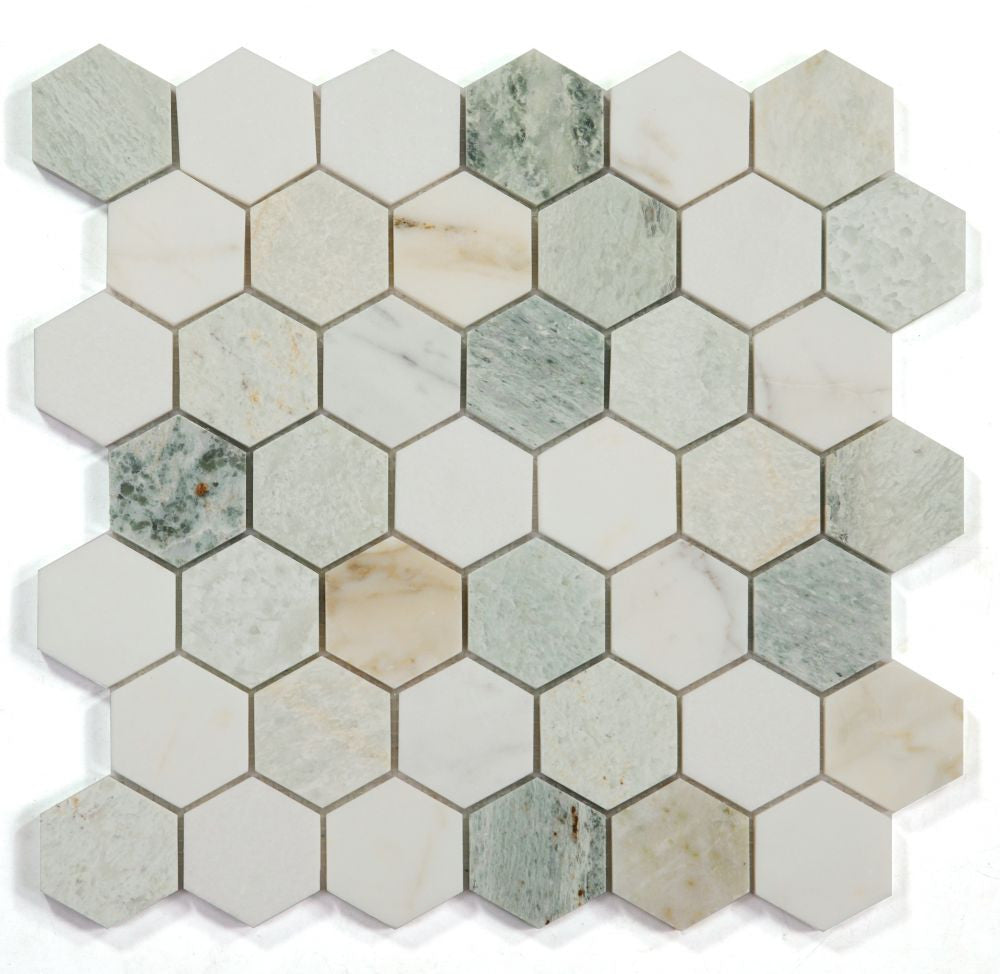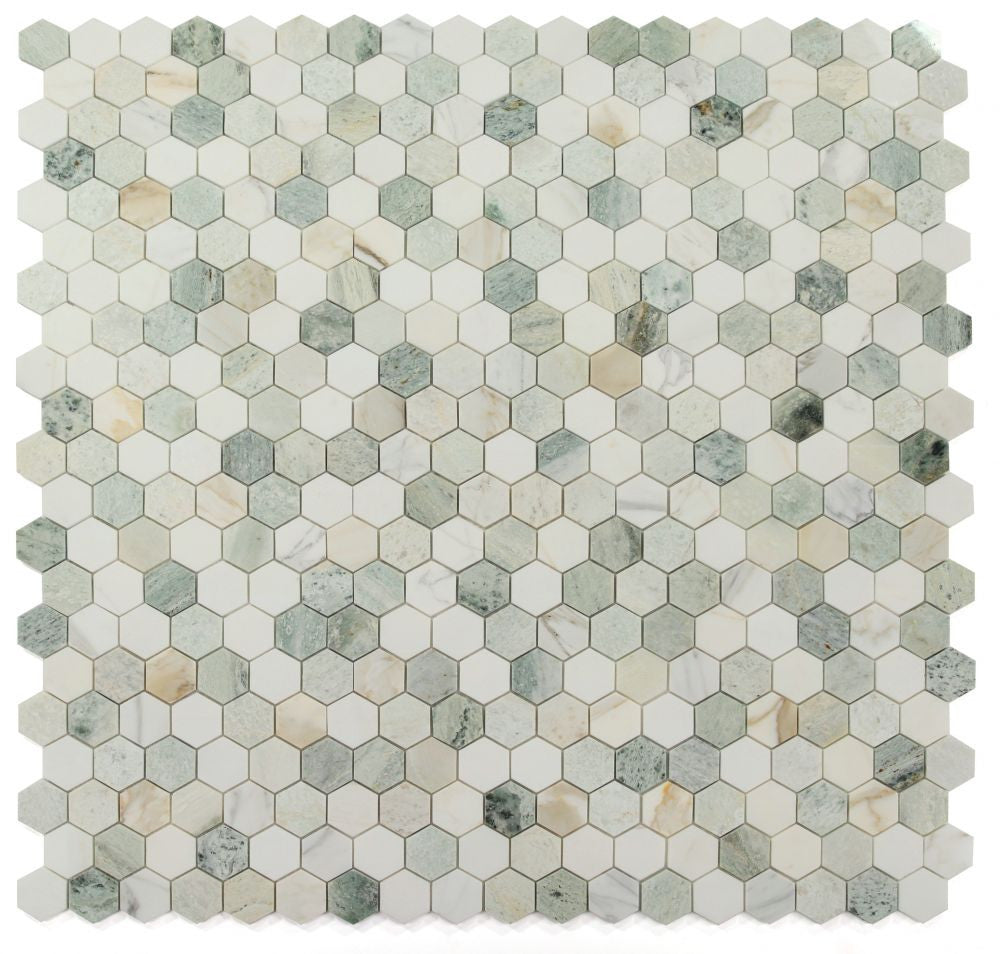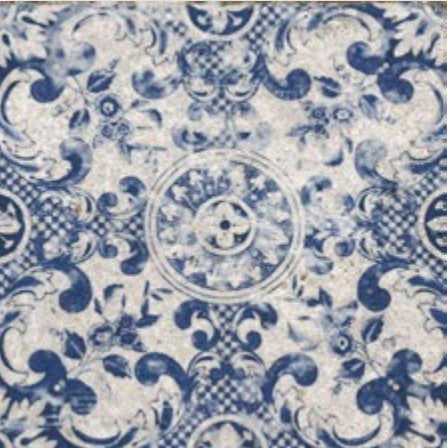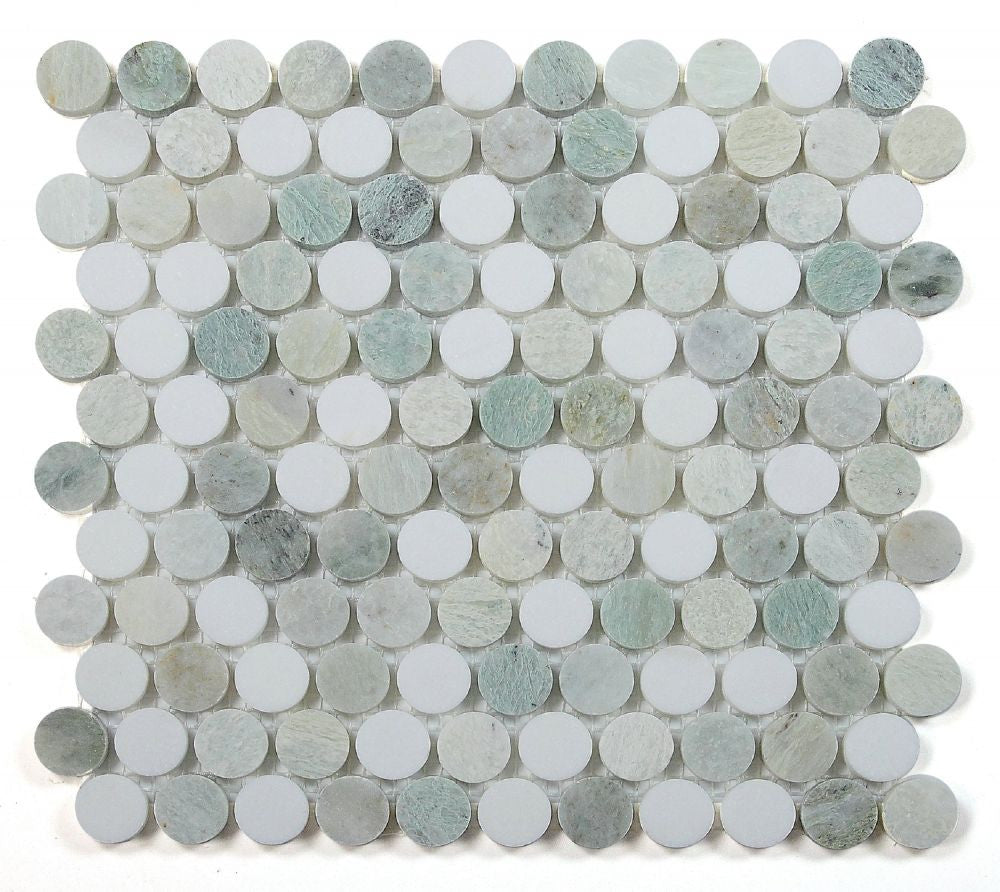
Natural stone tiles bring warmth and elegance to any space, yet nearly 70 percent of homeowners unknowingly damage them with improper cleaning products. Preserving their beauty demands a gentle approach and the right supplies. The difference between dull, lifeless tiles and a lasting polished shine comes down to simple techniques and thoughtful choices that protect rather than harm your stone surfaces.
Quick Summary
| Key Point | Explanation |
|---|---|
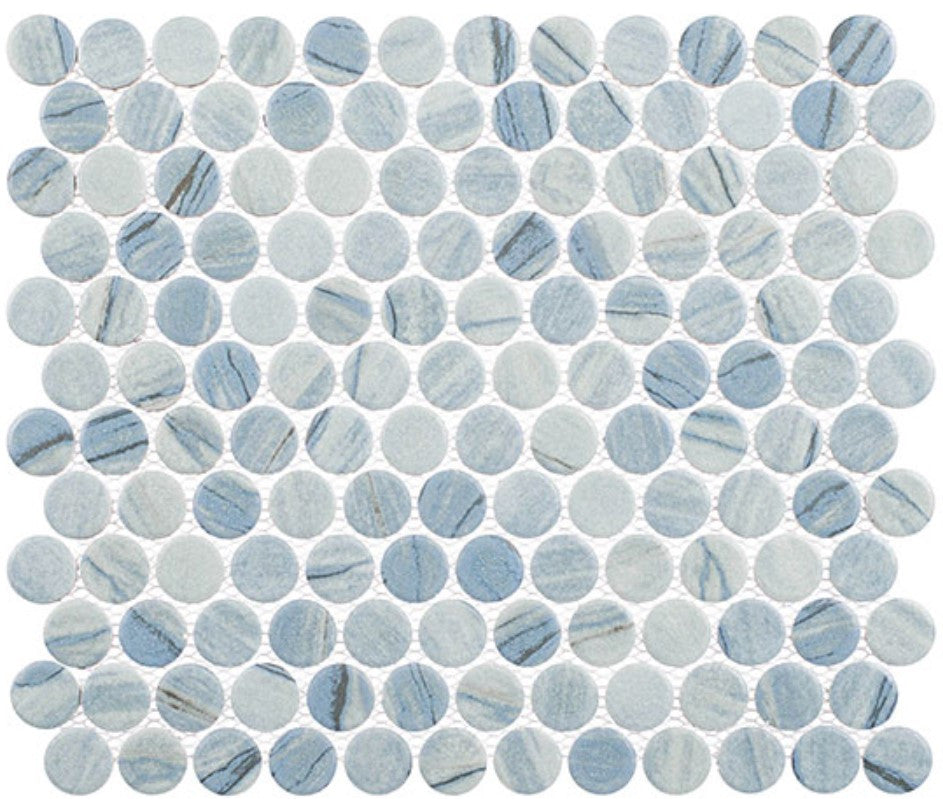
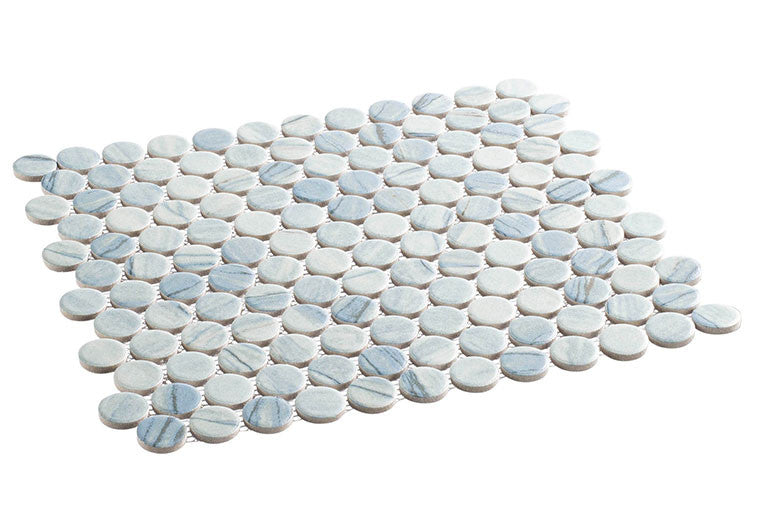
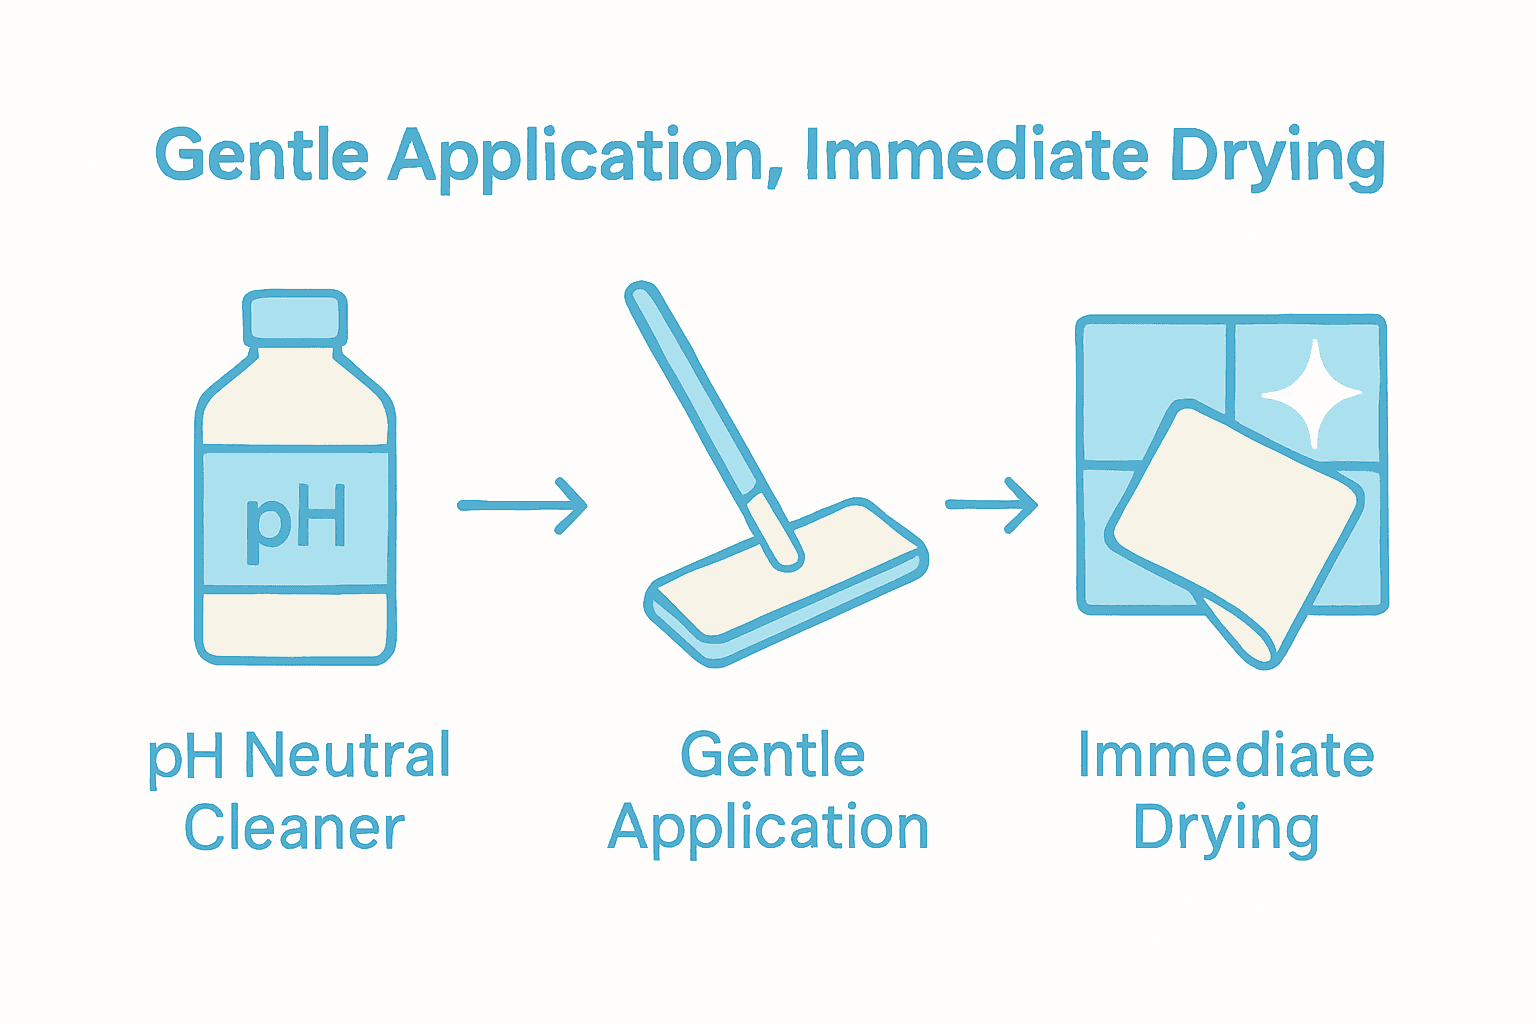
| 1. Gather proper cleaning supplies | Use soft brooms, pH neutral cleaners, and microfiber cloths to protect tiles. |
| 2. Remove dust and debris thoroughly | Sweep and vacuum to eliminate particles that can scratch surfaces. |
| 3. Apply cleaning solution with care | Use a damp mop with a suitable pH neutral cleaner to avoid damaging tiles. |
| 4. Rinse tiles properly | Thoroughly rinse with clean water to avoid residue and stains from cleaning agents. |
| 5. Inspect and dry tiles immediately | Ensure surfaces are fully dried to prevent water spots and maintain shine. |
Table of Contents
- Step 1: Gather Suitable Supplies for Cleaning Natural Stone Tiles
- Step 2: Remove Surface Debris and Dust Thoroughly
- Step 3: Apply Cleaning Solution Safely to Tile Surface
- Step 4: Scrub and Rinse Natural Stone Tiles Effectively
- Step 5: Inspect for Residue and Ensure Proper Drying
Step 1: Gather Suitable Supplies for Cleaning Natural Stone Tiles
Before diving into the cleaning process, you want to make sure you have all the right tools and cleaning solutions to protect and maintain your beautiful natural stone tiles. Think of this step as assembling your cleaning arsenal. Your goal is simple: gather supplies that will clean effectively without causing any damage.
Start by collecting soft cleaning tools that won’t scratch your delicate stone surfaces. According to Stone Tile Company, you’ll want a soft bristle broom or dust mop for initial sweeping. A vacuum with a soft brush attachment also works perfectly for removing loose dirt and debris.
For your cleaning solution, the key is finding a pH neutral cleaner specifically designed for natural stone. Layor Care strongly recommends avoiding acidic cleaners like vinegar or lemon juice that can etch or damage your tiles. Instead, invest in a specialized stone tile cleaner that will safely remove dirt while preserving your tile’s natural beauty.
Pro Tip: Always test your cleaning solution on a small, inconspicuous area first to ensure it doesn’t cause discoloration or damage.
In addition to your broom and specialized cleaner, gather some soft microfiber cloths or a soft mop for application and drying. These will help you clean and dry your tiles without risking scratches or streaks. Warm water will also be your friend during this process.
With these supplies ready, you’re prepared to move forward and give your natural stone tiles the gentle yet thorough cleaning they deserve. Next up? Prepping the surface and starting the actual cleaning process.
Here’s a summary of essential cleaning supplies for natural stone tiles:
| Supply Type | Recommended Options | Purpose |
|---|---|---|
| Sweeping Tools | Soft bristle broom Dust mop Vacuum with soft brush |
Remove loose dirt and debris |
| Cleaning Solutions | pH neutral stone cleaner Mild dish soap (no acids) |
Safely clean without damage |
| Application Cloths | Soft microfiber cloths Soft mop |
Clean and dry tiles gently |
| Water | Warm water Distilled or boiled (for rinsing) |
Clean, rinse, and prevent spots |
| Drying Towels | Soft microfiber towel Cotton or synthetic cloth |
Absorb moisture and polish surface |
Step 2: Remove Surface Debris and Dust Thoroughly
Before applying any cleaning solution, you need to clear away loose dirt and debris that could potentially scratch your beautiful natural stone tiles. Think of this step as creating a clean canvas for your deeper cleaning process. Your mission is to remove every speck of dust and grit without causing any damage to the delicate stone surface.
According to Stone Tile Company, start by sweeping with a soft broom or dust mop. Glide the soft bristles gently across the surface using smooth sweeping motions. This initial pass will help remove larger particles of dirt and debris that could potentially scratch your tiles during more intensive cleaning.
Next, grab your vacuum cleaner with a soft brush attachment. Set the vacuum to its lowest power setting to prevent any aggressive suction that might damage the stone. Layor Care recommends using this method especially for textured surfaces and grout lines where fine particles tend to accumulate.
Pro Tip: Work systematically across the entire surface moving in one consistent direction to ensure you don’t miss any spots.
Pay extra attention to corners, edges, and grout lines where dust and debris love to hide. Use your soft brush attachment to gently dislodge any stubborn particles without applying too much pressure.
 For outdoor stone surfaces, you might want to periodically flush the area with clean water to remove additional contaminants.
With your surface now free of loose dirt and dust, you’re ready to move on to the next stage of your stone tile cleaning process. Your tiles are primed and prepared for a deeper clean that will restore their natural shine and beauty.
Step 3: Apply Cleaning Solution Safely to Tile Surface
Now that your natural stone tiles are free of dust and debris, it is time to apply a cleaning solution that will gently restore their shine without causing any damage. Your goal is to clean thoroughly while preserving the delicate surface of your beautiful stone tiles.
According to Rock Stone, you want to create a gentle cleaning solution using warm water and a mild pH neutral cleaner. Avoid any harsh chemicals like citrus cleaners, vinegar, or alcohol based products that could potentially etch or degrade your stone tiles. Instead, choose a specialized stone tile cleaner or a mild dish soap that does not contain acidic ingredients.
Stone Tile Company recommends being cautious with water volume. You want your mop or cleaning cloth to be damp not soaking wet. Too much water can seep into grout lines or potentially damage the stone’s protective sealant.
Pro Tip: Always mix your cleaning solution in a clean bucket and work in small sections to prevent the solution from drying on the surface before you can wipe it clean.
Apply the cleaning solution using a soft microfiber mop or cloth. Move in gentle circular motions, covering each tile and grout line carefully. Work systematically across the surface to ensure you clean every area evenly. If you notice any particularly stubborn spots, allow the solution to sit briefly before wiping clean find out more about grout maintenance in our helpful guide on cleaning grout.
With your cleaning solution applied and tiles looking refreshed, you are ready to move on to the final stage of your stone tile cleaning process.
 The next step will help you achieve that spotless shine you are looking for.
Step 4: Scrub and Rinse Natural Stone Tiles Effectively
With your cleaning solution applied, it is time to gently lift away dirt and grime without damaging your precious natural stone tiles. This step requires a delicate touch and careful technique to ensure your tiles look pristine without risking surface damage.
According to Rock Stone, use a soft mop or microfiber cloth and work in gentle circular motions. These circular movements help lift stuck on debris without scratching the stone surface. Imagine you are massaging the tile rather than scrubbing aggressively. The goal is to let the cleaning solution do most of the work while you guide it softly across the surface.
Stone Tile Company emphasizes the importance of thorough rinsing. After mopping, rinse your tiles completely with clean water to remove any lingering cleaning solution. For best results, use distilled or boiled water to prevent mineral deposits that could leave unsightly marks on your beautiful stone tiles.
Pro Tip: Always rinse and dry your tiles immediately to prevent water spots and potential staining.
Drying is just as crucial as cleaning. Use a soft microfiber towel to absorb excess water and prevent pooling. Work methodically across the surface to ensure no water is left behind. If you want to protect your tiles further learn more about maintaining tile surfaces, consider how proper drying techniques contribute to long term tile preservation.
With your tiles now cleaned, rinsed, and dried, you are just steps away from achieving that professional level shine you have been working towards.
Step 5: Inspect for Residue and Ensure Proper Drying
You are now entering the final stage of your natural stone tile cleaning process. This critical step ensures your tiles not only look clean but remain protected from potential water damage or unsightly residue marks. Your mission is to carefully inspect and completely dry the surface.
According to Rock Stone, drying is more than just a quick wipe down. Use a soft cotton or synthetic cloth to thoroughly remove all moisture. Work systematically across each tile, paying special attention to areas that might retain water like grout lines and tile seams.
Stone Tile Company recommends being meticulous during the drying process. Water spots can quickly transform your pristine tiles into a streaky mess. Move your soft cloth in consistent motions, absorbing every droplet of moisture. Think of this as buffing your tiles to a perfect finish.
Pro Tip: Use a clean white cloth to help you spot any remaining dirt or cleaning solution residue more easily.
Inspect your tiles from different angles and lighting conditions. Natural light can reveal water spots or missed cleaning areas that might not be obvious under standard indoor lighting. Run your hand gently over the surface to feel for any remaining dampness or sticky residue.
Once you are satisfied with the cleanliness and dryness of your tiles, take a moment to admire your work. Discover more about maintaining your tile surfaces to keep them looking pristine for years to come.
Take the Next Step to Beautiful, Damage-Free Natural Stone Tiles
Tired of worrying about stains, water spots, or scratches every time you clean your natural stone tiles? This guide shows you how gentle tools, pH-neutral cleaners, and the right technique can protect your investment and restore a flawless finish. At TileChoices.com, we understand the struggle to maintain both the appearance and durability of your tiles—especially when improper care leads to dullness, etching, or lasting damage. Imagine never second guessing if your cleaning routine is doing more harm than good.

Do not let a simple mistake compromise your stone’s natural beauty. Explore expert advice, explore trending maintenance solutions, and find the perfect products for every stage of your project at TileChoices.com. For more hands-on tips, check out our in-depth guide on how to clean grout, or discover crucial secrets to waterproofing bathroom tiles. Everything you need for worry-free, spotless tiles is just a click away—start shopping or learning today and safeguard the beauty of your space.
Frequently Asked Questions
What supplies do I need for cleaning natural stone tiles?
To clean natural stone tiles effectively, gather soft cleaning tools such as a soft bristle broom, dust mop, and vacuum with a soft brush attachment. Additionally, use a pH neutral cleaner and soft microfiber cloths to ensure gentle cleaning.
How do I remove dust and debris from natural stone tiles before cleaning?
Start by sweeping the tiles with a soft broom or dust mop to lift loose dirt and debris. Follow this by using a vacuum cleaner with a soft brush attachment to reach textured surfaces and grout lines.
What type of cleaning solution should I use for natural stone tiles?
Use a mild, pH neutral cleaner specifically designed for natural stone tiles to avoid etching. Mix your cleaning solution with warm water in a clean bucket and work in small sections for best results.
How do I scrub and rinse natural stone tiles after applying a cleaning solution?
Gently scrub the tiles in circular motions using a soft mop or microfiber cloth to lift dirt without scratching. Afterward, rinse thoroughly with clean water to remove any leftover cleaning solution, ensuring no residue remains.
What should I do to prevent water spots on my natural stone tiles after cleaning?
Immediately dry the tiles using a soft microfiber towel to absorb excess moisture, paying close attention to grout lines. Work methodically to ensure no water is left behind, which helps prevent water spots from forming.
How can I check if my natural stone tiles are properly cleaned and dried?
Inspect your tiles from different angles and lighting conditions to spot any remaining dirt or moisture. Feel the surface with your hand; any sticky residue or dampness indicates that additional drying is needed.