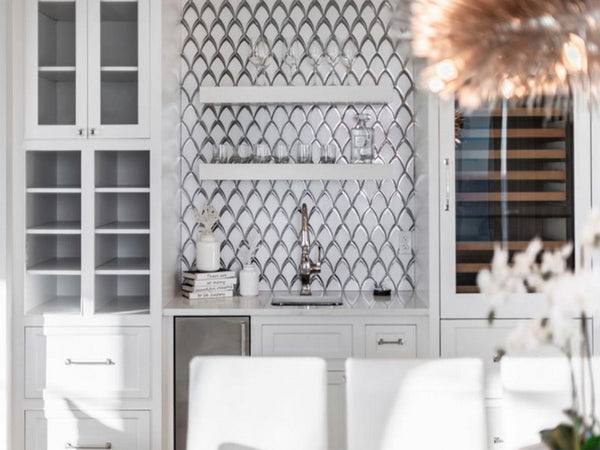
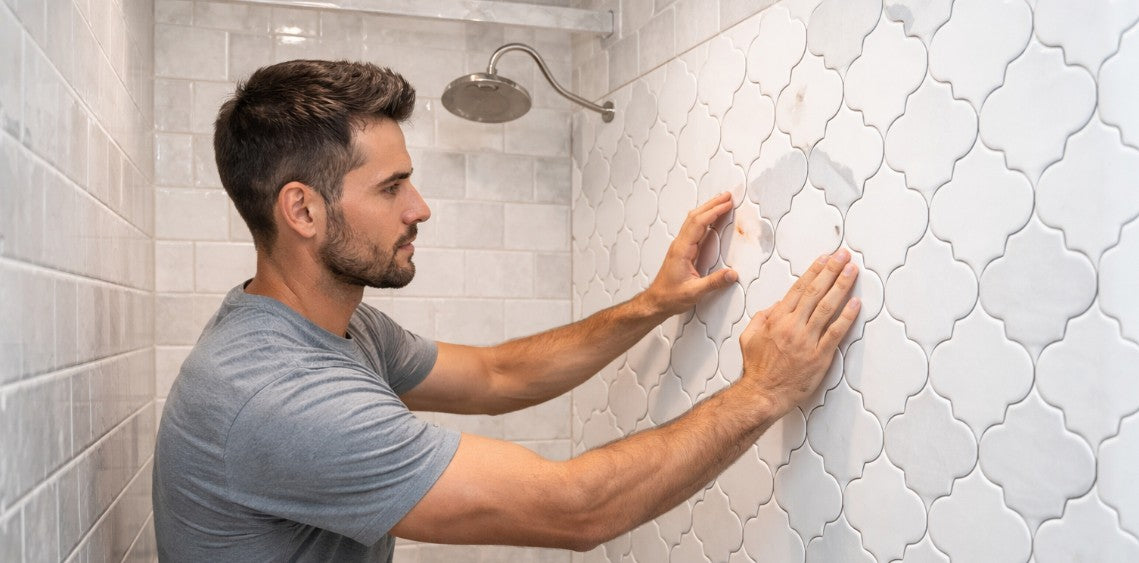
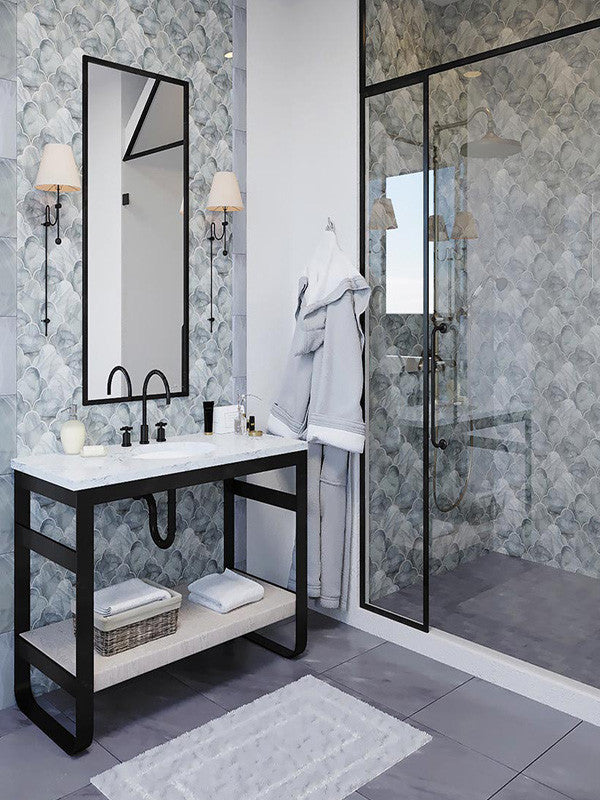
Installing arabesque tile can transform your kitchen or bathroom into a high-end, designer space—but because of its curved, interlocking shape, it requires more precision than standard tile. The good news? With the right preparation, tools, and techniques, you can achieve a flawless installation that looks professional and lasts for years.
In this complete guide, you’ll learn exactly how to install arabesque tile step-by-step, along with expert tips to avoid common mistakes and ensure perfect alignment.
Table of Contents
- Tools & Materials Needed
- Surface Preparation
- Step 1: Dry Layout (Critical Step)
- Step 2: Installing the Tile
- Step 3: Cutting Arabesque Tile
- Step 4: Grouting
- Step 5: Finishing Touches
- Common Installation Mistakes
Tools & Materials Needed
Before starting your installation, make sure you have all the necessary tools and materials:
- Arabesque tile sheets
- Tile adhesive (thinset mortar)
- Notched trowel
- Tile spacers
- Level
- Wet saw or tile cutter
- Rubber grout float
- Grout
- Sponge and bucket
- Tile sealer (if using natural stone)
Having everything ready before you begin will make the installation process much smoother.
Surface Preparation
Proper surface preparation is essential for a successful tile installation. The surface should be:
- Clean and free of dust or grease
- Flat and level
- Dry and structurally sound
If you're installing tile in a wet area like a shower, make sure to use a waterproof backer board and proper waterproofing membrane.
Step 1: Dry Layout (Critical Step)
Dry layout is the most important step when installing arabesque tile. Because of the tile’s curved shape, alignment must be precise to avoid awkward spacing or uneven patterns.
How to Dry Layout
- Lay tiles out on the surface without adhesive
- Adjust positioning to balance edges and cuts
- Find the best starting point (usually center or focal area)
- Ensure pattern flows evenly across the space
Taking time on this step will prevent costly mistakes later.
Step 2: Installing the Tile
Once your layout is finalized, it’s time to install the tile.
Installation Process
- Apply thinset mortar using a notched trowel
- Work in small sections to prevent drying
- Press tile sheets firmly into place
- Use a level to ensure alignment
- Adjust tiles as needed to maintain pattern consistency
Because arabesque tiles are often mounted on mesh sheets, pay close attention to seams to ensure a seamless appearance.
Step 3: Cutting Arabesque Tile
Cutting arabesque tile requires patience and precision due to its curved edges.
Tips for Cutting
- Use a wet saw for clean, accurate cuts
- Mark cuts carefully before cutting
- Cut from the back of the tile when possible
- Smooth edges if needed
Plan your cuts during the dry layout stage to minimize waste and ensure a clean finish.
Step 4: Grouting
Once the adhesive has cured (typically 24 hours), you can begin grouting.
Grouting Process
- Apply grout using a rubber float
- Work grout into all joints
- Remove excess grout with a damp sponge
- Clean tiles thoroughly to remove haze
Grout color plays a major role in the final appearance, so choose carefully based on your design goals.
Step 5: Finishing Touches
After grouting, complete the installation with these final steps:
- Allow grout to cure fully
- Apply sealer if using natural stone tiles
- Polish tiles for a clean finish
These finishing touches help protect your tile and enhance its appearance.
Common Installation Mistakes
Avoid these common mistakes when installing arabesque tile:
- Skipping the dry layout process
- Misaligning tile sheets
- Using too much or too little adhesive
- Choosing the wrong grout color
- Rushing the installation process
Attention to detail is key when working with arabesque tile.
Explore More Arabesque Tile Resources
- Shop Arabesque Tile Collection
- Arabesque Tile Backsplash Ideas
- Is Arabesque Tile Outdated?
- Best Grout Color for Arabesque Tile
- Arabesque vs Subway Tile
Ready to start your project? Browse our collection of arabesque tiles to find the perfect style for your kitchen or bathroom.