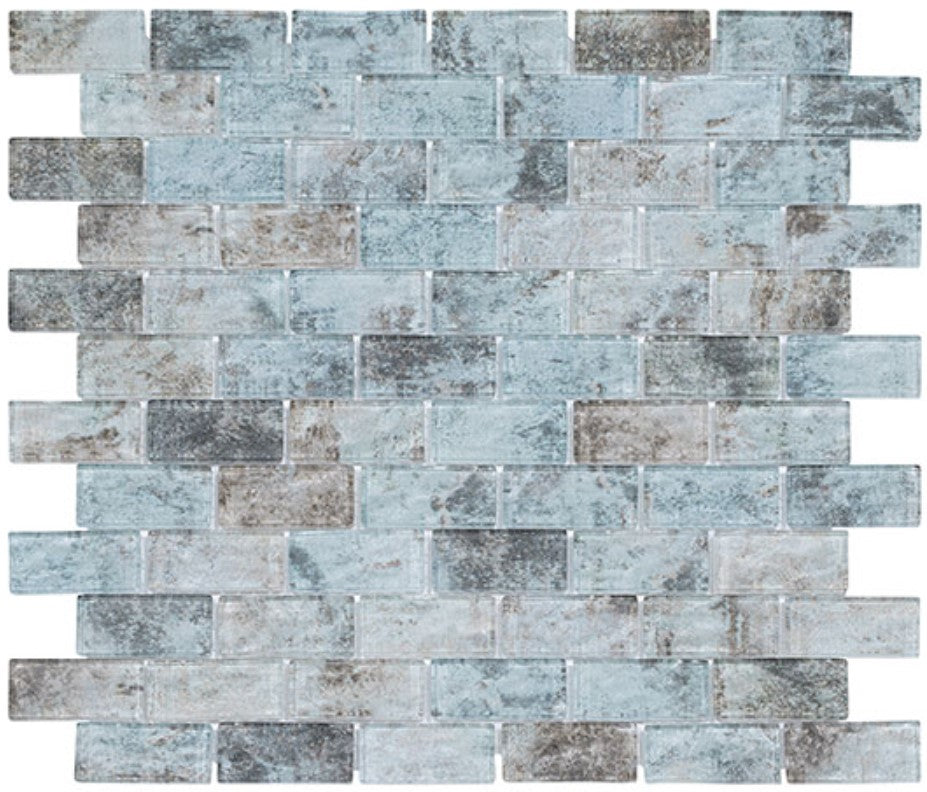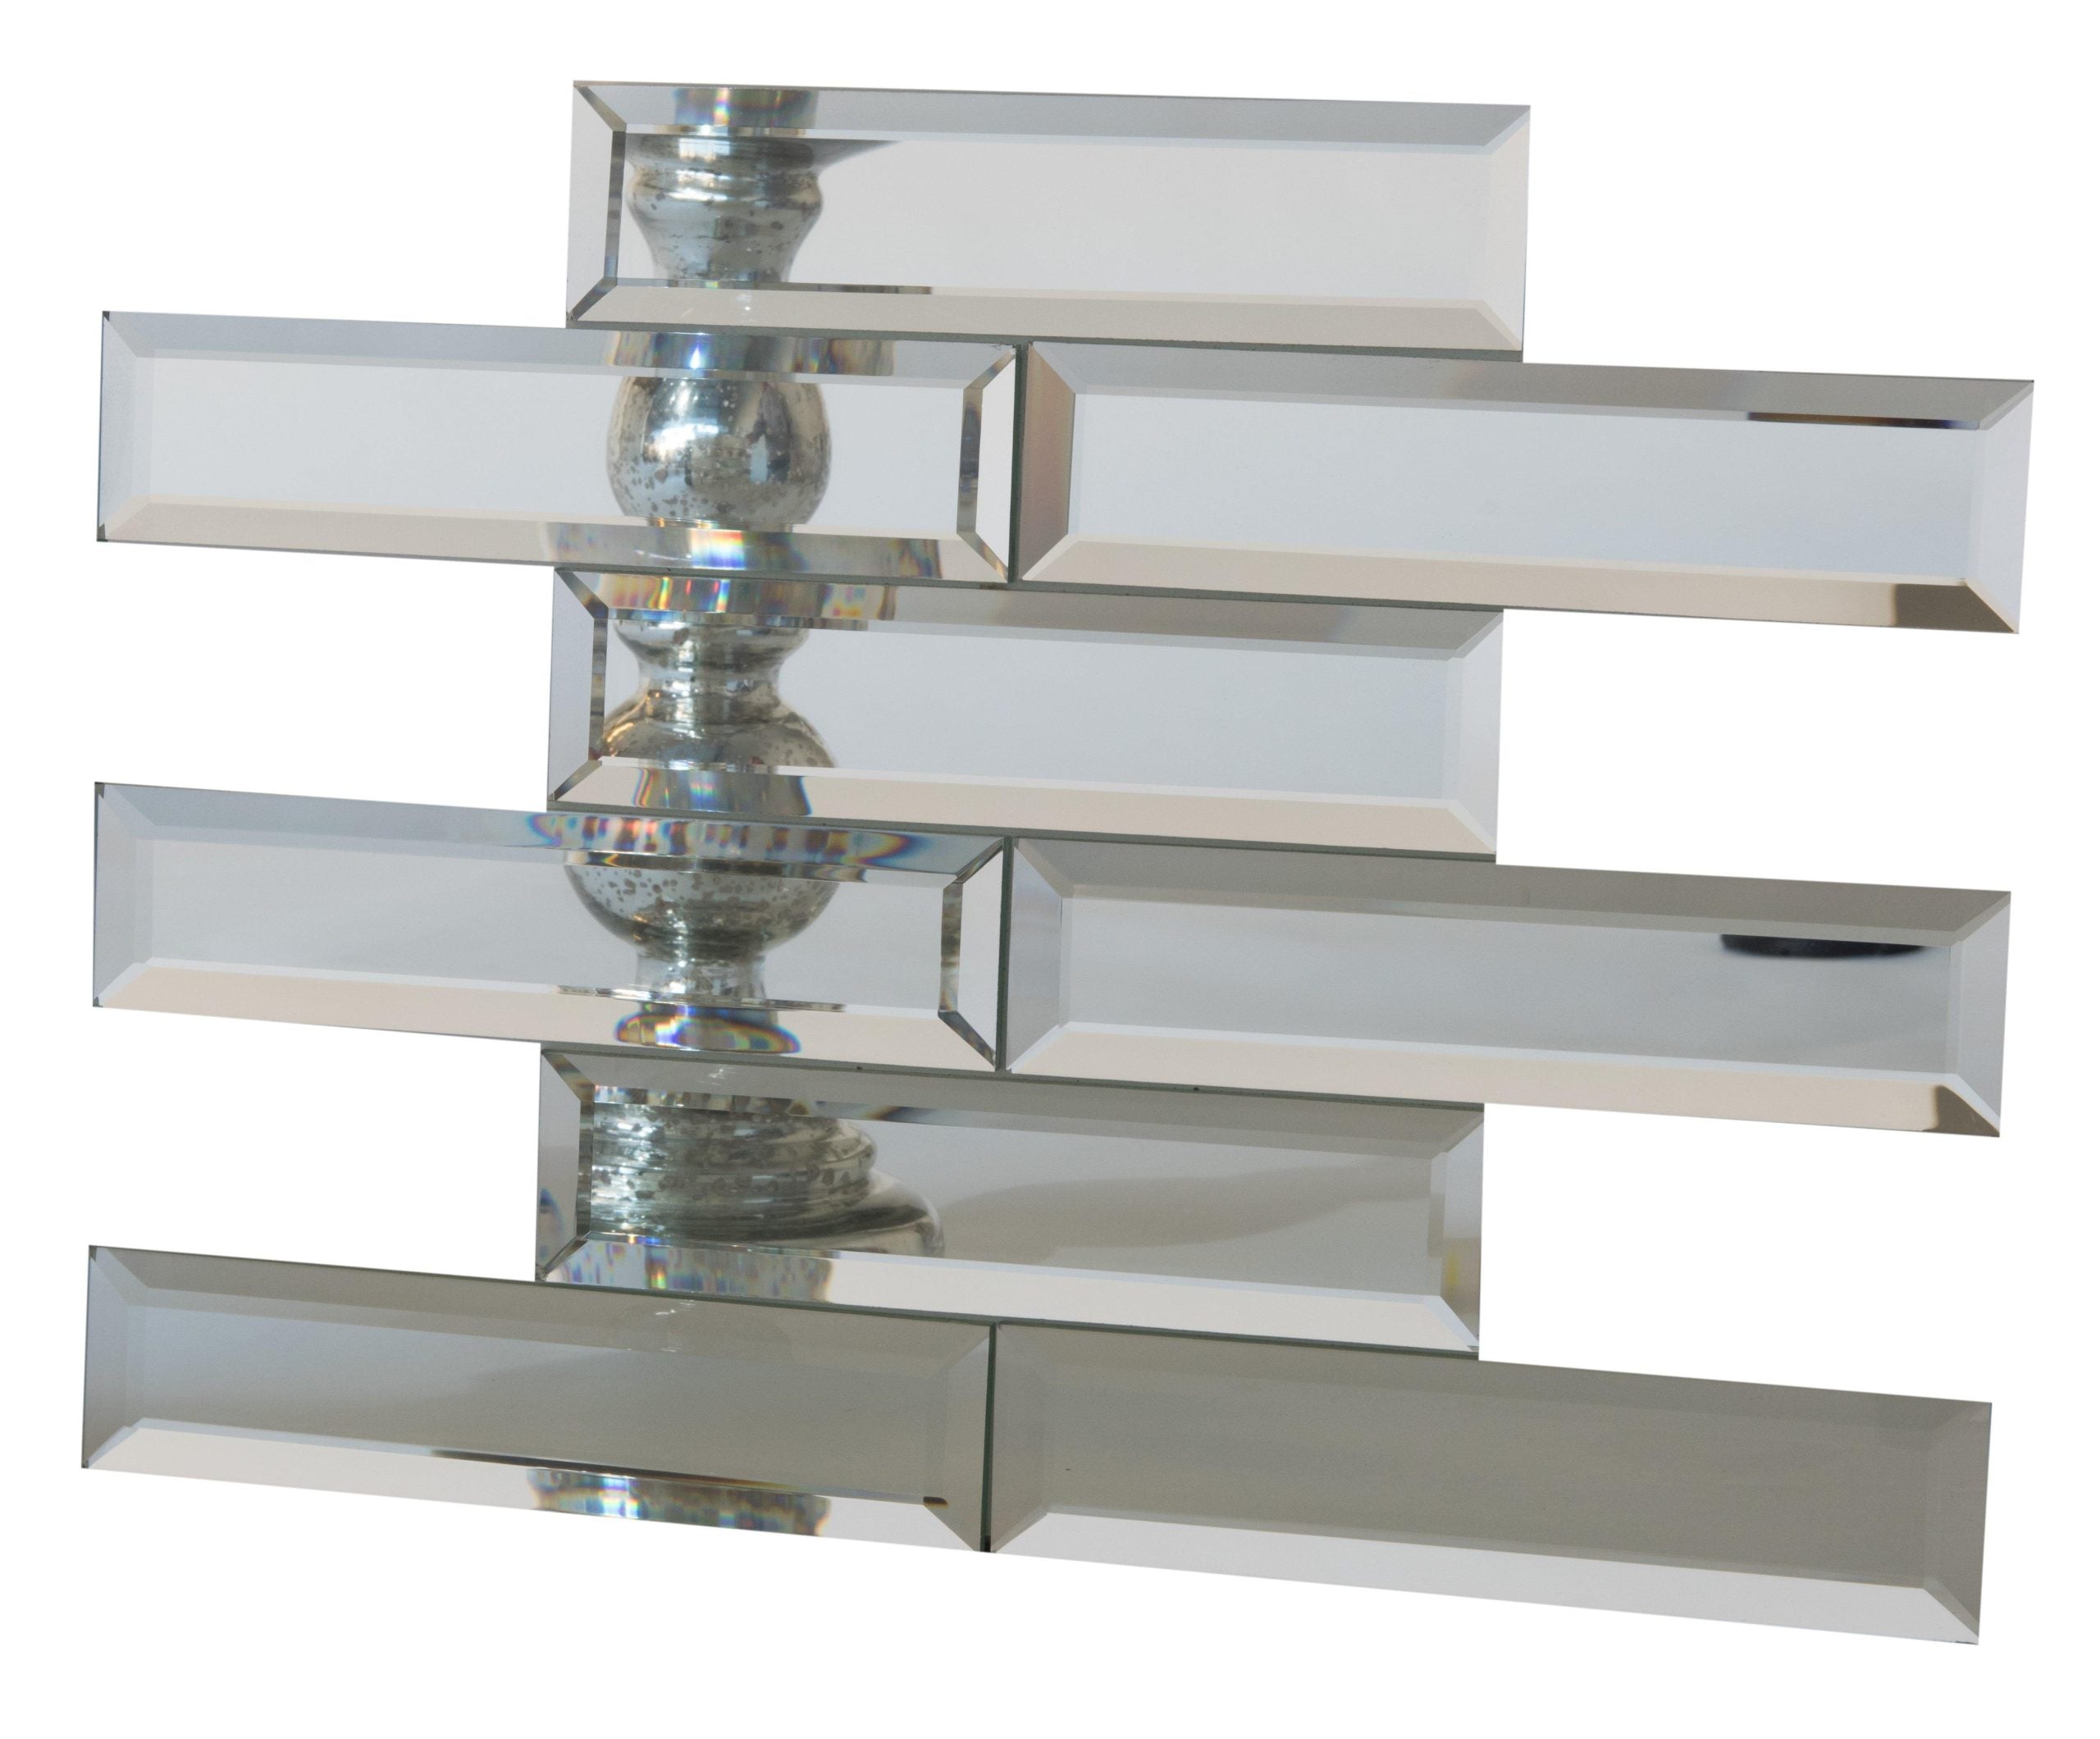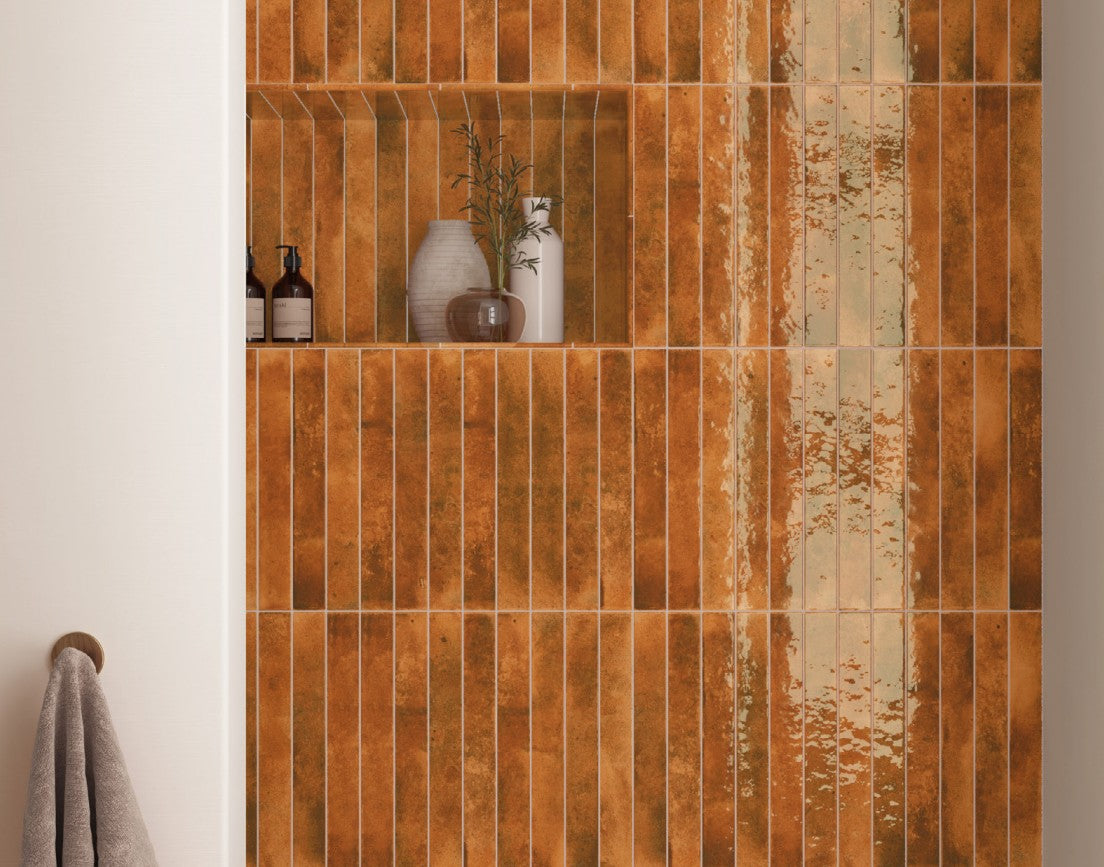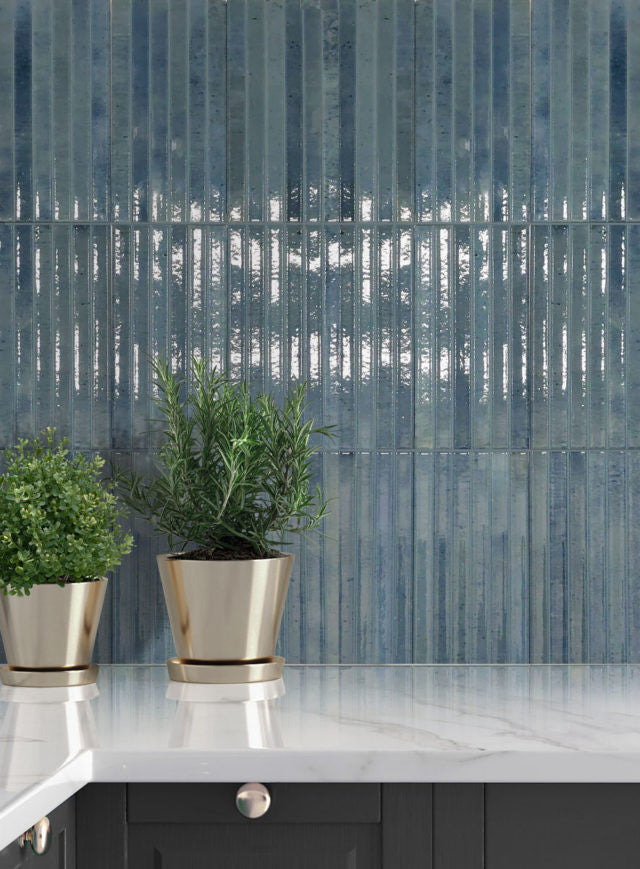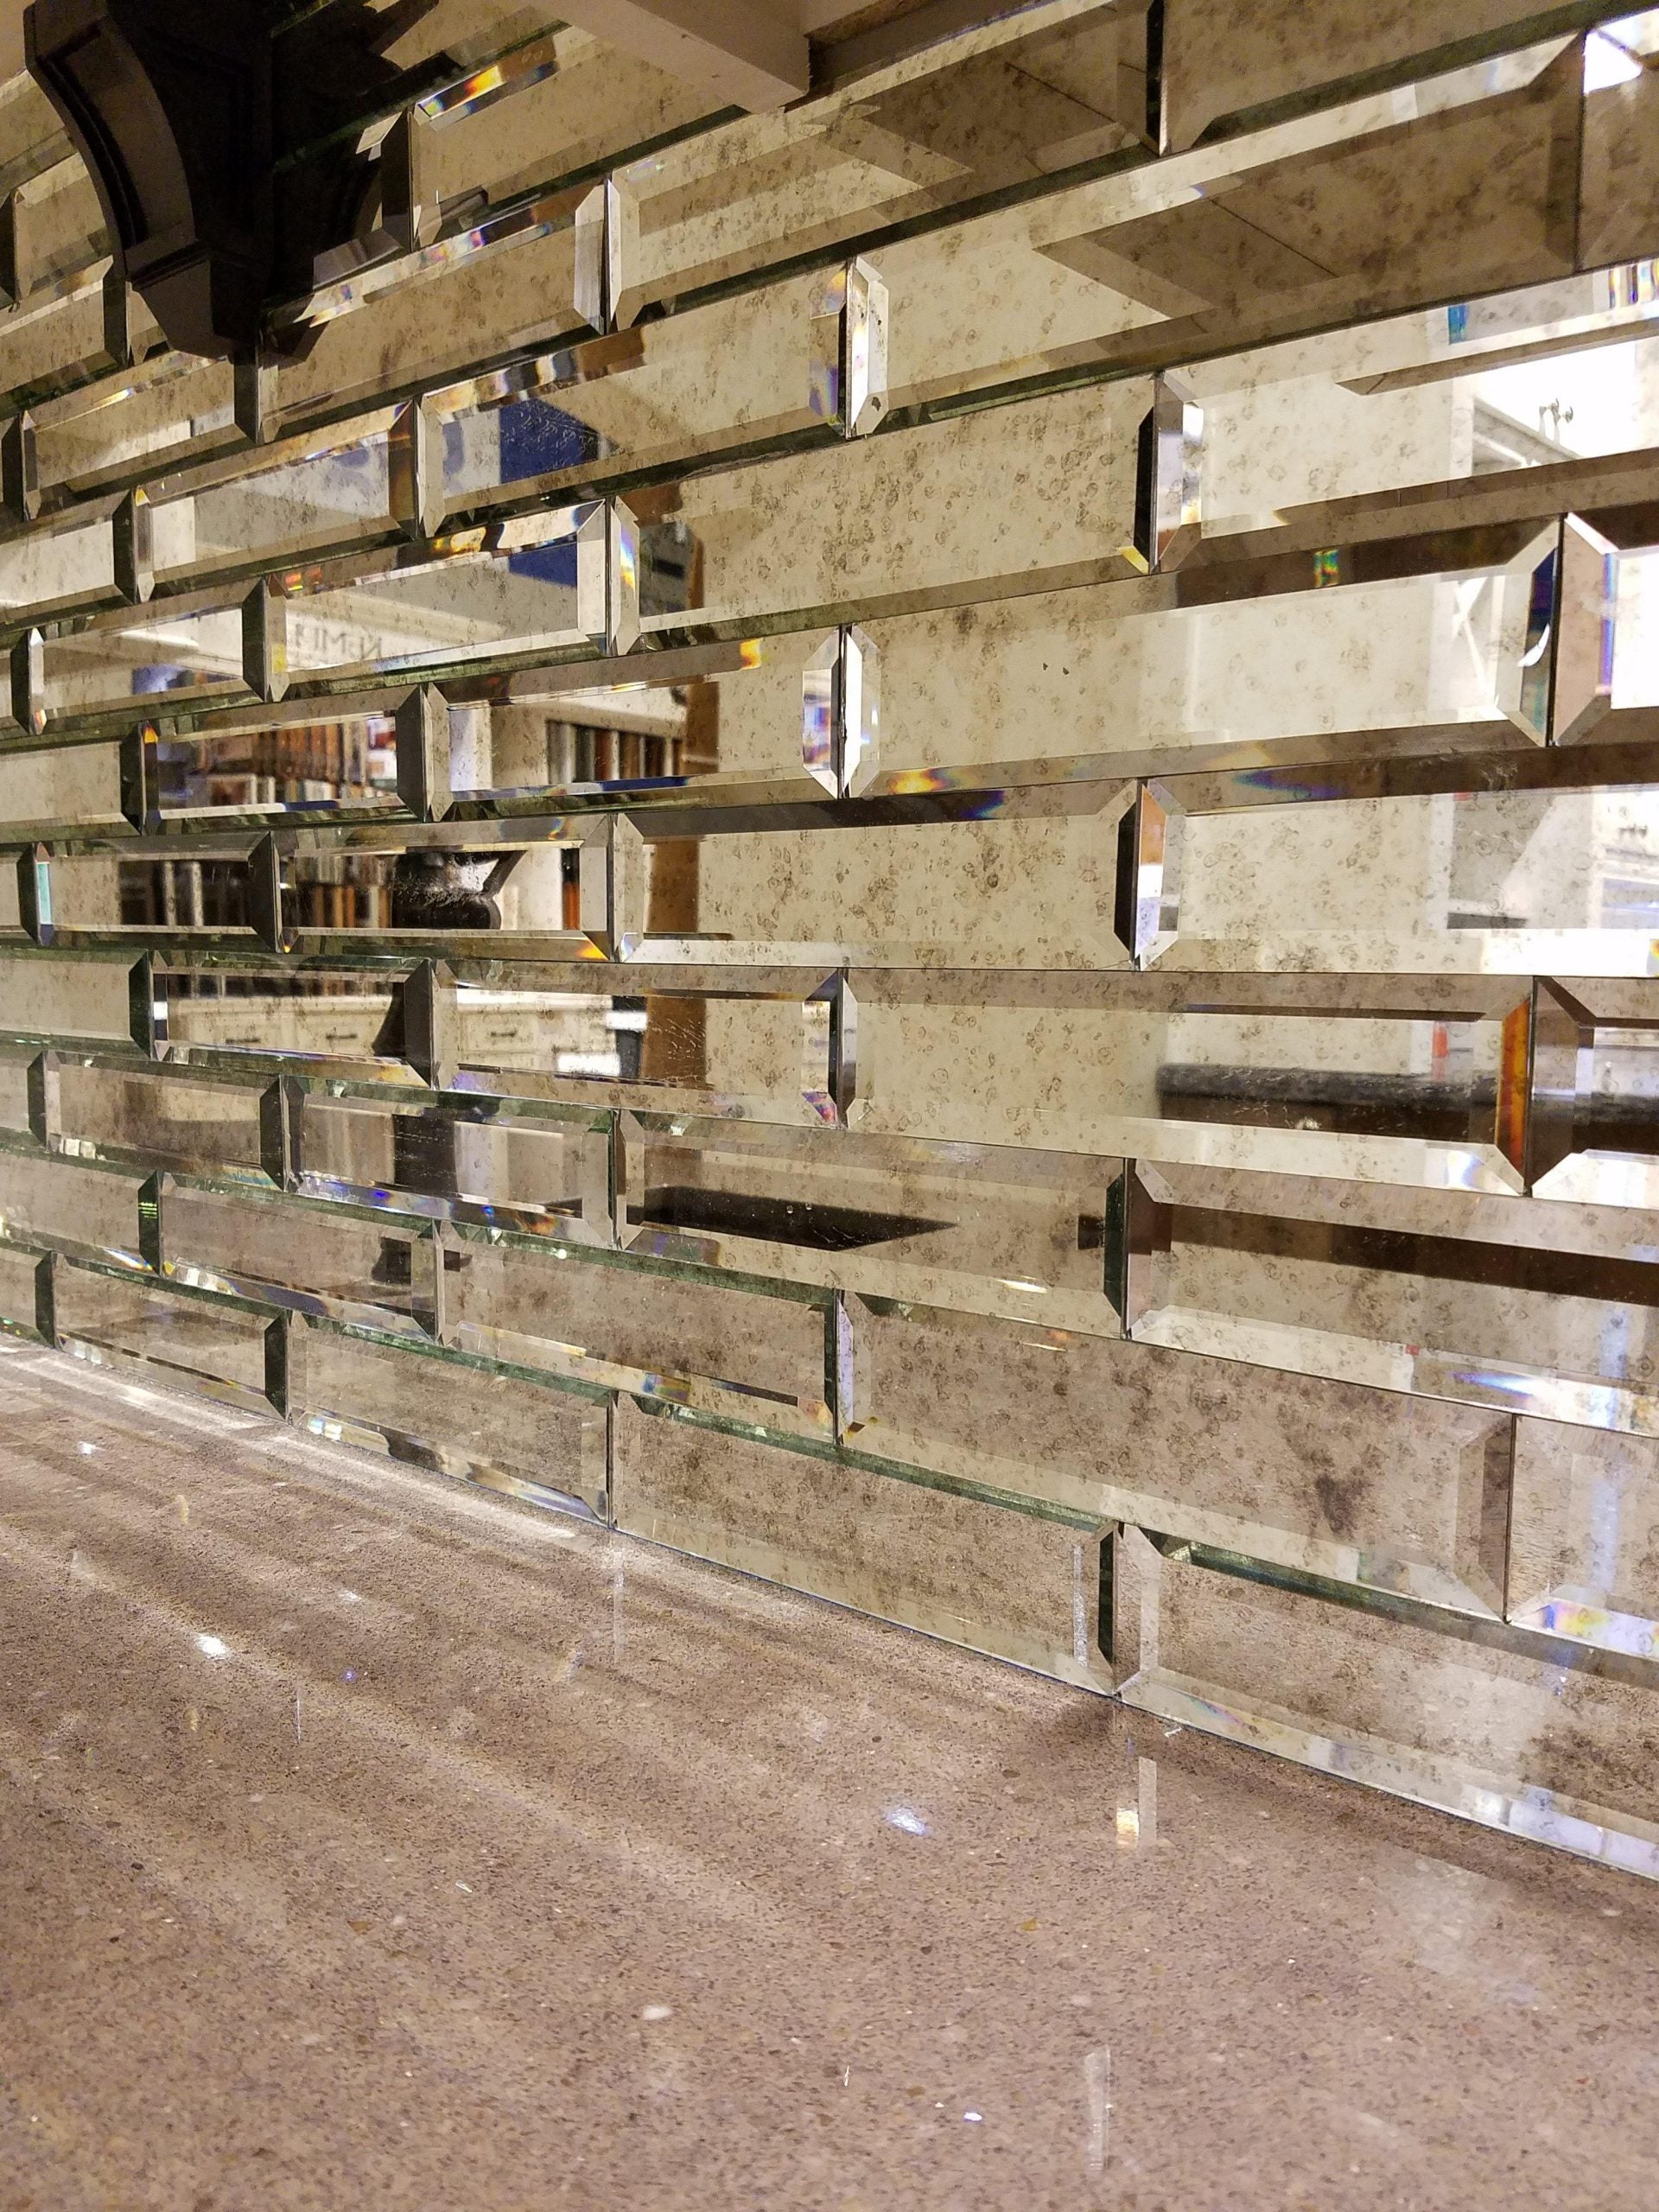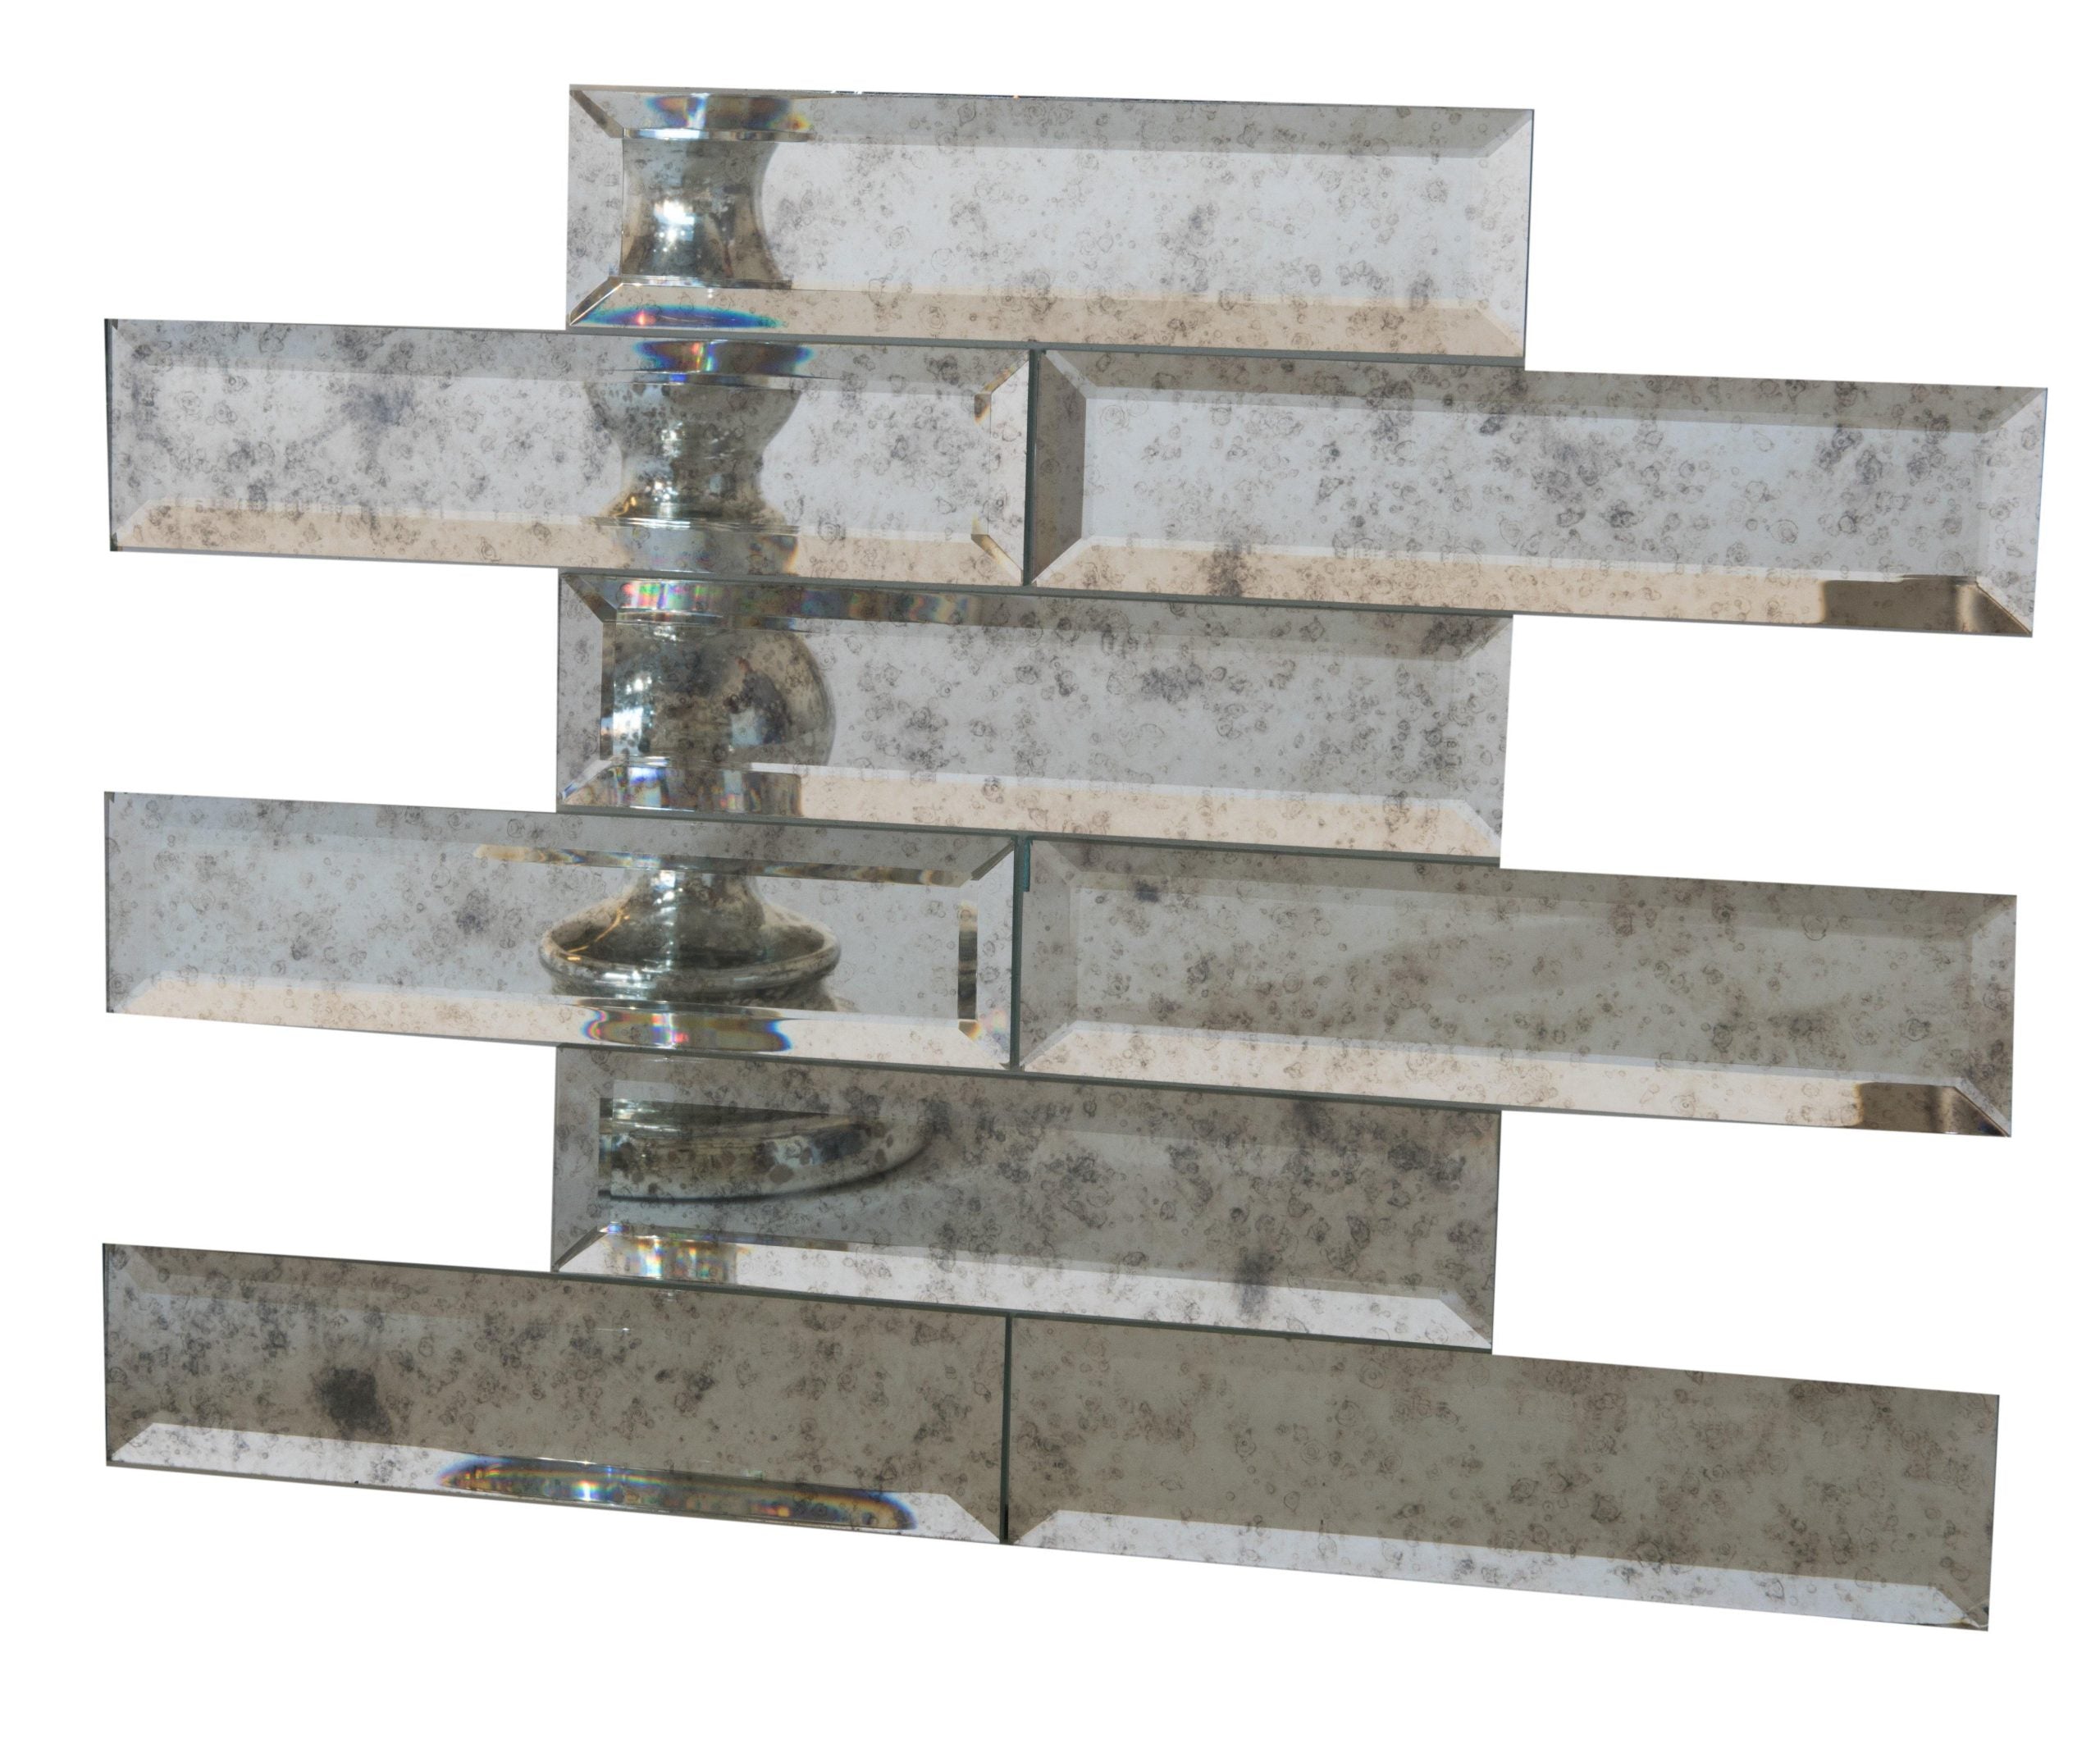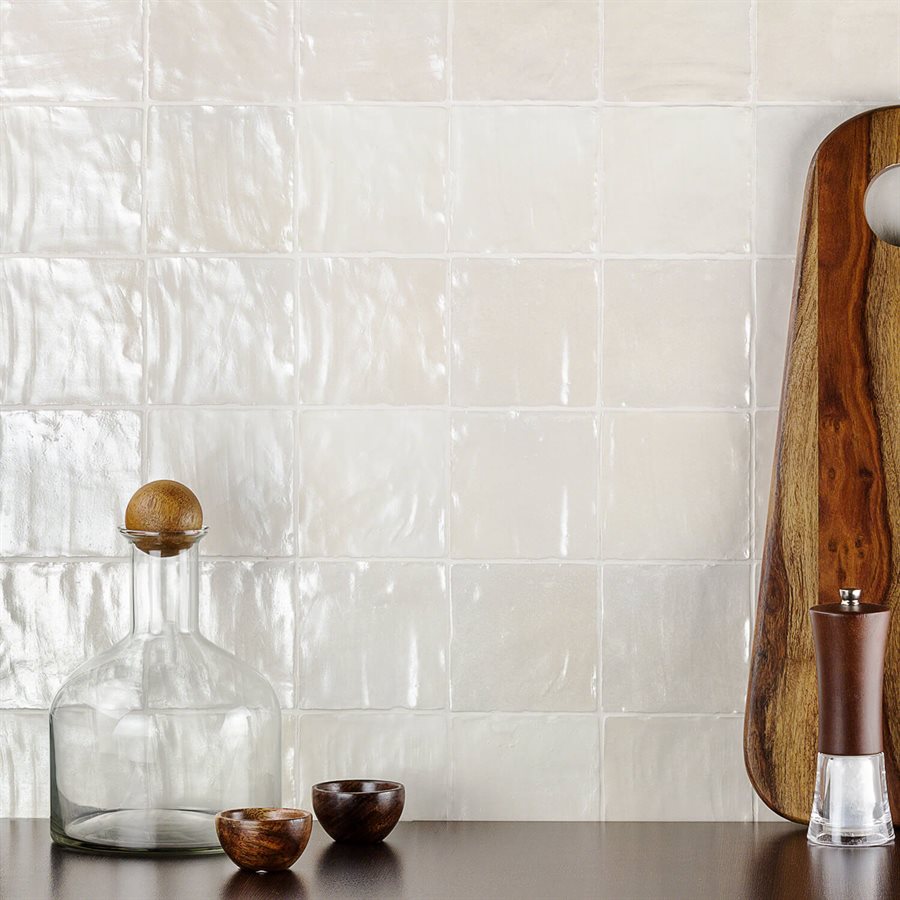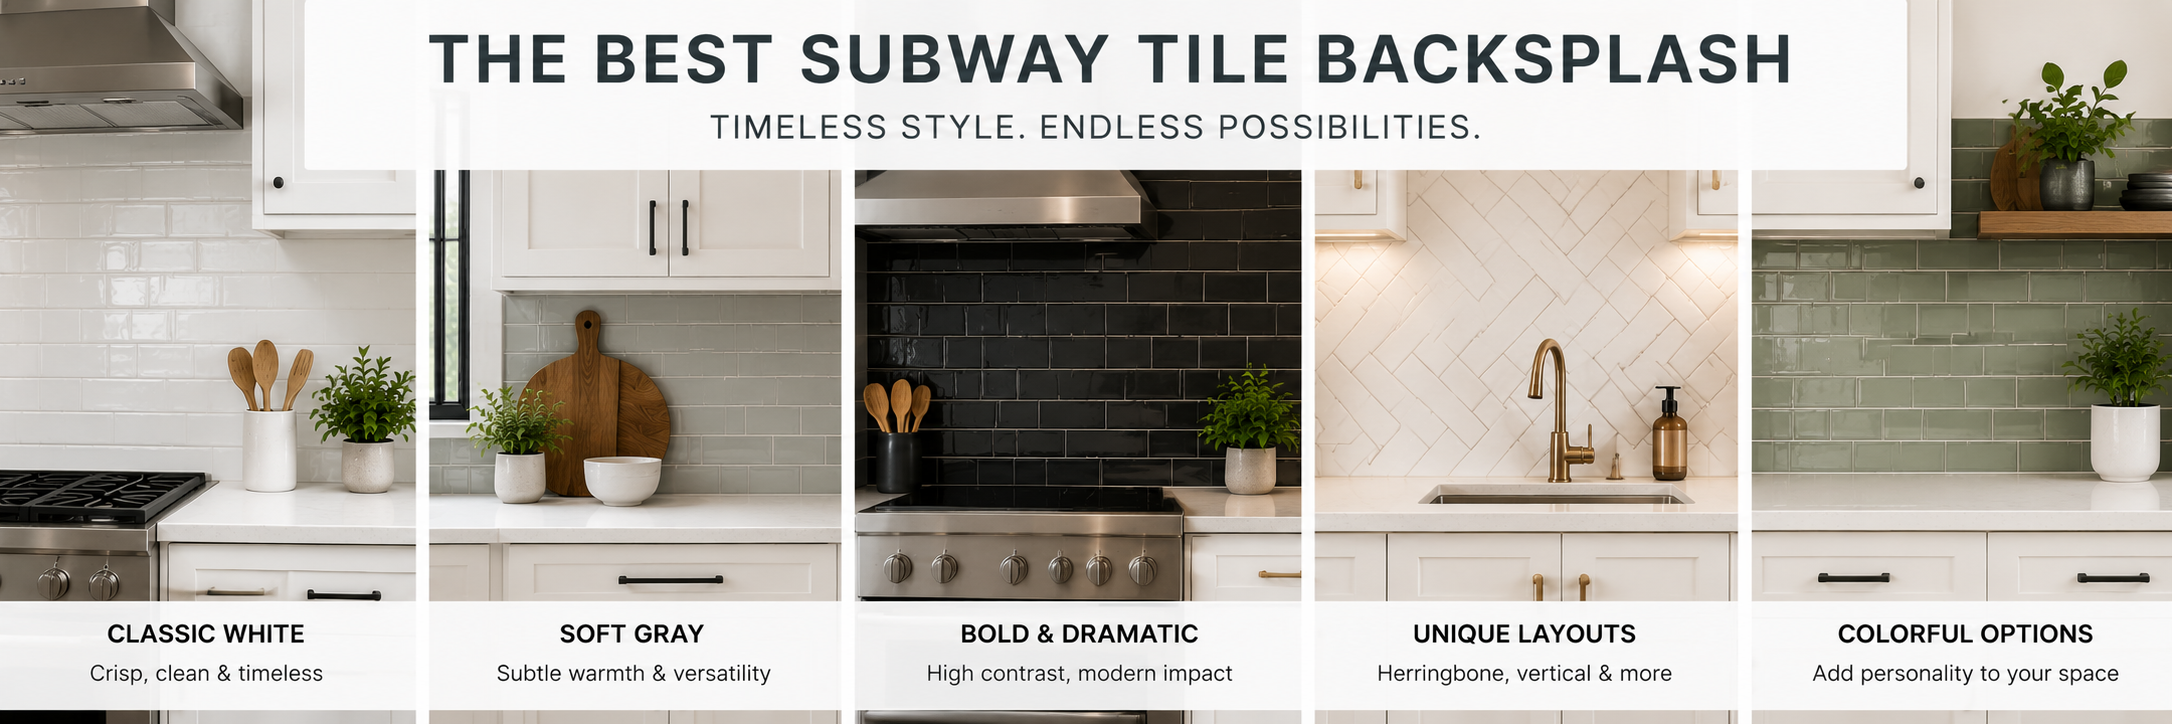
The Foundation for a Beautiful and Durable Backsplash
Installing a kitchen backsplash tile is a fantastic way to add style and functionality to your cooking space. But before the tiles go up, preparing your wall properly is critical for achieving a smooth, long-lasting, and professional-looking finish.
Wall preparation may seem like a minor step, but it impacts tile adhesion, grout integrity, and overall backsplash durability. In this post, we’ll guide you through the essential steps for prepping your kitchen wall before installation.
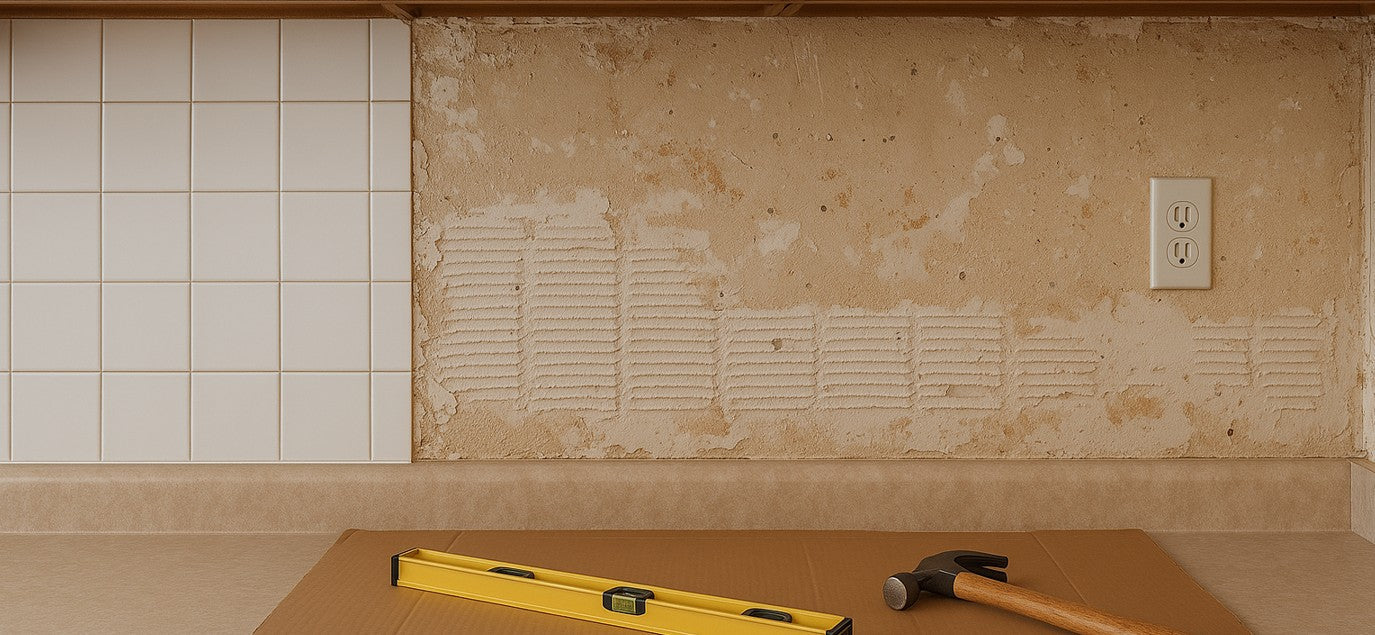
Step 1: Remove Old Materials and Clean the Surface
If you’re replacing an existing backsplash, begin by carefully removing old tiles, adhesive, or wallpaper. Use a putty knife or scraper to get rid of any remaining residue.
Once cleared, thoroughly clean the wall to remove grease, dirt, or dust. Kitchens are prone to grease buildup, which can prevent proper tile adhesion. Use a degreasing cleaner or a solution of warm water and mild detergent. Rinse and allow the wall to dry completely.
Step 2: Inspect and Repair Wall Surface
After cleaning, check the wall for imperfections such as holes, cracks, or dents. Use a high-quality patching compound to fill these areas. Sand the surface smooth once the compound dries, ensuring the wall is flat and even.
Uneven walls can cause tile lippage (uneven edges) and make installation difficult. Take the time to create as level a surface as possible.
Step 3: Check for Level and Flatness
Use a level or straightedge to check the wall’s flatness. Large bumps or depressions may require additional sanding or skim coating with joint compound.
For walls that are particularly uneven, consider using a backer board such as cement board, which provides a stable, flat substrate specifically designed for tile installation.
Step 4: Prime the Wall
Priming the wall helps improve tile adhesive bonding, especially on porous surfaces like drywall or plaster. Choose a primer compatible with your tile adhesive — typically a PVA (polyvinyl acetate) primer works well.
Apply primer evenly and allow it to dry fully according to manufacturer instructions before proceeding with tile installation.
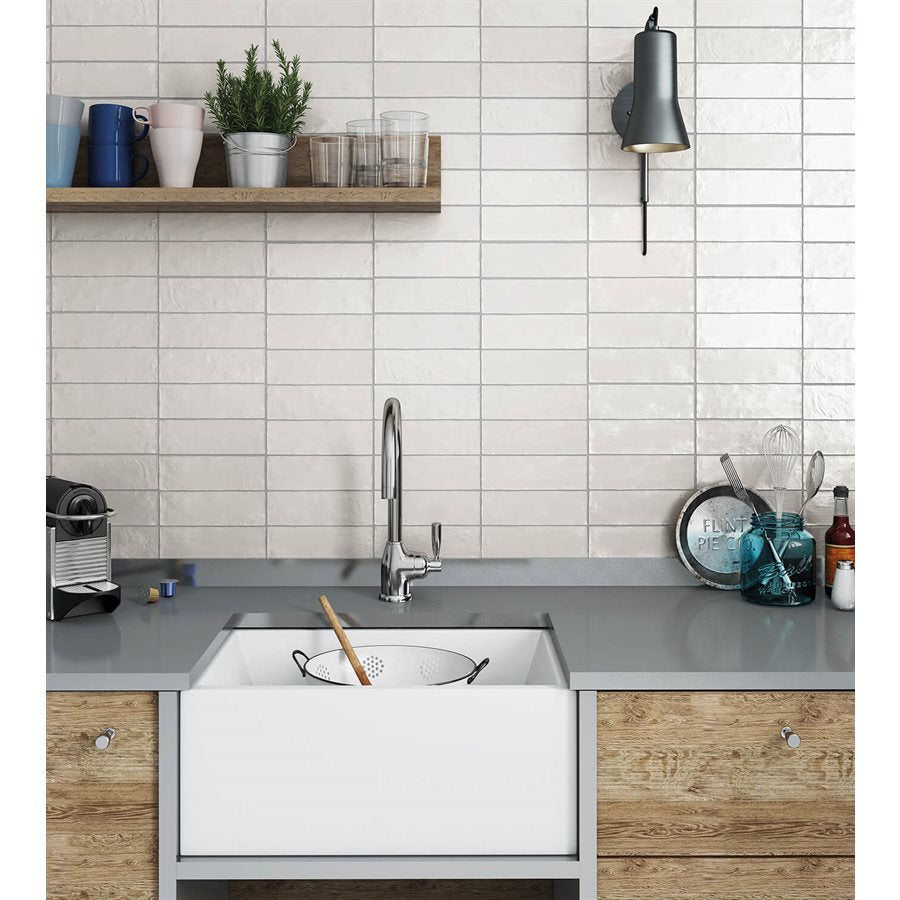
Step 5: Plan Your Layout
Before installing, plan your tile layout carefully. Measure your backsplash area and mark guidelines on the wall using a pencil and level.
Starting from the center or a focal point helps ensure your tiles are balanced and cuts are minimized at edges. Take into consideration on where you might end your kitchen backsplash tiles on an open wall. This preparation step can save frustration and create a professional finish.
Additional Tips for Wall Preparation
- Protect countertops and cabinets: Cover surfaces with plastic or drop cloths to avoid damage during prep work.
- Check for moisture issues: Ensure the wall is dry and free from mold or mildew. Address any leaks before tiling.
- Use appropriate tools: Quality scrapers, sandpaper, and patch compounds make prep easier and more effective.
Why Proper Wall Preparation Matters
Skipping or rushing wall prep can lead to tile adhesive failure, uneven tile placement, grout cracking, and costly repairs down the line. Taking time to prep ensures your backsplash looks great and stands the test of time.
Investing effort into the foundation pays off with a smooth installation and beautiful, lasting results.
Final Thoughts
Proper wall preparation is the cornerstone of any successful kitchen backsplash project. By removing old materials, cleaning thoroughly, repairing imperfections, priming, and planning your layout, you set yourself up for a flawless tile installation.
Tile Choices provides not only an extensive range of backsplash tiles but also expert advice to help you every step of the way.