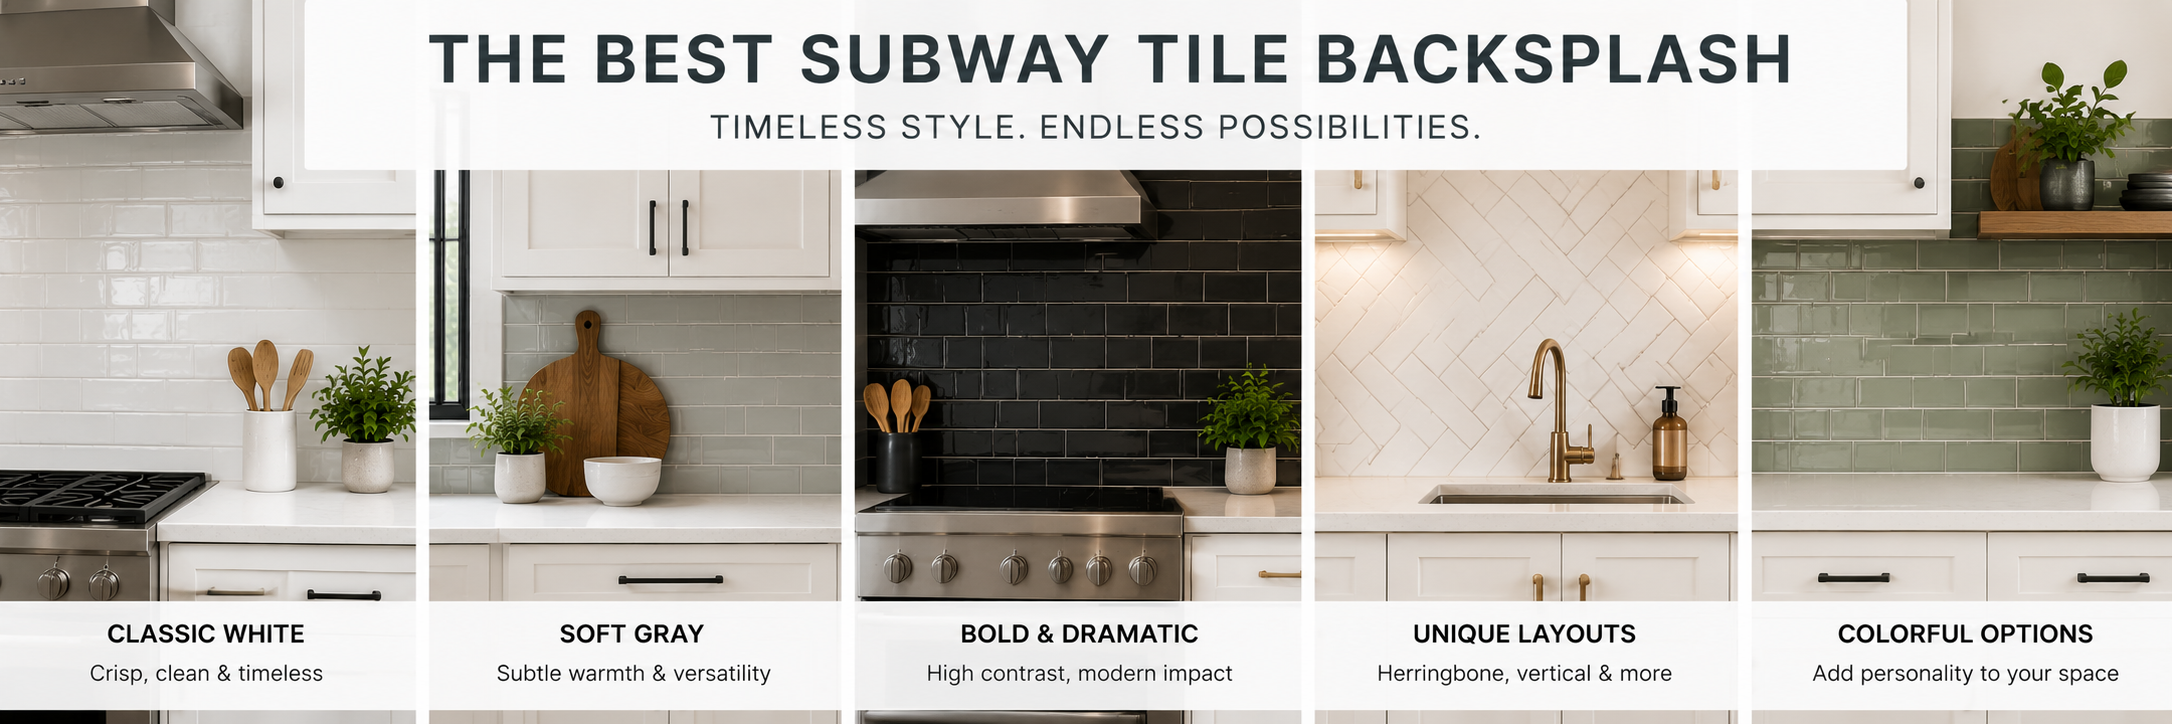
Set Yourself Up for Success with Smart Planning and Accurate Measurements
Installing a new kitchen backsplash is one of the most effective ways to refresh your space—whether you’re doing a full remodel or just looking to upgrade a tired wall. But before you choose your tile or break out the trowel, it’s crucial to start with a solid plan.
In this guide, you’ll learn how to accurately measure for a backsplash, estimate tile quantities, and prepare for a smooth installation process. Whether you’re hiring a pro or going DIY, proper planning is the key to a flawless finish.
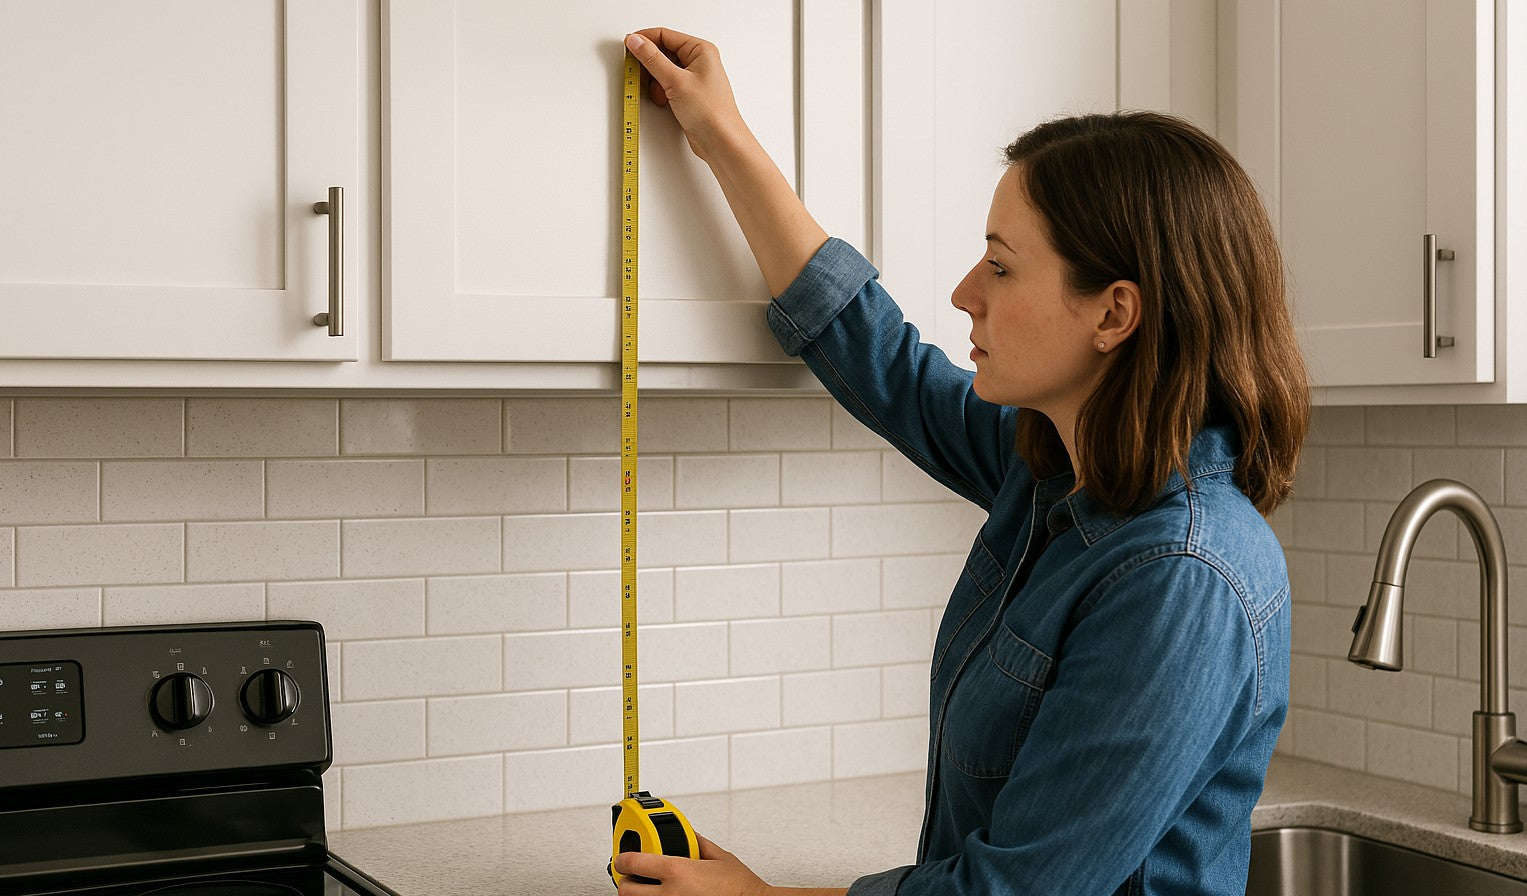
Step 1: Measure the Backsplash Area
You’ll need a tape measure, paper, and a calculator (or smartphone) to get started.
A. Divide Your Backsplash into Rectangles
Most backsplash areas can be broken into smaller rectangles to make calculations easier. Measure each section individually—common areas include:
- The wall space between the countertop and upper cabinets
- Behind the range or cooktop
- Between windows or over the sink
B. Measure Height and Width
For each rectangular section, measure:
- Height (from countertop to the bottom of the upper cabinet or ceiling)
- Width (from one edge to the other)
Multiply height × width for each section to get square inches. Add all the square inches together, then divide by 144 to convert to square feet.
💡 Example:
If one section is 18" high by 48" wide:
18 × 48 = 864 sq. in.
864 ÷ 144 = 6 sq. ft.
C. Account for Windows, Outlets, and Gaps
If there are large windows, subtract their square footage from your total. For small cutouts like outlets, it’s best to ignore them—they won't significantly change your material estimate and extra tile is always helpful.
Step 2: Estimate How Much Tile You’ll Need
Once you know your total square footage, add extra tile to account for:
- Cutting and trimming
- Pattern alignment
- Breakage or future repairs
A. Add Waste Factor
- DIY installation: Add 15–20%
- Professional installation: Add 10–15%
🧮 If your measured area is 20 sq. ft. and you're DIYing, buy 23–24 sq. ft. of tile.
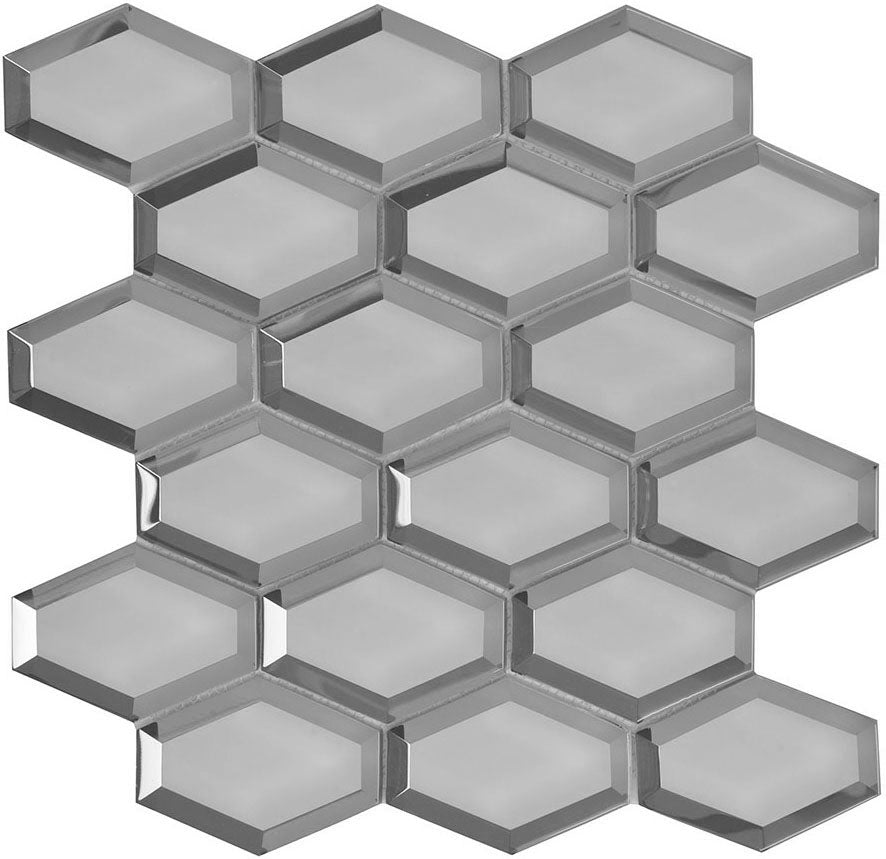
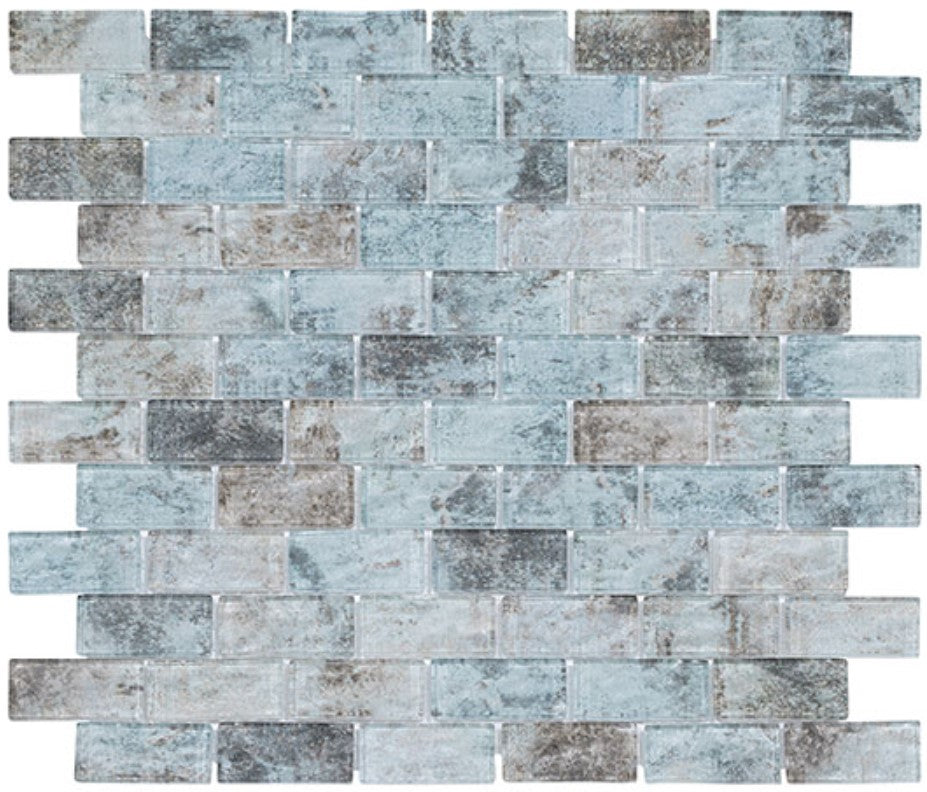
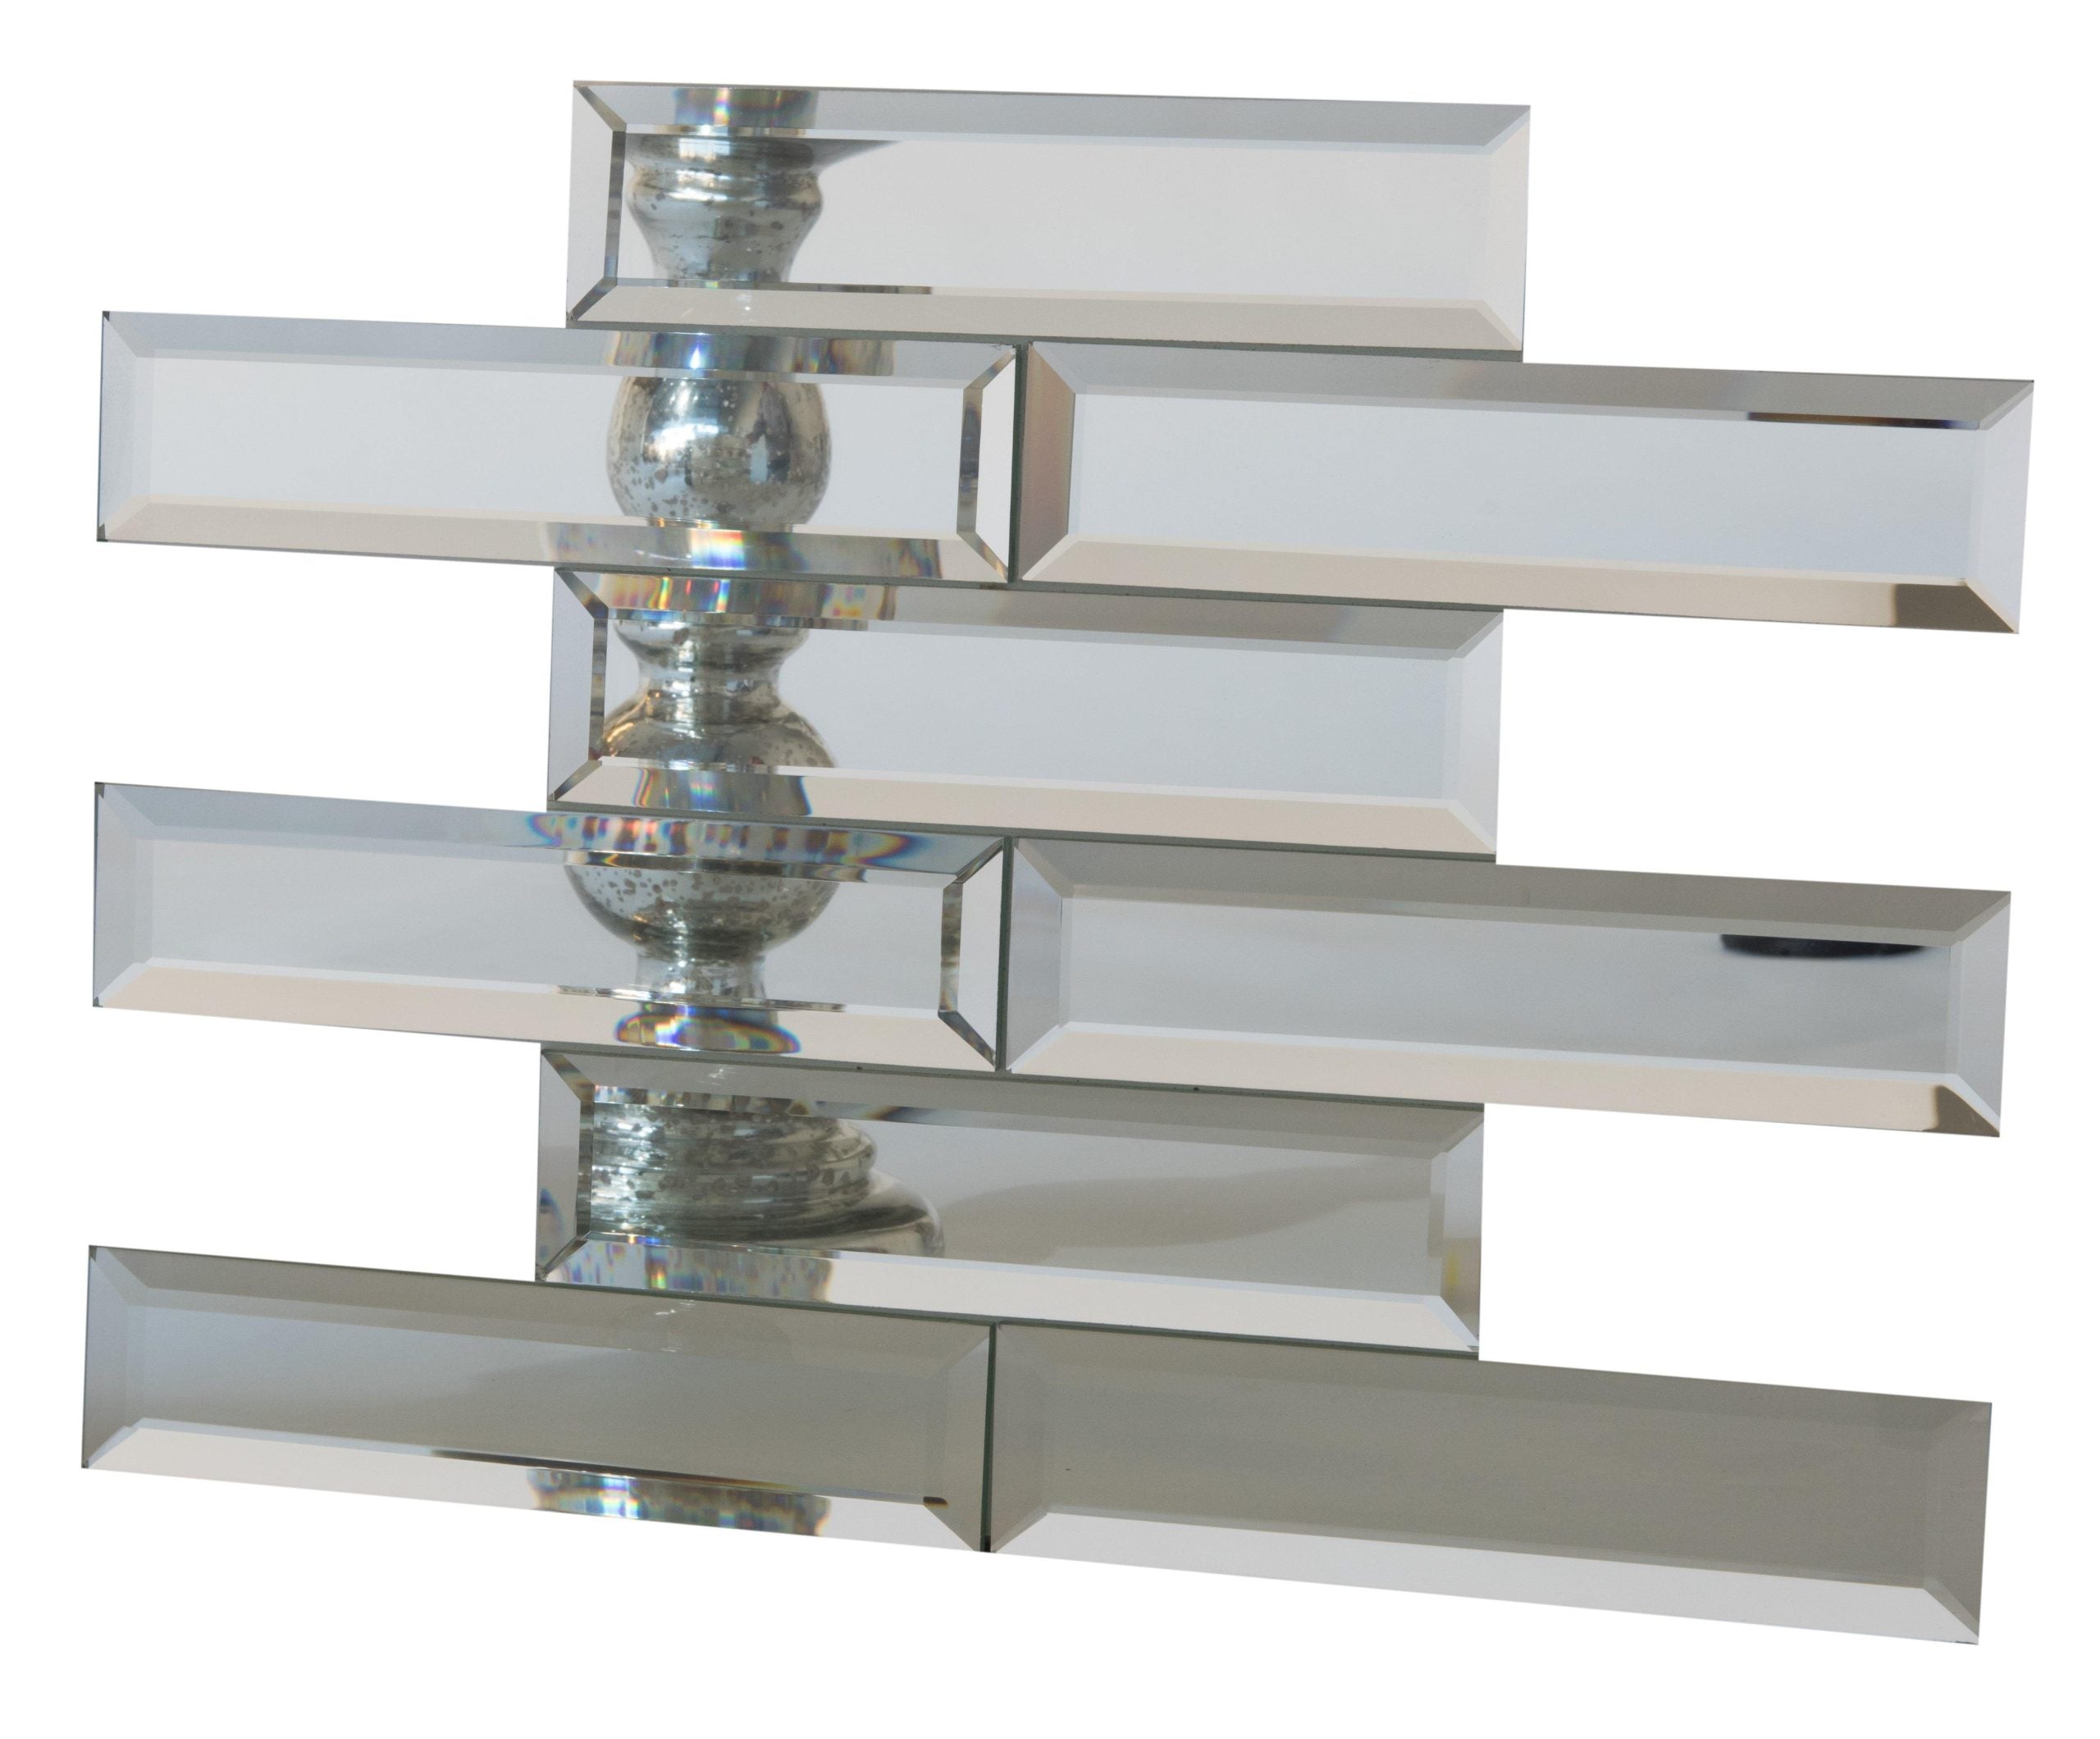
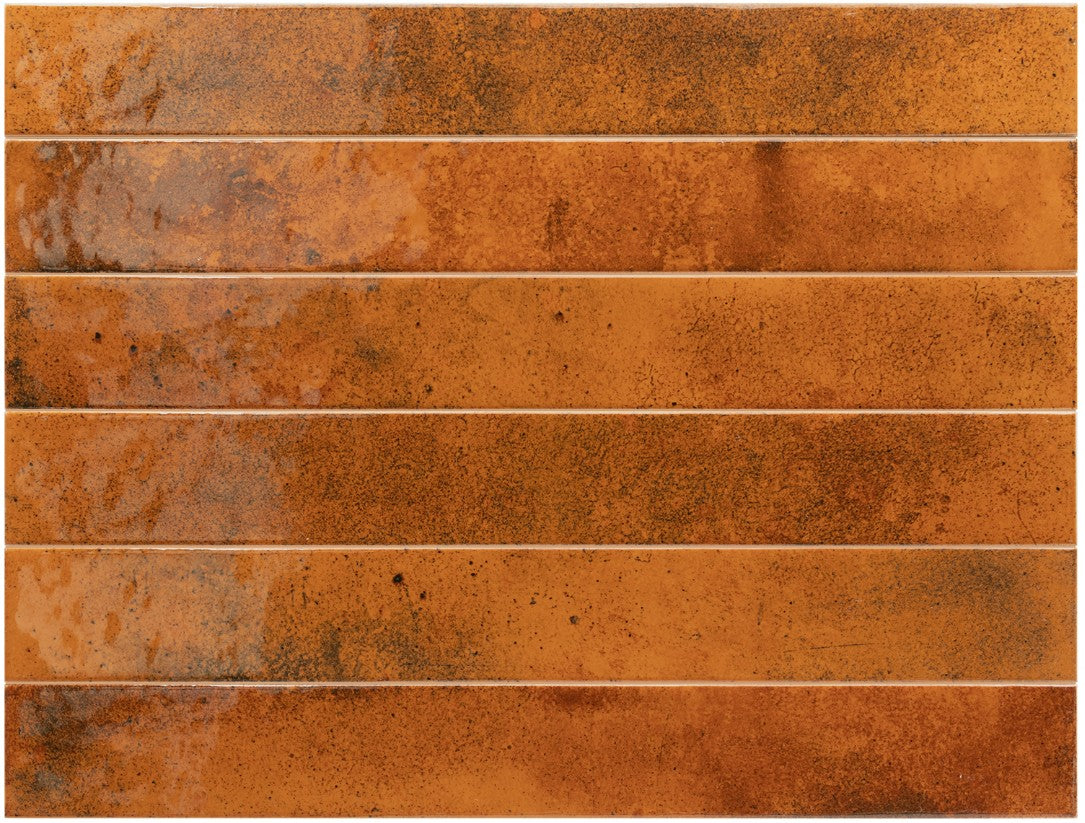
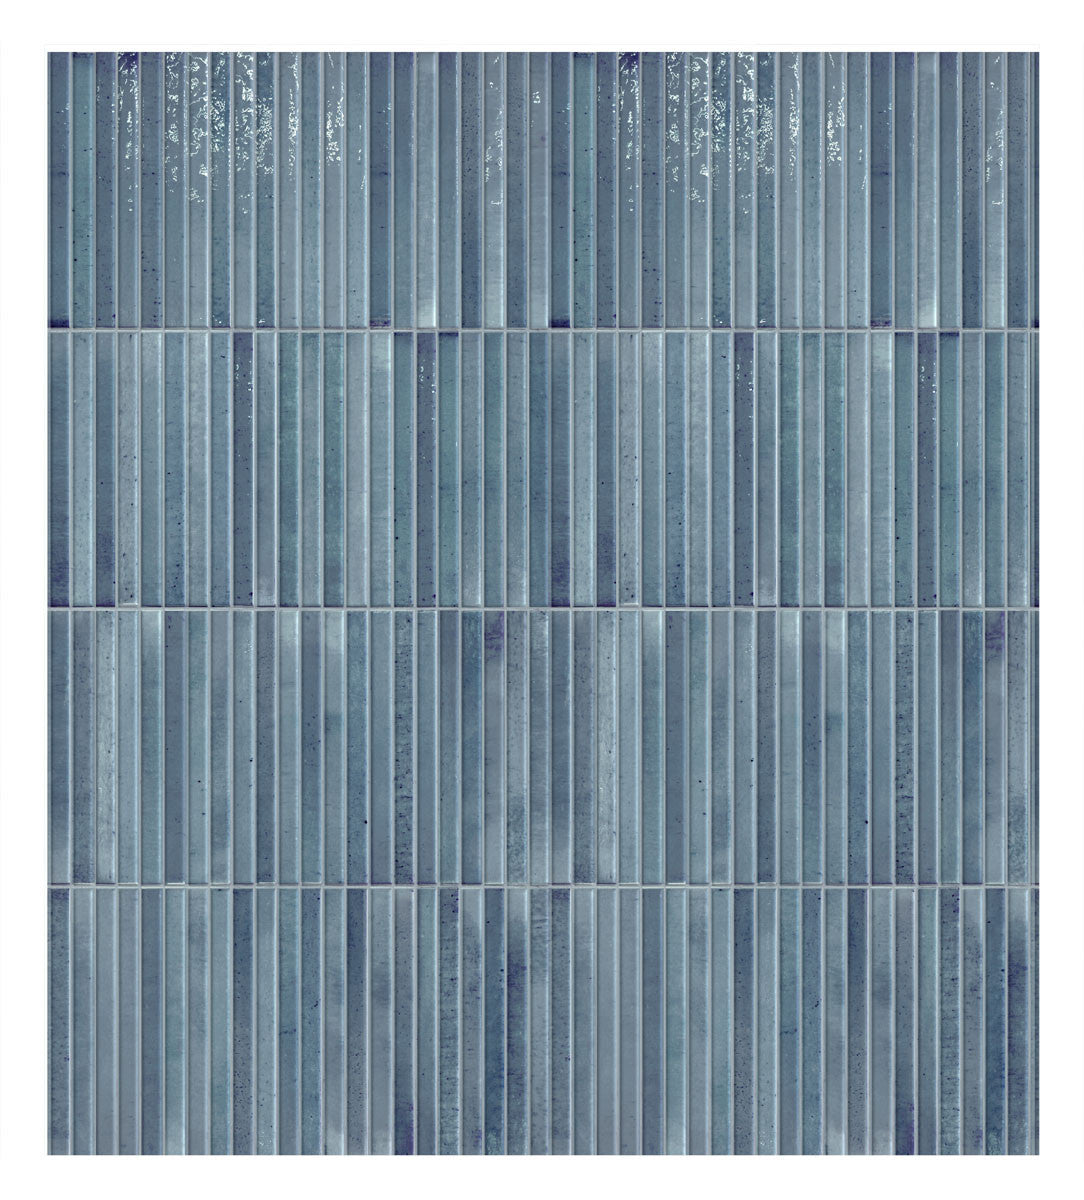
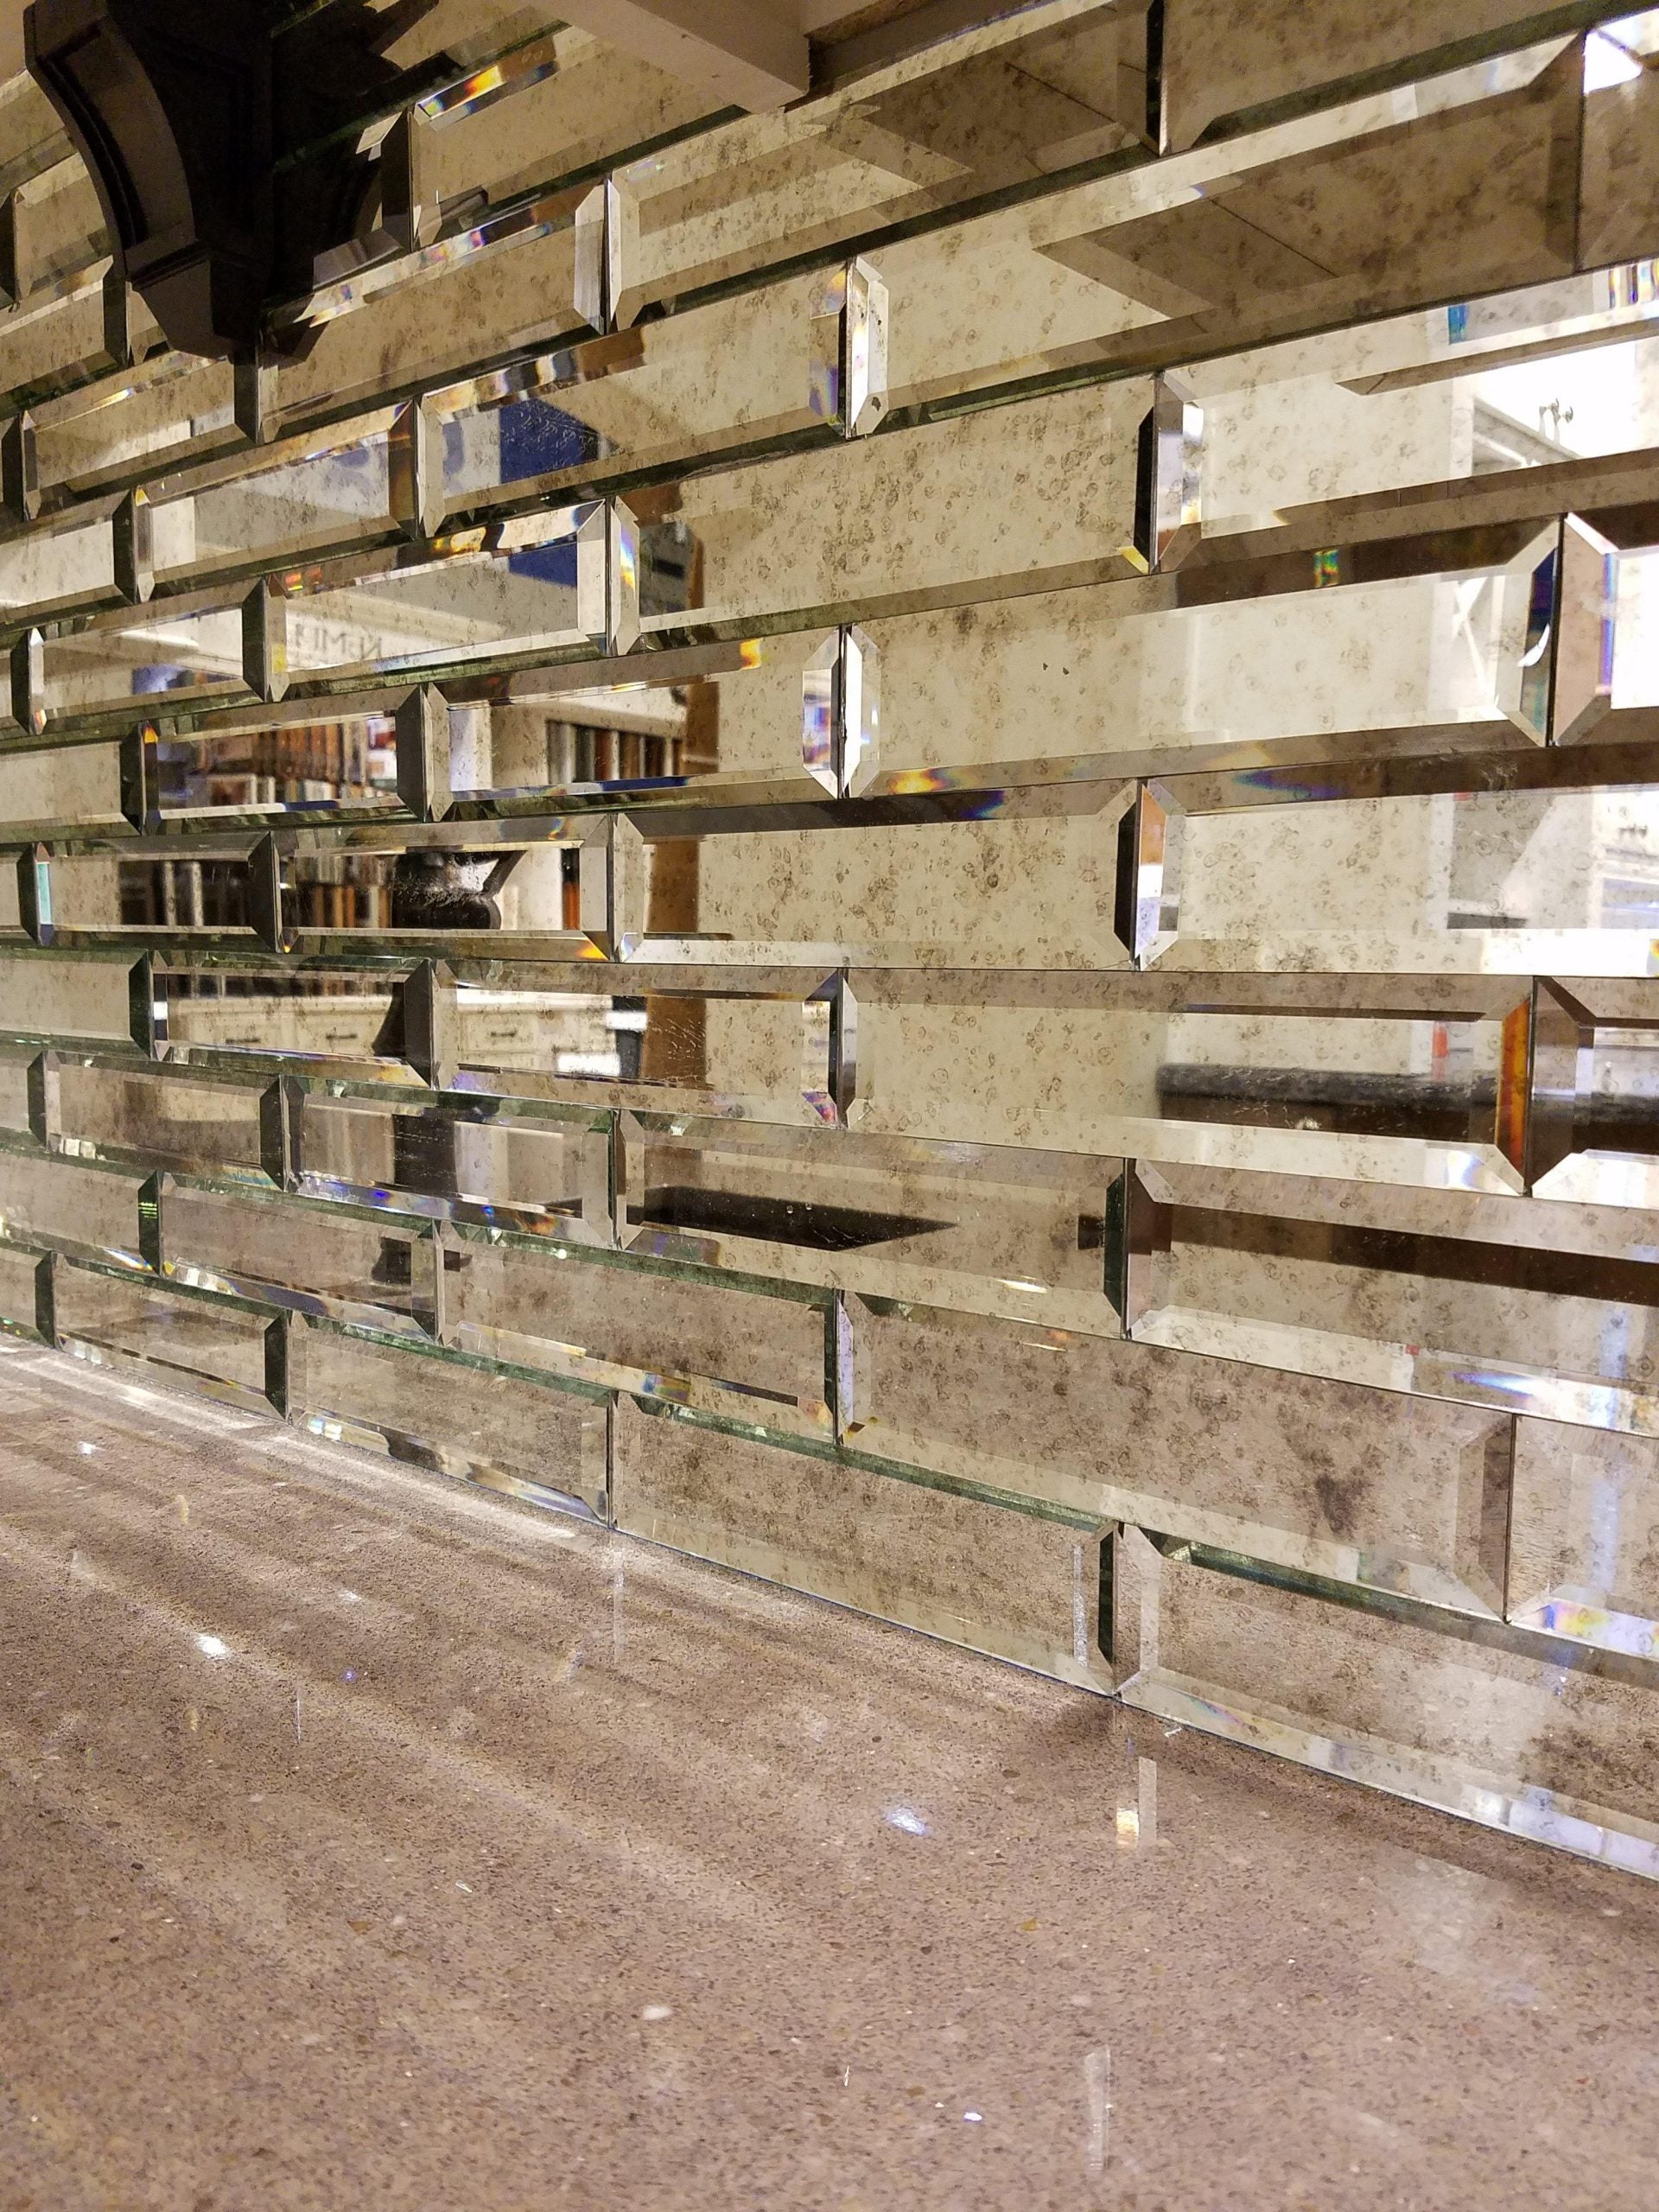
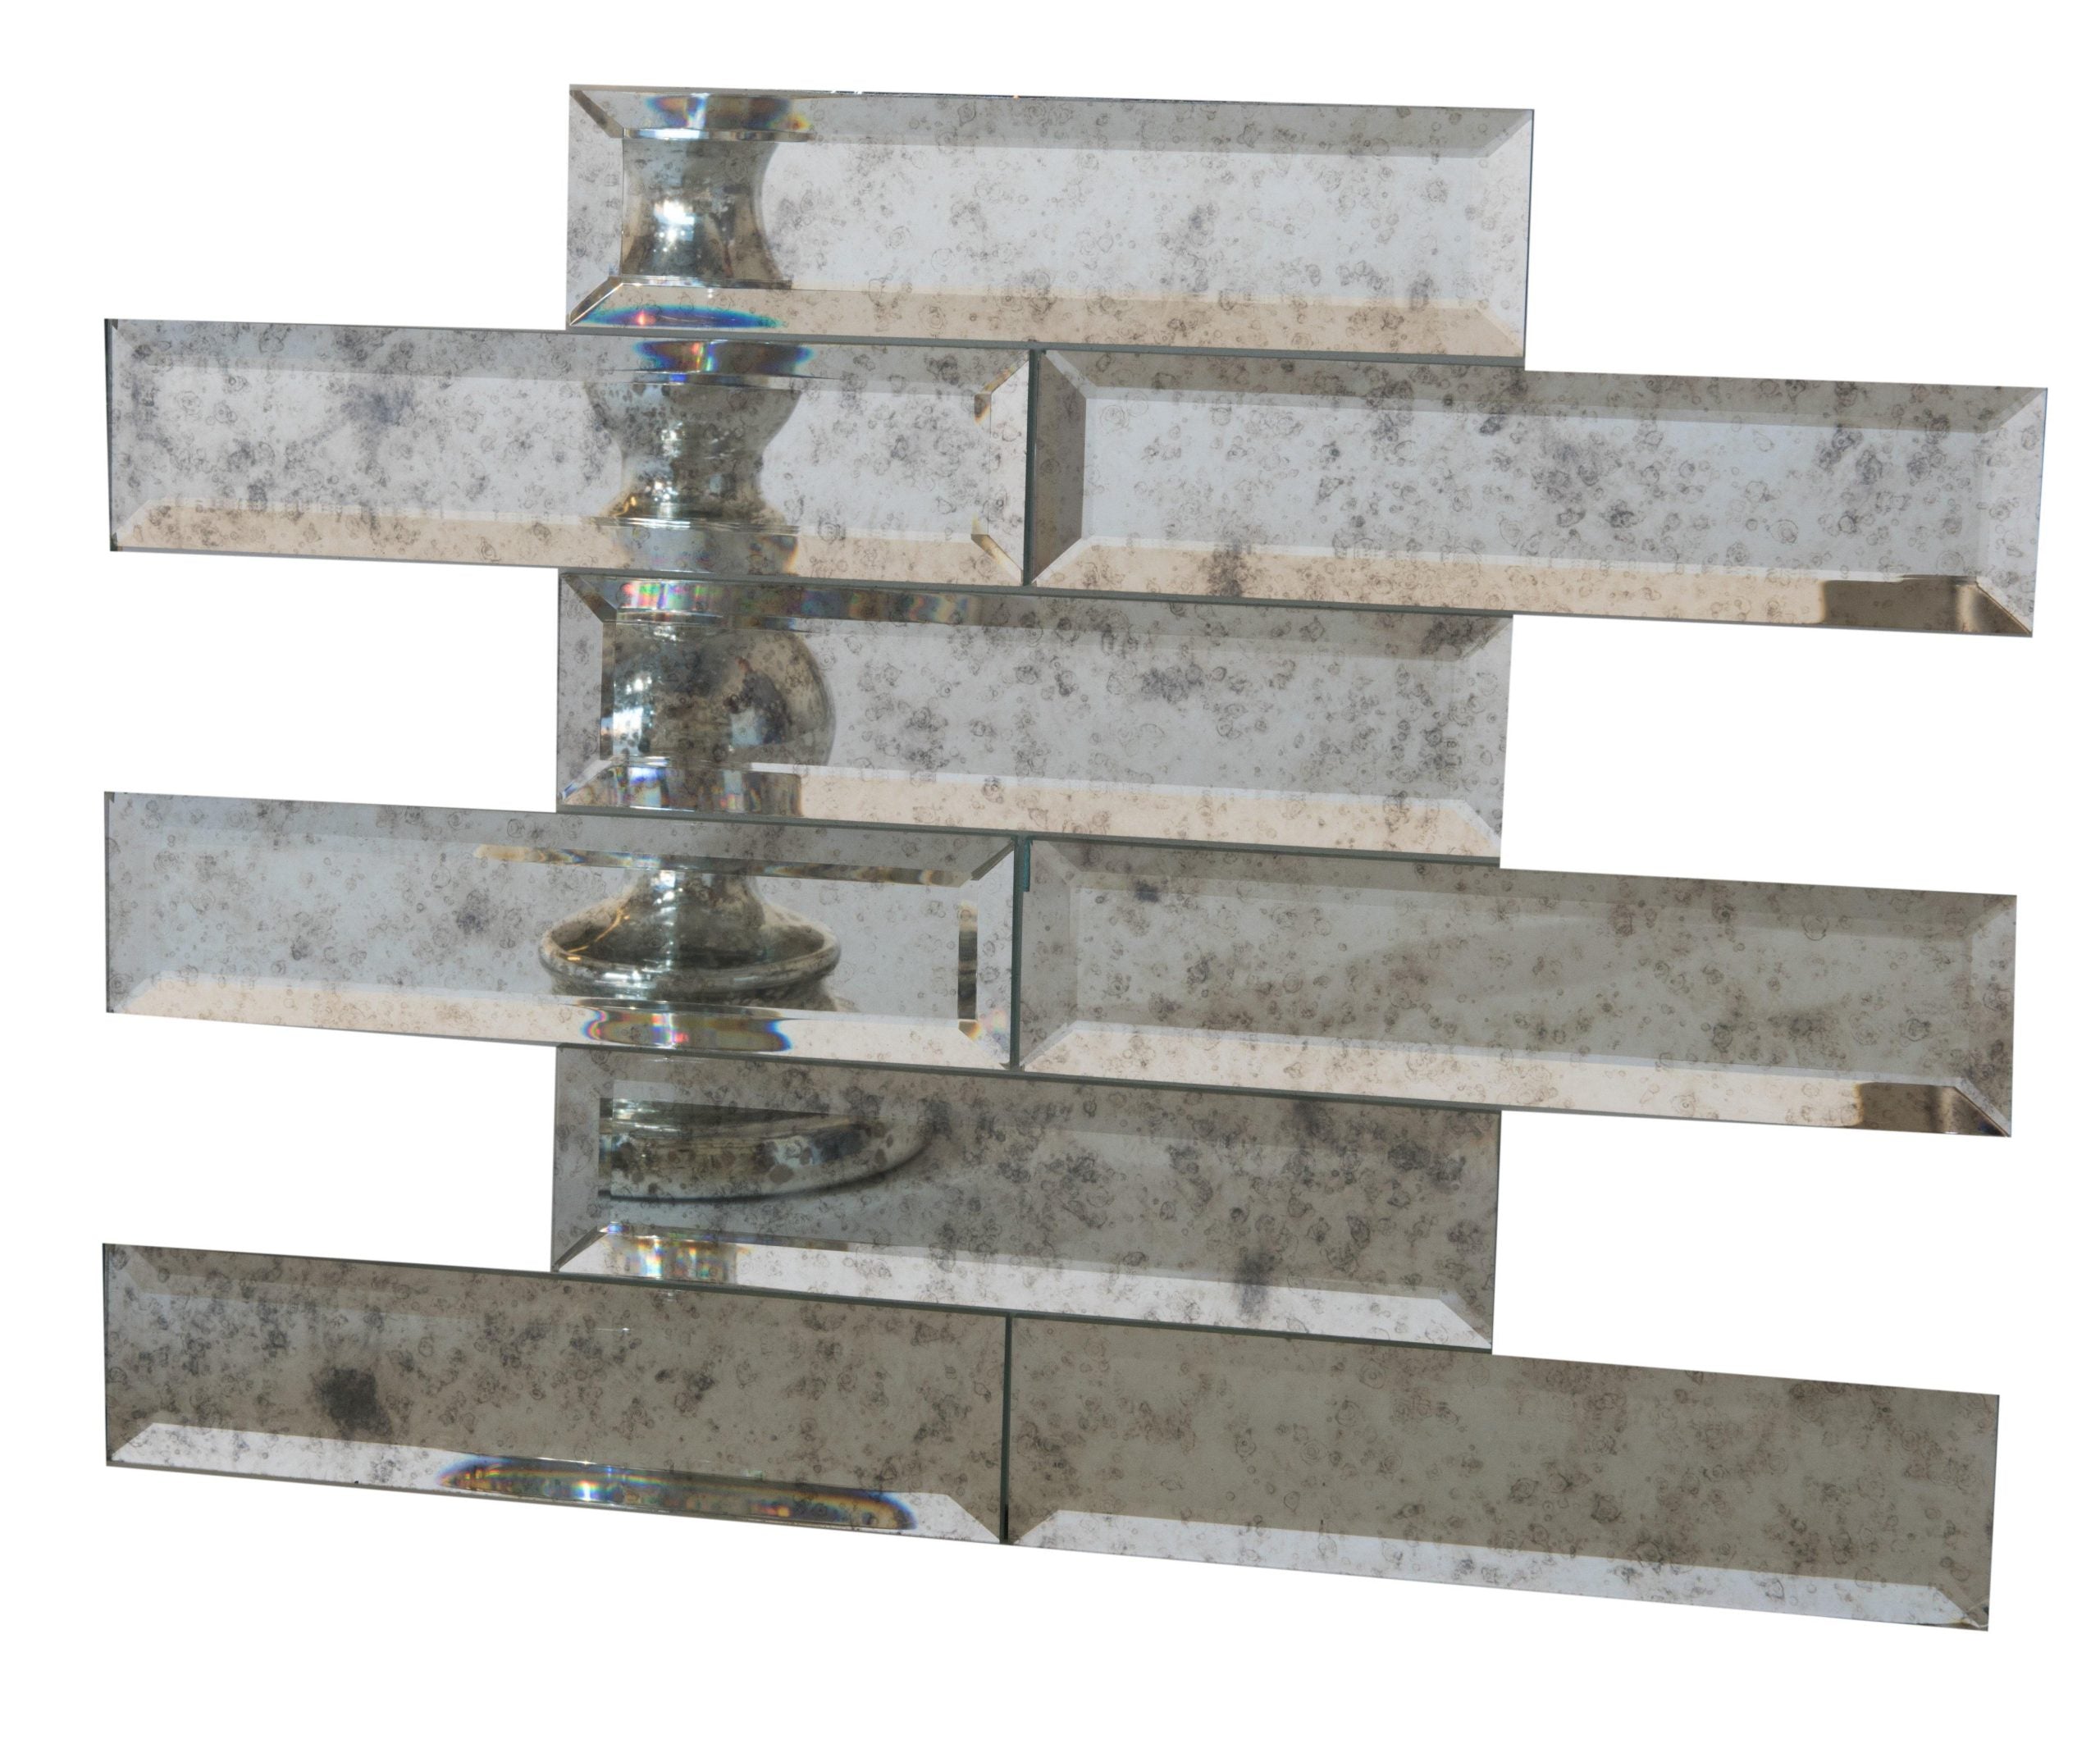
B. Consider Tile Size and Pattern
Some layouts (like herringbone or diagonal patterns) create more waste. If you're using mosaics or small pieces, make sure to order by the sheet coverage, not just individual tile size.
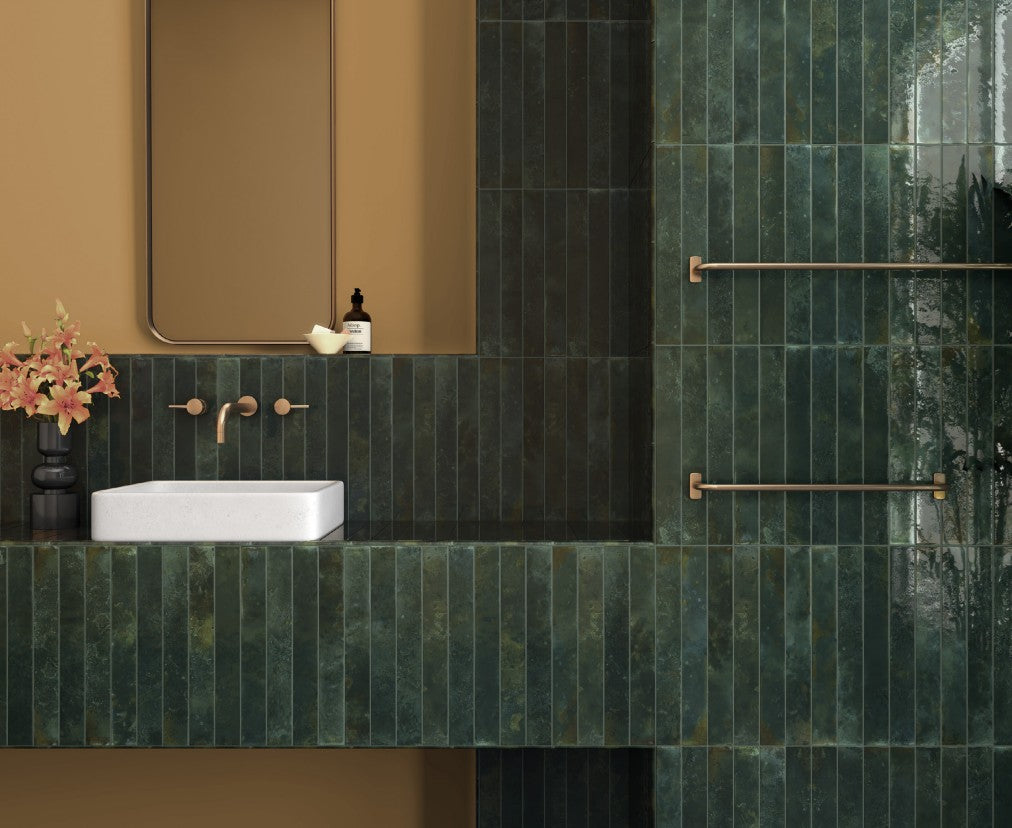
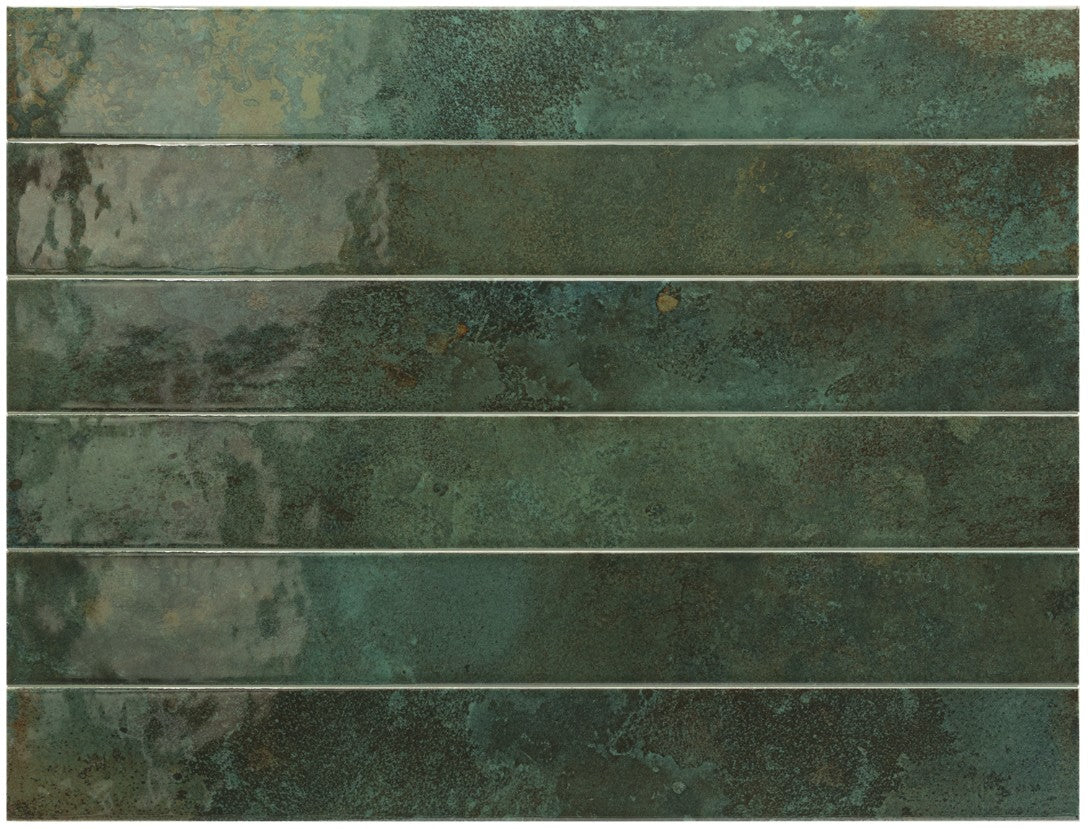
Step 3: Choose a Layout and Design
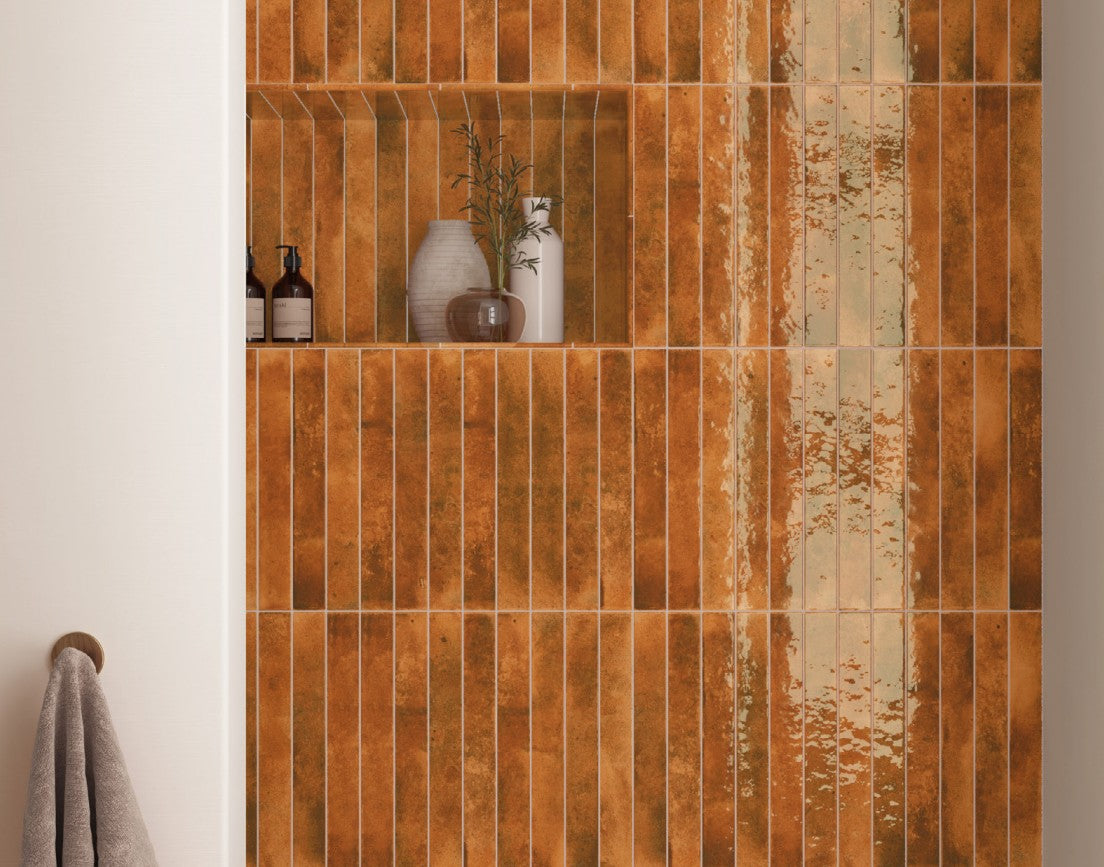
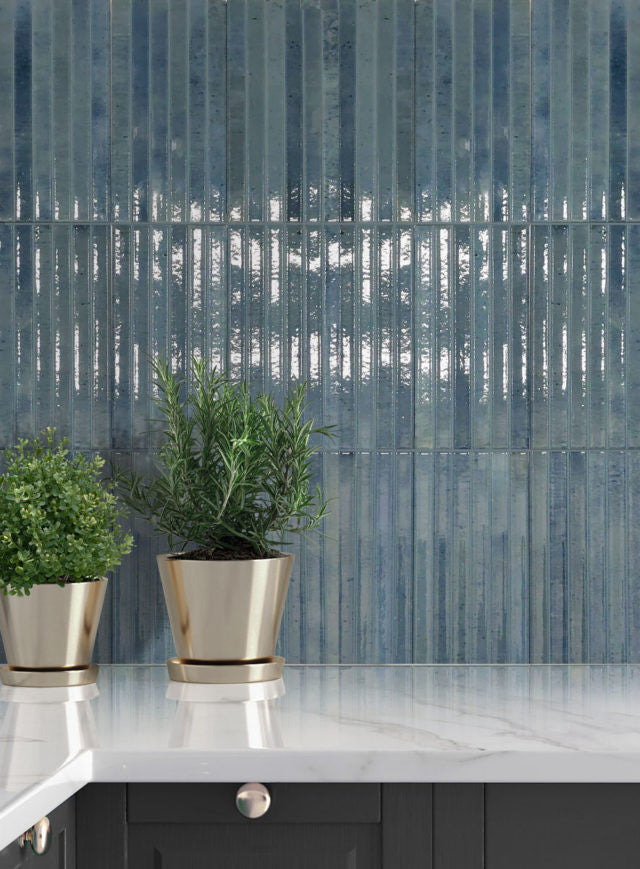
The way your tile is laid out has a big impact on the overall look and on how much material you need. Here are some popular kitchen backsplash layouts to choose from:
Common Layouts:
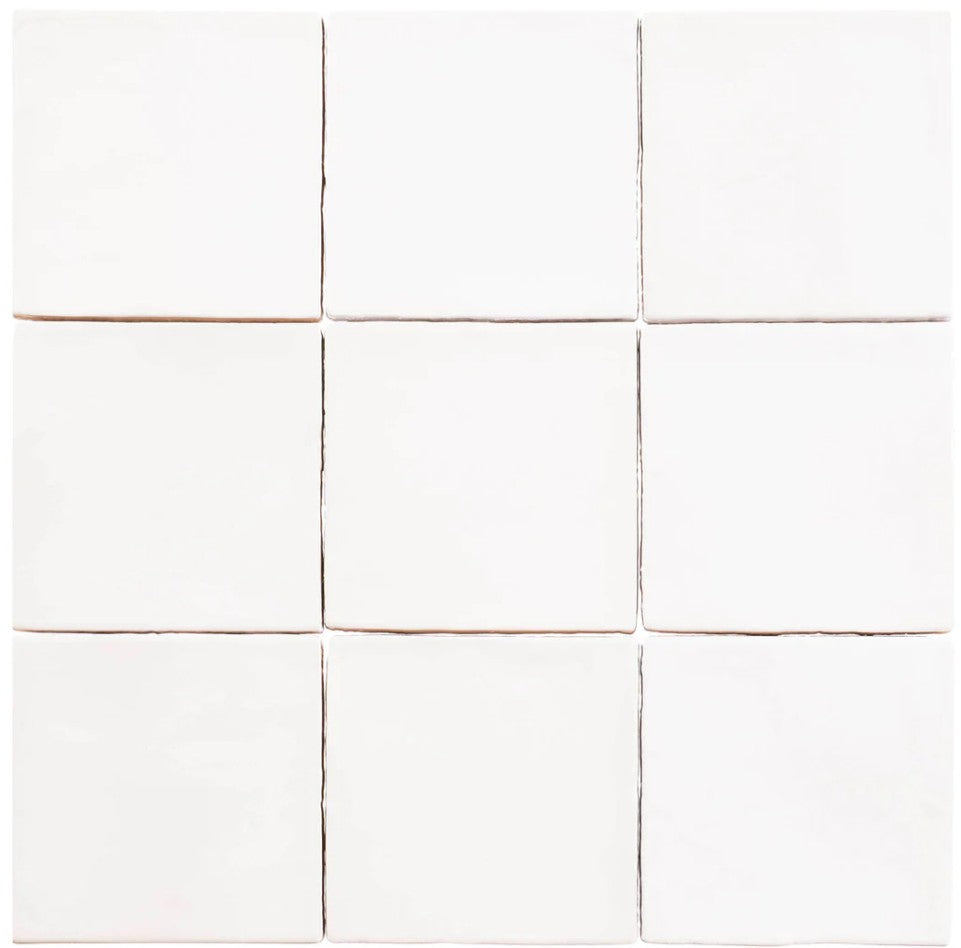
- Straight/Stacked: Clean and modern, uses minimal cuts
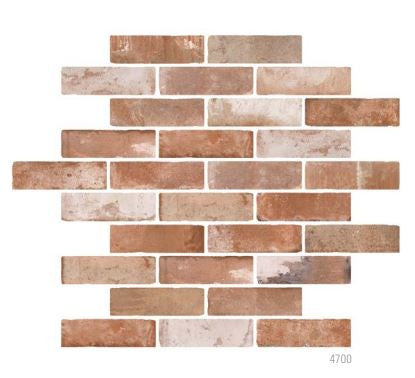
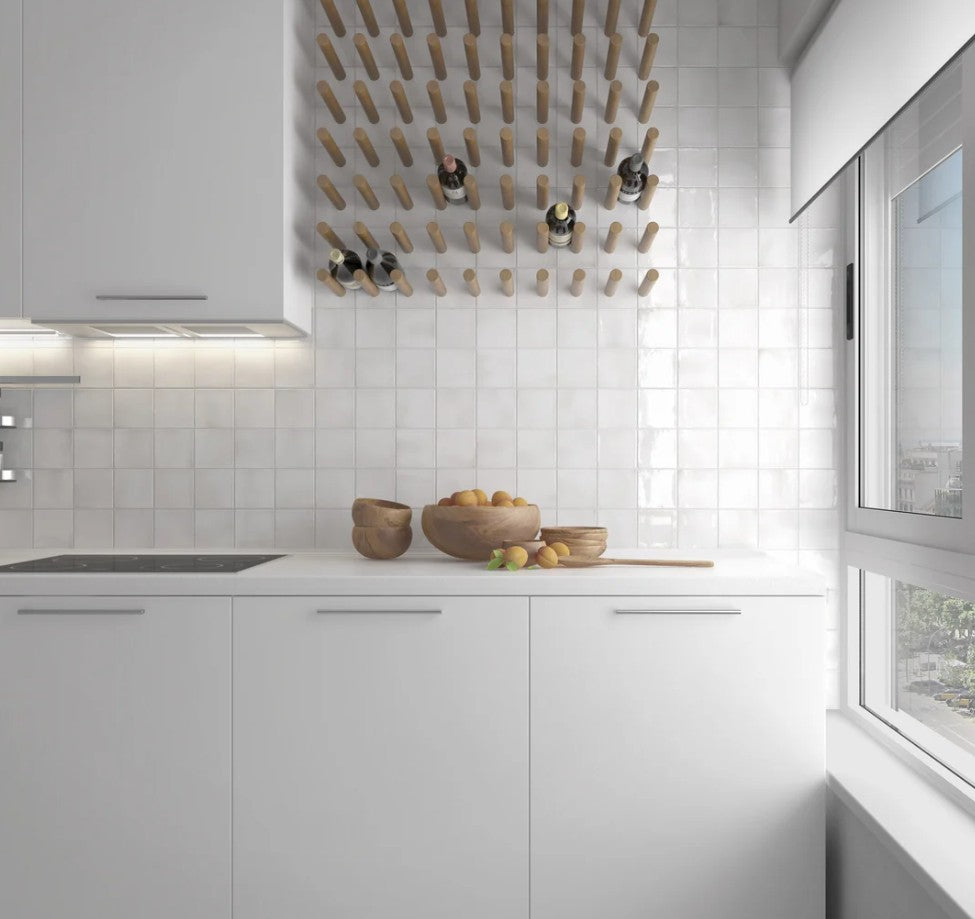
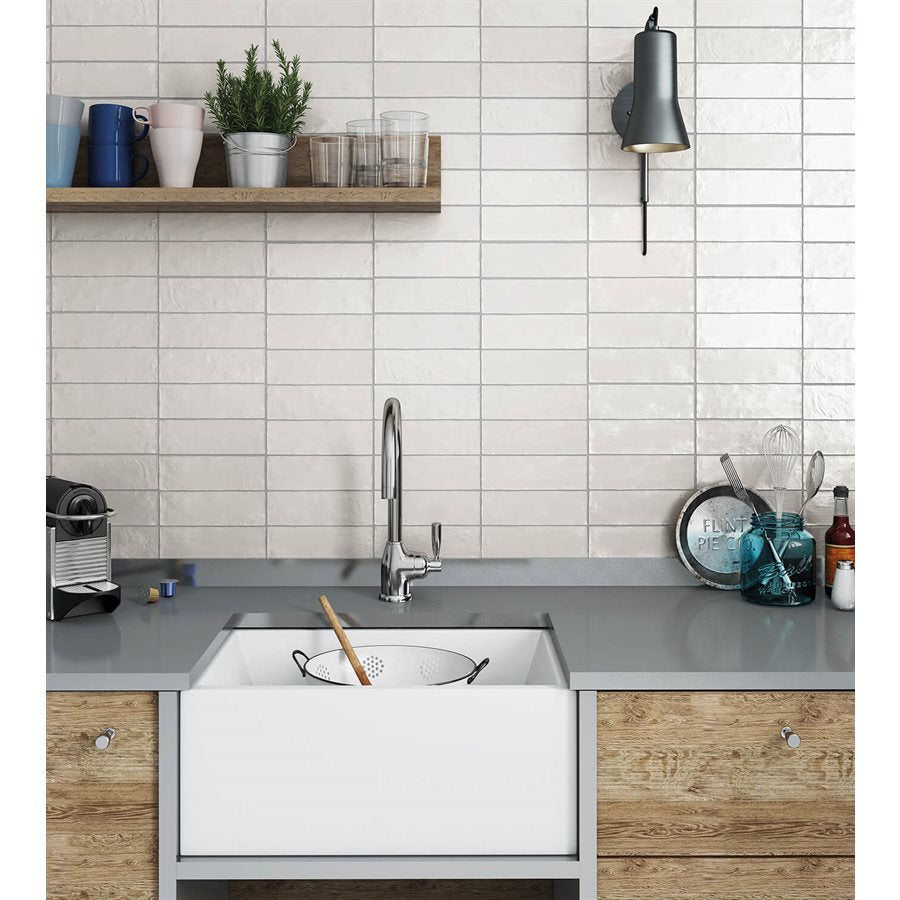
- Brick/Offset: Classic subway pattern, good for hiding imperfections
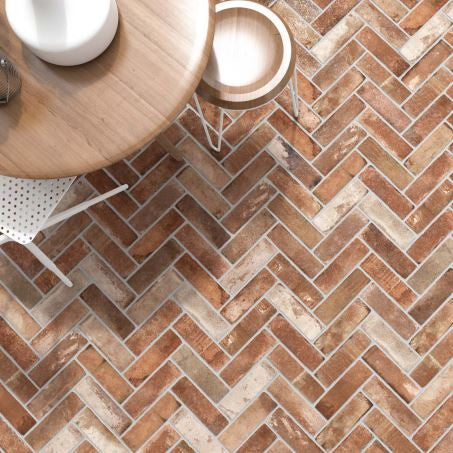
- Herringbone: Dynamic and stylish, requires more cuts and planning
- Diagonal: Adds movement but increases material waste

Sketch your layout or use painter’s tape on the wall to visualize how the tiles will sit. This helps prevent surprises on installation day.
Step 4: Prep the Surface
A backsplash is only as good as the wall behind it. Proper prep is key to lasting results.
A. Clean the Wall
Remove grease, dust, and old adhesive. Wash with a degreasing cleaner and let it dry fully.
B. Smooth the Surface
Patch holes, sand rough areas, and prime if needed. The smoother the wall, the easier the tile will stick.
C. Mark Guidelines
Using a level, draw horizontal and vertical lines as guides. Start tiling from the center of your focal area (such as behind the stove) to keep symmetry.
Tools and Materials Checklist
Here’s what you’ll typically need for backsplash installation:
Tools:
- Tile cutter or wet saw
- Tape measure & level
- Trowel (notched)
- Tile spacers
- Grout float
- Sponge and bucket
Materials:
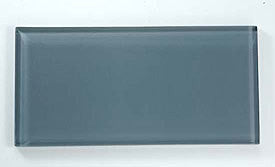
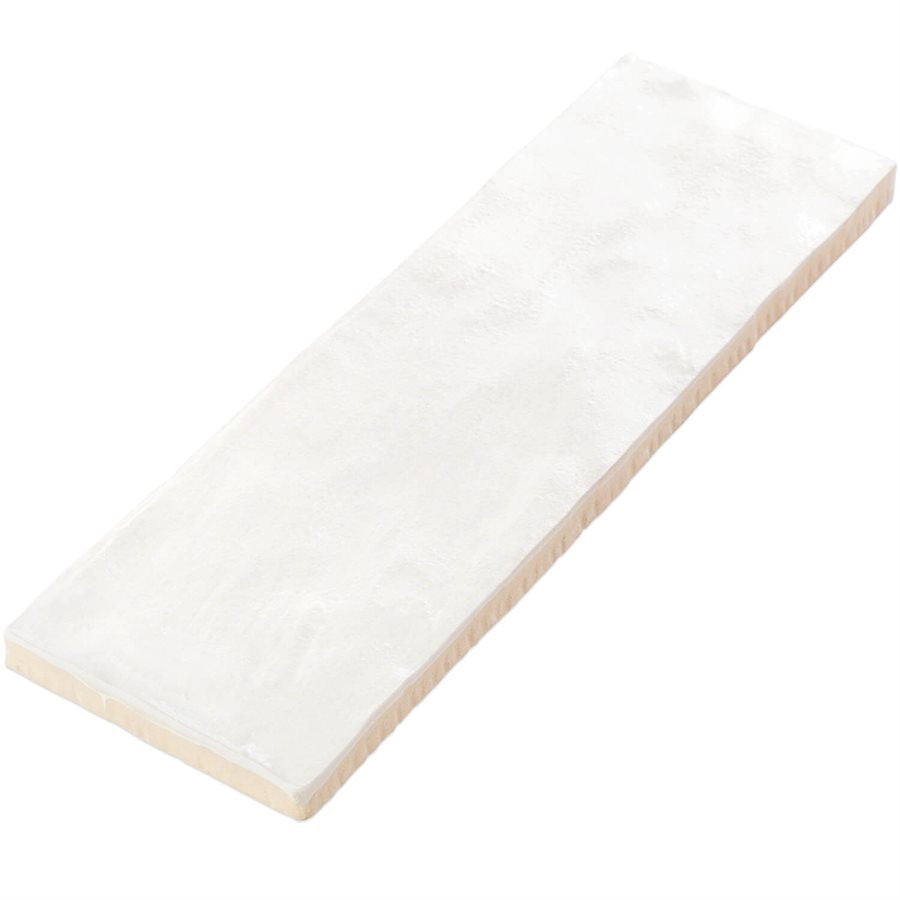
- Backsplash tile (plus extra)
- Tile adhesive (mastic or thinset)
- Grout (sanded or unsanded)
- Caulk (for edges and corners)
- Sealer (for natural stone)
💡 Be sure to match your grout and adhesive to your tile type and material.
Pro or DIY? Know When to Call an Expert
While many backsplash installations are DIY-friendly, certain materials or layouts may require a pro:
- Glass or metal tiles (which require special blades)
- Intricate patterns like waterjet mosaics
- Large-format tiles that need precise leveling
If you’re unsure, consulting with a tile professional can save time—and prevent costly mistakes.
Final Thoughts
Measuring and planning your kitchen backsplash might not be the most glamorous part of your project, but it’s arguably the most important. With accurate measurements, smart tile choices, and a well-prepped surface, you’ll set the stage for a beautiful installation that enhances your entire kitchen. Do not forget to consider where to end your kitchen backsplash as well!