

Choosing the right floor tiles can completely change the look and feel of your home. Most people focus on patterns or colors, but the real game starts with how your tile choices interact with ordinary things like light and daily foot traffic. Natural light alone can make tile colors and textures look totally different at various times of the day and figuring this out upfront could save you from expensive regrets.
Table of Contents
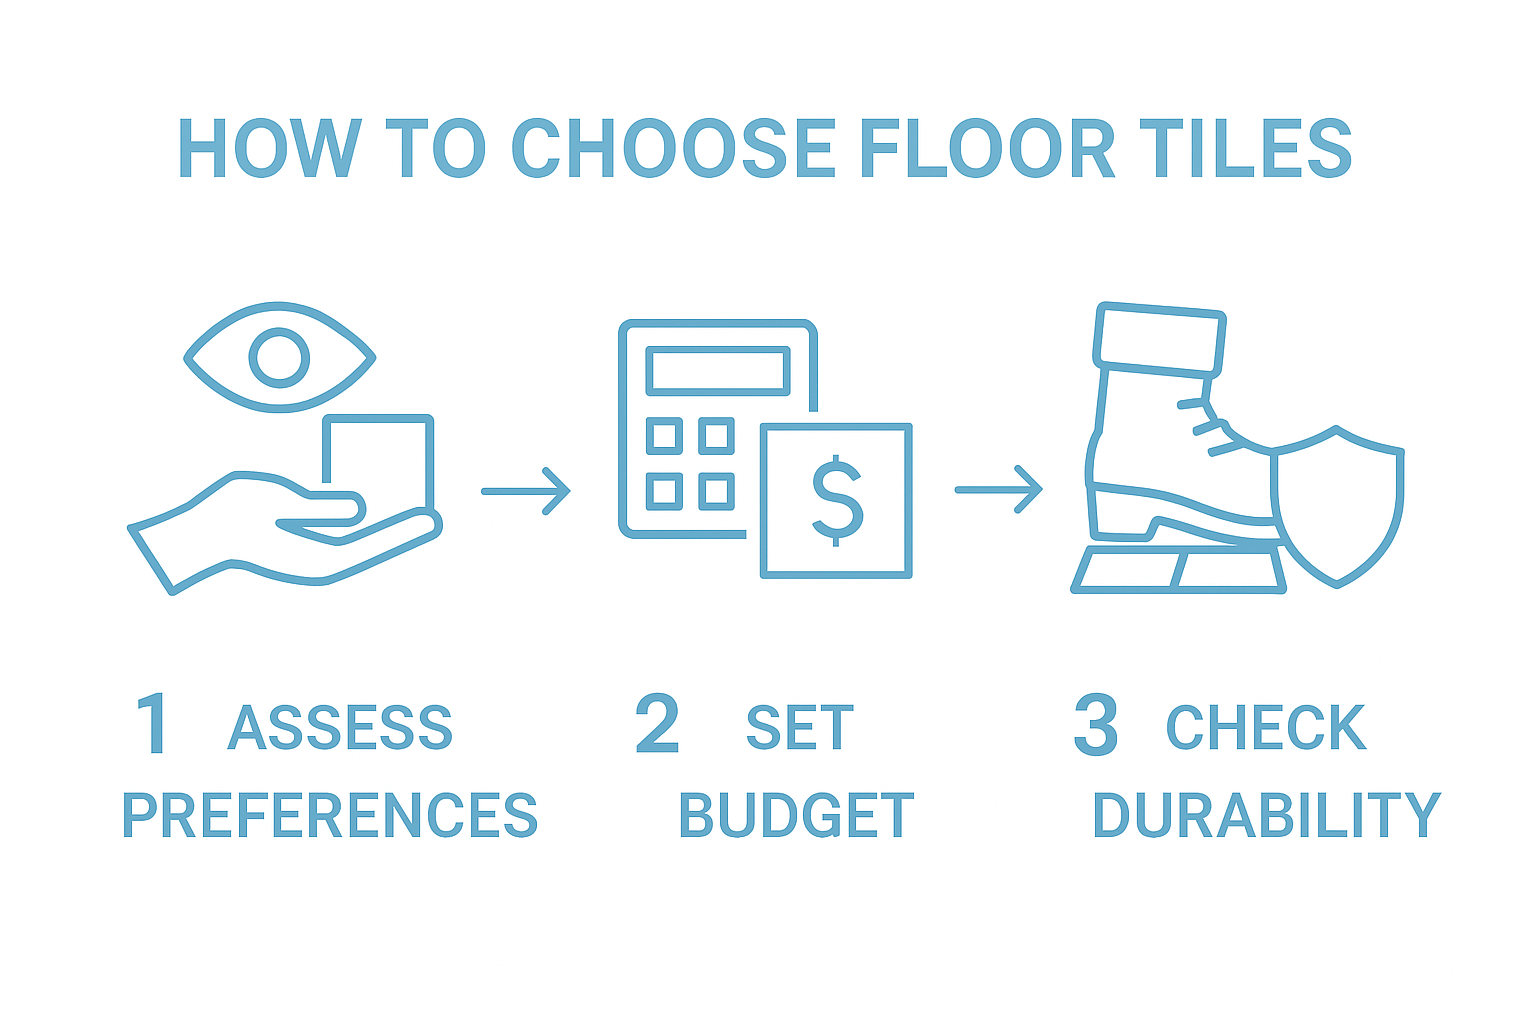
- Step 1: Assess Your Aesthetic Preferences And Needs
- Step 2: Determine Your Budget And Tile Types
- Step 3: Analyze Room Usage And Tile Durability Requirements
- Step 4: Explore Color, Texture, And Pattern Options
- Step 5: Gather Samples And Evaluate Compatibility
- Step 6: Finalize Your Selection And Plan Installation
Quick Summary
| Key Point | Explanation |
|---|---|
| 1. Assess aesthetic preferences first | Start your tile selection by understanding personal design visions and practical needs to guide your choices effectively. |
| 2. Determine a realistic budget | Include all costs related to tile selection, installation, and maintenance to avoid unexpected expenses. |
| 3. Analyze room usage and durability | Different rooms require specific tile performance characteristics to maximize longevity and functionality. |
| 4. Explore color, texture, and pattern | Choose tiles that reflect your personal style while complementing the existing architectural elements of your space. |
| 5. Gather samples for evaluation | Request tile samples to assess compatibility with your space visually and physically before making a final decision. |
Step 1: Assess Your Aesthetic Preferences and Needs
Selecting floor tiles begins with a critical self-assessment of your personal design vision and practical requirements. This foundational step transforms tile shopping from an overwhelming task into an exciting design journey. Your floor tiles are more than just functional surfaces they are visual storytellers that reflect your home’s unique personality and style.
Start by examining the specific room where you plan to install tiles. Each space carries its own character and demands a tailored approach. A kitchen requires different tile considerations compared to a bathroom or living area. Consider the room’s existing color palette, architectural elements, natural light conditions, and overall design aesthetic. Natural light can dramatically impact how tile colors and textures appear, so observe the space at different times of day to understand how visual perception might shift.
Your lifestyle plays a crucial role in tile selection. For high-traffic areas like entryways or kitchen floors, durability becomes as important as visual appeal. Households with children or pets need tiles that can withstand constant movement, potential spills, and occasional rough handling. Families might prioritize slip-resistant surfaces and materials that can easily hide minor scratches or wear. Read more about selecting durable tile designs that balance aesthetic charm with practical resilience.
Consider creating a mood board or digital inspiration collection to clarify your design preferences. Collect images of tile styles you love from design magazines, websites, and social media platforms. Look for recurring patterns like color schemes, textures, and geometric designs that consistently attract your eye. This visual research helps translate abstract preferences into concrete tile selection criteria. Pay attention to how different tile materials ceramic, porcelain, natural stone communicate distinct design languages and emotional responses.
Finally, remember that tile selection is a holistic process. Your chosen tiles should harmonize with surrounding elements like wall colors, furniture, and architectural features. A successful tile choice feels effortless and integrated, as if the floor has always been an intentional part of the room’s design narrative. Take your time, explore various options, and trust your aesthetic intuition.
Step 2: Determine Your Budget and Tile Types
Budgeting for floor tiles requires a strategic approach that balances financial constraints with design aspirations. Your tile selection journey now transitions from aesthetic exploration to practical financial planning. Understanding the true cost of tile installation involves more than just the price per square foot - it encompasses material expenses, installation costs, maintenance requirements, and long-term value.
Begin by establishing a realistic budget range that considers not just tile purchase prices, but also additional expenses like underlayment, grout, adhesive, and professional installation. Homeowners often underestimate these supplementary costs, which can add 20-30% to the total project expense. Explore our comprehensive guide on tile installation costs to help you develop a more accurate financial projection.
Tile types present a fascinating spectrum of options, each with distinct price points and performance characteristics. Ceramic tiles offer an affordable entry point, typically ranging from $2 to $30 per square foot, making them an excellent choice for budget-conscious renovators. Porcelain tiles provide enhanced durability and water resistance, priced between $3 and $50 per square foot. Natural stone tiles like marble, granite, or travertine represent the premium category, with prices spanning $5 to $100 per square foot, delivering unparalleled aesthetic sophistication but requiring more maintenance.
Consider your long-term investment perspective when selecting tile types. Cheaper options might seem attractive initially, but higher-quality tiles can offer better durability, reducing replacement and repair costs over time. Analyze the lifecycle cost rather than just the upfront price. Some premium tiles might have a higher initial investment but provide superior longevity and aesthetic appeal, potentially increasing your property’s overall value.
Here is a comparative overview of common floor tile types, summarizing key features and cost considerations mentioned in the article.
| Tile Type | Typical Price Range (per sq ft) | Durability | Water Resistance | Maintenance Level |
|---|---|---|---|---|
| Ceramic | $2 - $30 | Good for most rooms | Moderate | Low |
| Porcelain | $3 - $50 | Highly durable | Excellent | Low |
| Natural Stone | $5 - $100 | Varies by stone type | Needs sealing | Moderate-High |
Determine your budget’s flexibility by creating a tiered spending plan. Allocate funds into categories like essential requirements, desired features, and luxury elements. This approach allows strategic compromises without completely abandoning your design vision. For instance, you might choose a more affordable tile for larger floor areas while investing in a few accent tiles to create visual interest. Remember that creativity often thrives within constraints, transforming budgetary limitations into opportunities for innovative design solutions.
Step 3: Analyze Room Usage and Tile Durability Requirements
Evaluating room usage represents a critical junction in your tile selection process, where practical functionality meets aesthetic design. Different spaces demand unique tile performance characteristics, transforming your selection from a purely visual decision to a strategic architectural choice. Understanding how each room’s specific environment impacts tile durability will prevent costly mistakes and ensure long-lasting floor coverage.
Kitchens and entryways require the most robust tile solutions, facing constant foot traffic, potential liquid spills, and high impact stress. These high-activity zones need tiles with exceptional Percentage of Breaking Strength and superior water resistance. Ceramic and porcelain tiles with low water absorption rates become ideal candidates, offering remarkable durability against daily wear and tear. Explore our comprehensive guide on understanding floor tile types to help you make an informed selection.
Bathrooms and moisture-prone areas demand a completely different tile strategy. Here, slip resistance, water impermeability, and mold prevention become paramount considerations. Textured porcelain tiles with slightly rough surfaces provide excellent traction, reducing slip risks in wet environments. Natural stone tiles like slate or granite can offer beautiful alternatives, but require more consistent sealing and maintenance to preserve their protective qualities. Consider the specific humidity levels, potential water exposure, and cleaning frequency when making your selection.
Residential spaces like living rooms and bedrooms allow more design flexibility while still requiring thoughtful durability assessment. These areas typically experience moderate foot traffic, enabling you to prioritize aesthetic preferences alongside moderate performance requirements. Larger format tiles can create seamless visual expanses, while smaller mosaic tiles offer intricate design possibilities. Evaluate your household’s specific lifestyle factors such as presence of children, pets, or frequent entertainment to determine the ideal tile resilience level.
Ultimately, successful tile selection emerges from a holistic understanding of your space’s unique demands. Observe how sunlight, temperature fluctuations, and daily activities might impact your floor’s long-term performance. By matching tile characteristics precisely to each room’s functional requirements, you transform floor selection from a mere purchasing decision into a strategic design investment.
Step 4: Explore Color, Texture, and Pattern Options
Color, texture, and pattern selection transforms floor tiles from mere functional surfaces into powerful design statements that define your space’s emotional atmosphere. Your tile choices communicate a visual narrative, reflecting personal style while harmonizing with existing architectural elements. This step requires a nuanced approach that balances aesthetic preferences with practical design principles.
Begin by understanding how color interacts with light and space. Lighter tiles create an illusion of expansiveness, making smaller rooms feel more open and airy. Darker tiles ground a space, adding depth and sophistication to larger areas. Neutral tones provide remarkable versatility, allowing future design adaptations, while bold colors make dramatic statements. Consider the room’s natural lighting conditions different tile colors will appear dramatically different under morning sunlight versus evening artificial illumination. Read more about timeless tile pattern strategies to refine your design approach.
Texture introduces another critical dimension to tile selection. Smooth, polished tiles reflect more light and create a sleek, modern aesthetic perfect for contemporary spaces. Textured tiles like slate or handcrafted ceramics provide visual complexity and enhanced slip resistance, making them ideal for high-traffic areas or spaces requiring additional safety. Matte finishes offer a sophisticated, understated elegance that masks minor scratches and daily wear, while glossy surfaces deliver dramatic reflective qualities that can make a room feel more dynamic and energetic.
Pattern selection requires careful consideration of scale and room proportions. Large format tiles with minimal grout lines create a sense of spaciousness and contemporary sophistication. Smaller mosaic tiles or intricate geometric patterns introduce visual complexity and can define specific zones within an open floor plan. Consider the psychological impact of patterns some create a sense of movement and energy, while others provide calm, predictable rhythm. Geometric patterns like herringbone or chevron can transform floors into artistic statements, while traditional grid layouts maintain a classic, timeless appeal.
Remember that tile selection is ultimately about creating a cohesive visual experience. Your chosen colors, textures, and patterns should communicate a unified design language that resonates with your personal aesthetic and complements the surrounding architectural context. Take your time, experiment with samples, and trust your creative instincts.
Step 5: Gather Samples and Evaluate Compatibility
Gathering physical tile samples transforms your design journey from theoretical planning to tangible exploration. This critical step bridges imagination and reality, allowing you to experience tiles through touch, observe their interaction with your specific space, and make informed decisions beyond digital representations or showroom displays.
Initiate your sample collection by requesting multiple tile specimens from various manufacturers. Professional tile retailers typically offer complimentary or low-cost sample programs that enable comprehensive evaluation. Explore our comprehensive guide on tile selection techniques to understand nuanced sampling strategies. Bring home samples that represent your top color, texture, and pattern choices, ensuring they arrive in their full, unaltered dimensions.
Create a comprehensive compatibility assessment environment by positioning samples strategically throughout your intended installation space. Observe how different lighting conditions morning sunlight, afternoon shadows, artificial evening illumination dramatically transform tile appearances. Place samples adjacent to existing architectural elements like baseboards, wall colors, and furniture to evaluate visual harmony. Photograph these sample arrangements under various lighting conditions, creating a visual reference that allows objective comparison and reflection.
Consider creating a mock installation by temporarily arranging samples to simulate actual floor coverage. This technique provides invaluable insights into how tiles will interact spatially, revealing potential design challenges or unexpected visual dynamics. Pay attention to grout line interactions, tile edge transitions, and overall spatial proportions. Some homeowners find it helpful to use painter’s tape to outline potential tile layouts, helping visualize the final installation’s aesthetic and functional implications.
During your sample evaluation, perform practical compatibility tests. Drop water droplets to assess surface absorption rates. Simulate foot traffic by walking across samples with different shoe types. Examine how samples withstand minor scratches or impacts. These hands-on assessments provide crucial information about durability, maintenance requirements, and long-term performance that cannot be determined through visual inspection alone.
Remember that sample evaluation is an iterative process. Do not rush your decision. Live with samples for several days, allowing yourself time to develop a genuine appreciation or recognize potential design limitations. Trust your instincts while maintaining a balanced, analytical approach to ensure your final tile selection represents both aesthetic beauty and practical functionality.
This checklist table helps you ensure a thorough evaluation of tile samples before making your final selection, as recommended in the sampling section of the article.
| Evaluation Task | Why It Matters |
|---|---|
| Assess tile color in different lighting conditions | Ensures color matches actual room appearance |
| Place samples next to existing elements (walls, furniture) | Checks harmony with current design |
| Photograph samples in morning, afternoon, and evening | Provides visual reference for color/texture changes |
| Test for water absorption with droplets | Reveals tile’s moisture resistance and staining issues |
| Simulate foot traffic and minor impacts | Gauges scratch- and wear-resistance |
| Arrange a mock installation or layout | Helps visualize grout lines and spatial flow |
| Live with samples for several days | Allows time for thoughtful, non-rushed decisions |
Step 6: Finalize Your Selection and Plan Installation
Finalizing your tile selection marks the transition from design exploration to practical implementation. This pivotal moment transforms your carefully curated vision into a tangible home improvement project, requiring meticulous attention to technical and logistical details that ensure a successful installation.
Begin by conducting a comprehensive pre-installation assessment of your space. Measure the entire area with precision, accounting for every square foot and noting any architectural irregularities like corners, doorways, or unusual room shapes. Explore professional installation preparation techniques to understand the nuanced requirements of a successful tile project. Obtain approximately 10% extra tiles beyond your calculated square footage to accommodate potential cuts, breakage, and future repairs. This buffer prevents unexpected delays and ensures design continuity.
Evaluate your substrate conditions with critical scrutiny. The existing floor must be structurally sound, level, and free from moisture or structural compromises. Professional installers recommend checking floor flatness using a long straightedge, identifying any variations greater than 1/4 inch over a 10-foot span. Uneven surfaces require professional leveling or preparation to prevent tile lippage, cracking, or premature wear. Consider consulting a professional if your substrate presents significant challenges, as proper preparation is fundamental to long-term tile performance.
Determine your installation approach by assessing your personal skill level and project complexity. While DIY installation can reduce costs, complex rooms or intricate tile patterns might necessitate professional expertise. Professional installers bring specialized tools, technical knowledge, and warranty protections that can prevent costly mistakes. Request multiple quotes from reputable contractors, comparing their experience with your specific tile type and room requirements. Verify their credentials, review past project portfolios, and check customer testimonials to ensure alignment with your project vision.
Prepare a comprehensive installation timeline that accounts for material procurement, substrate preparation, actual installation, and post-installation curing. Different tile materials require unique setting and grouting protocols. Ceramic tiles might set differently compared to natural stone or porcelain options. Discuss precise installation techniques with your chosen professional, understanding the specific requirements for adhesive application, grout selection, and post-installation sealing.
Finally, protect your investment by maintaining detailed documentation. Keep all tile samples, purchase receipts, manufacturer warranties, and installation contracts. These documents become invaluable references for future maintenance, potential repairs, or property valuation. Your meticulous approach transforms tile selection from a mere design decision into a strategic home improvement investment.

Take the Next Step: Find Your Perfect Floor Tiles With Confidence
Are you feeling overwhelmed by the many choices and technical details involved in selecting floor tiles for your home or business? This guide covered everything from assessing your style preferences and practical requirements to understanding room usage, budget, and durability concerns. But knowing where to start and how to find quality samples or expert advice often remains a challenge for homeowners and designers alike.
At TileChoices.com, your design vision becomes reality through convenience and expertise. Our platform makes the entire process easier by letting you discover a curated selection of timeless tile designs, order free samples, and explore practical tips on installation cost planning. You get instant access to detailed product images, specifications, and secure ordering from the comfort of your home.

Ready to turn inspiration into action? Visit TileChoices.com to browse our complete selection and request your top samples now. Do not let decision fatigue slow your project. Unlock beautiful, durable floors designed for your lifestyle and built to last. Start your seamless tile journey today.
Frequently Asked Questions
What factors should I consider when selecting floor tiles?
When choosing floor tiles, consider your aesthetic preferences, the room’s function, existing color schemes, lighting, and traffic levels. Assess durability requirements for high-traffic areas and how tiles blend with other design elements.
How do I determine my budget for floor tiles?
Establish a budget that includes tile costs, installation fees, and additional materials. It’s advisable to factor in 20-30% for extra expenses beyond the tile price per square foot.
What type of tiles are best for high-traffic areas?
Ceramic and porcelain tiles are ideal for high-traffic zones due to their durability and low water absorption rates. Look for tiles with a high breaking strength and good water resistance to withstand daily wear and tear.
How can I ensure the color and texture of my tiles match my space?
Gather tile samples and evaluate them in your intended space, observing how they interact with your room’s lighting. Consider testing samples at different times of the day to see how the color shifts with natural light.


