Design Beyond the Basics: Make Your Shower Floor a Focal Point
When planning a bathroom remodel, most homeowners focus on shower walls or vanities. But the shower floor offers untapped potential for creativity and impact. With the right layout, pattern, and tile selection, your shower floor can become the hidden gem that elevates the entire room.
Whether you're working with a walk-in shower, a curbless entry, or a classic stall design, there are endless layout options that combine form and function. In this post, we’ll explore creative layout ideas for shower floor tiles that are both stylish and practical.
1. Classic Grid Pattern
The grid pattern is a timeless and clean look, ideal for square or rectangular tiles like 2"x2" or 4"x4". It creates a uniform surface and is easy to install, making it ideal for minimalist or modern designs. Stick with a monochromatic tile for a spa-inspired vibe, or play with contrasting grout for a subtle pop.
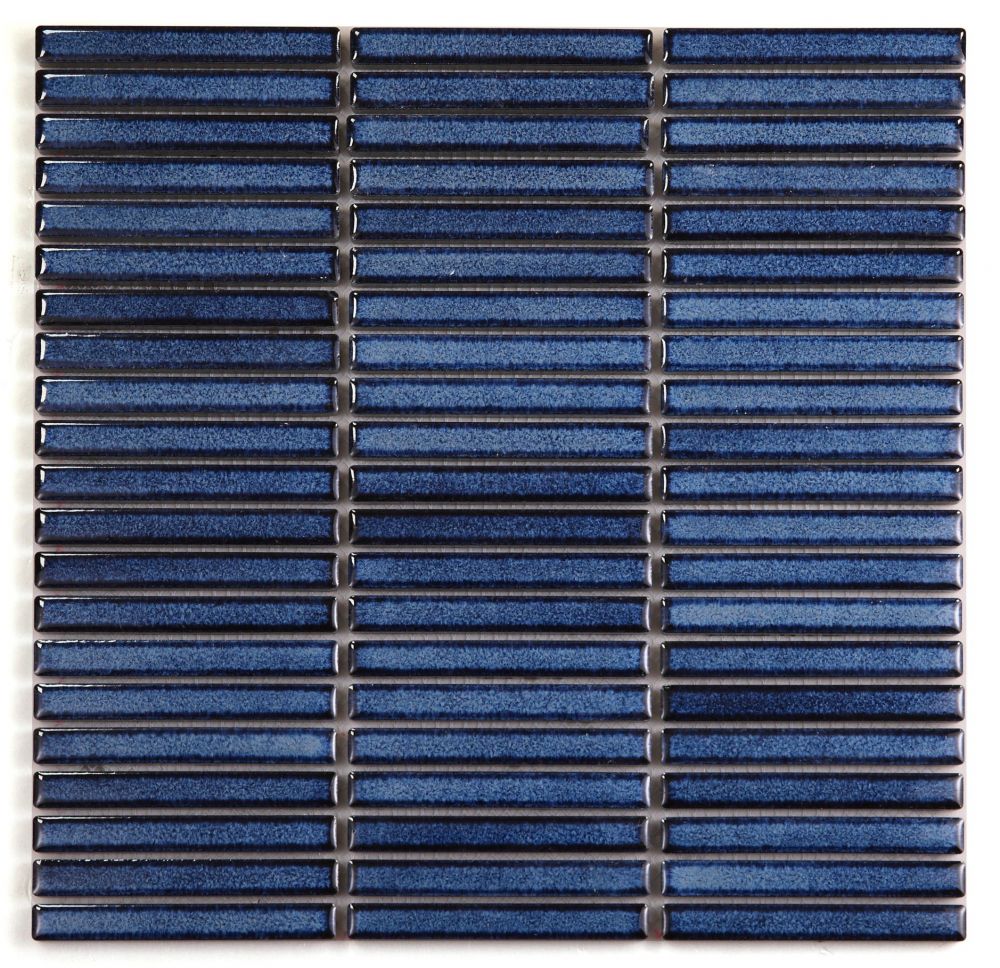
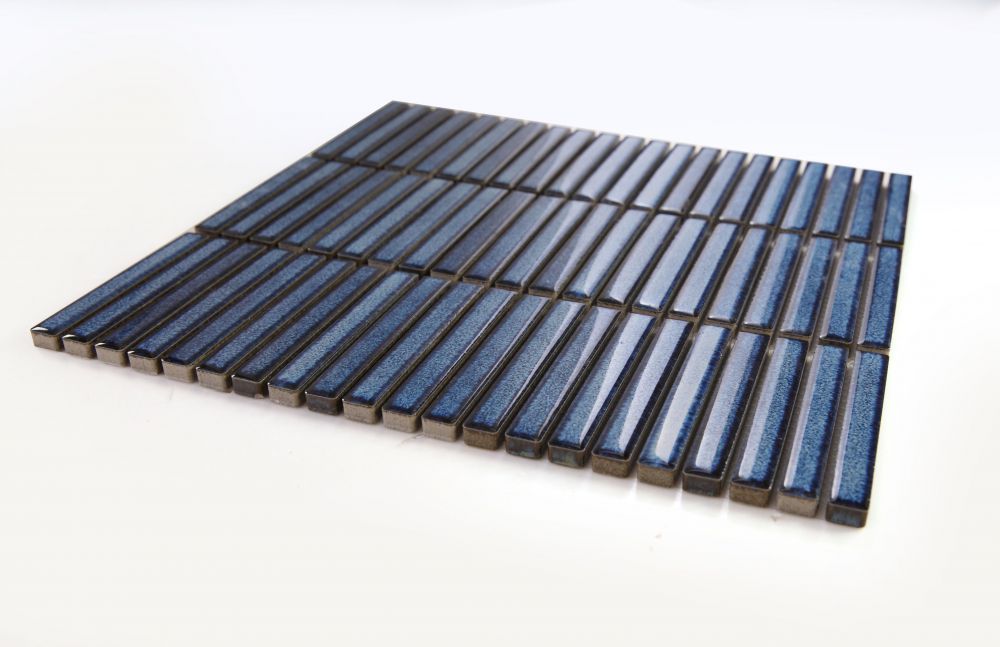
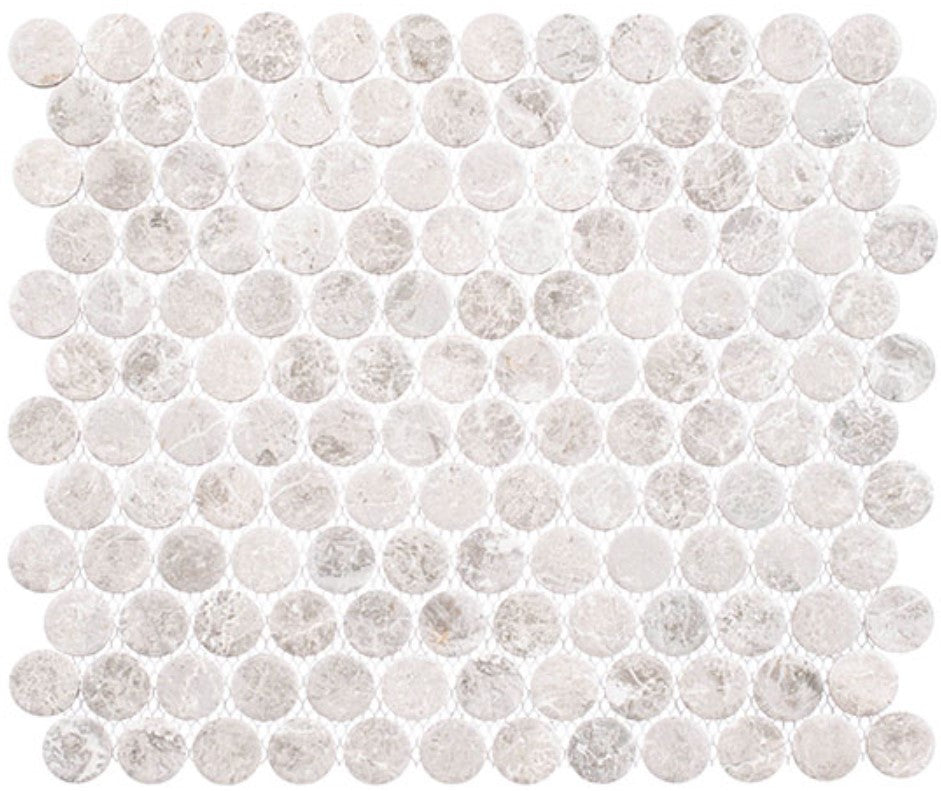
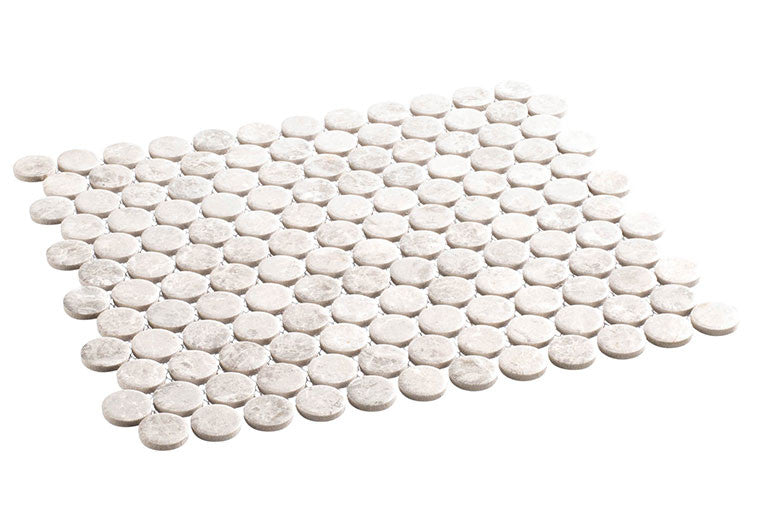
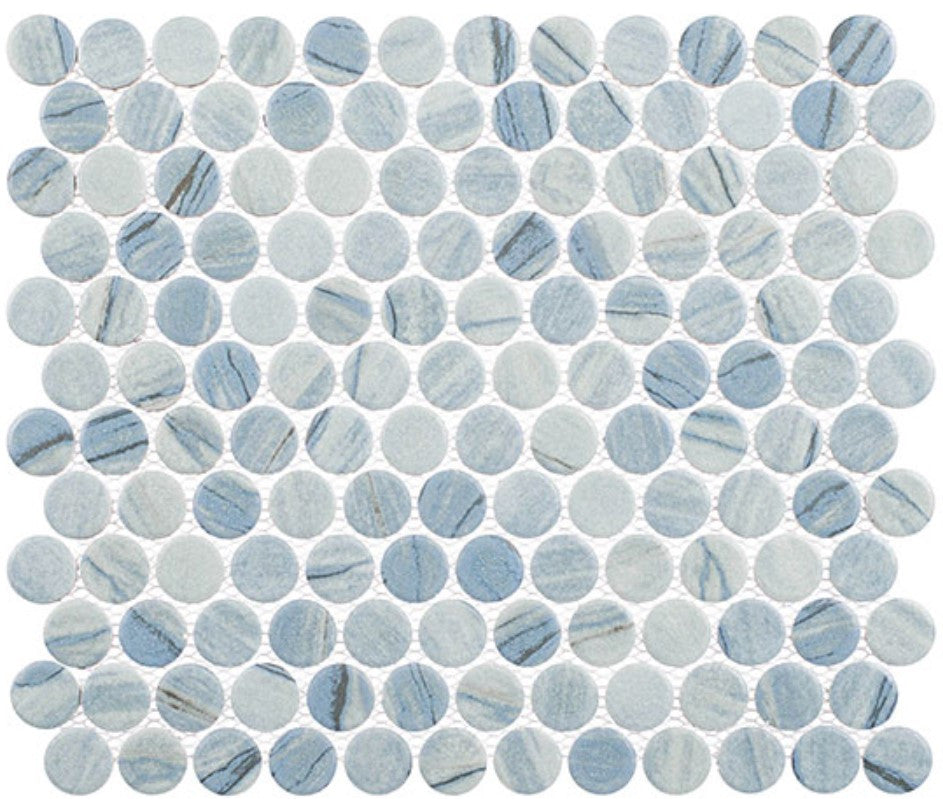
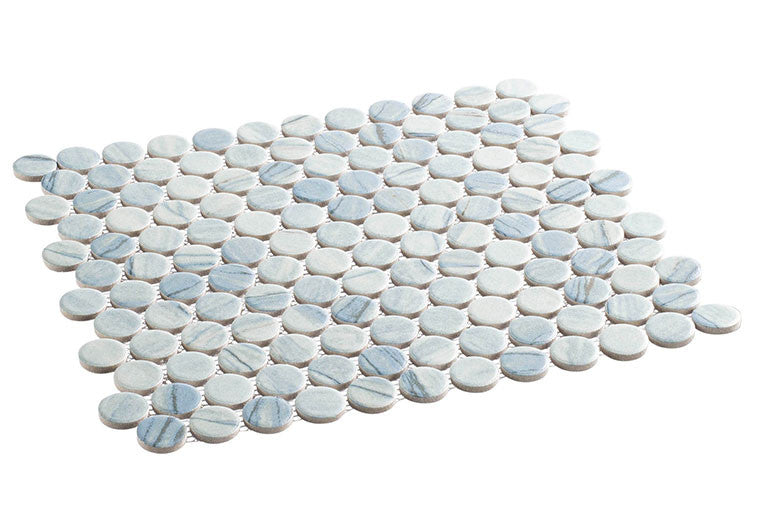
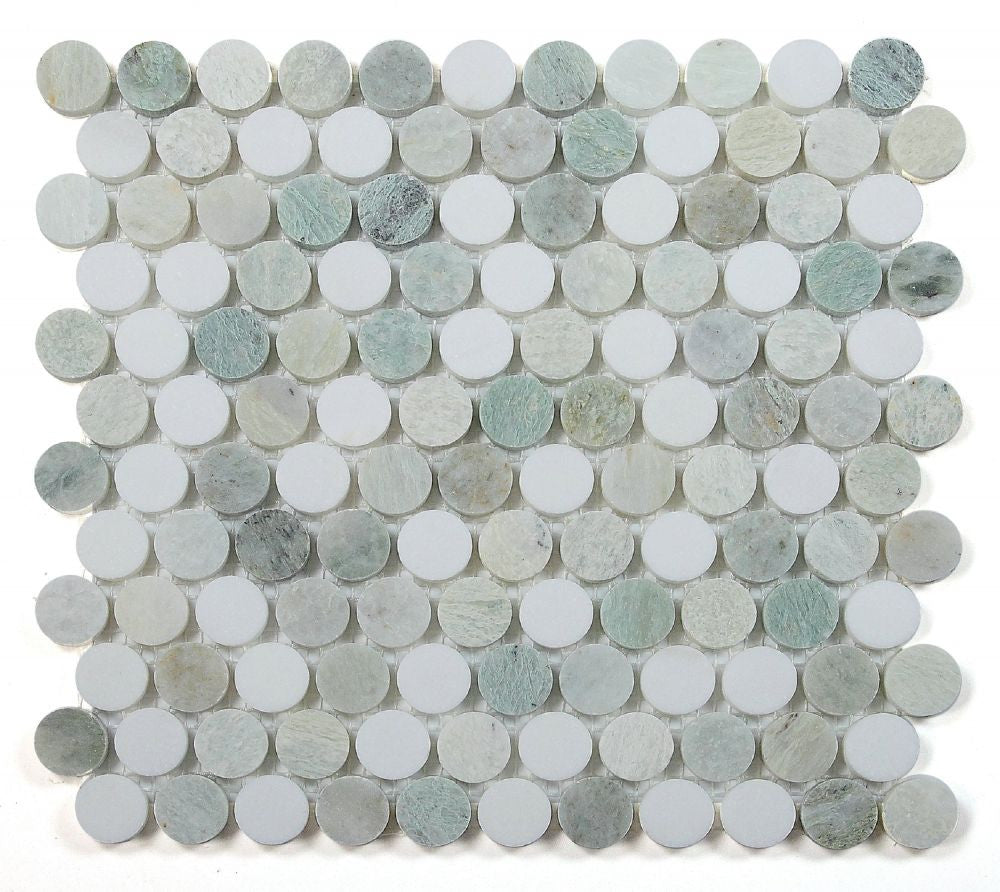
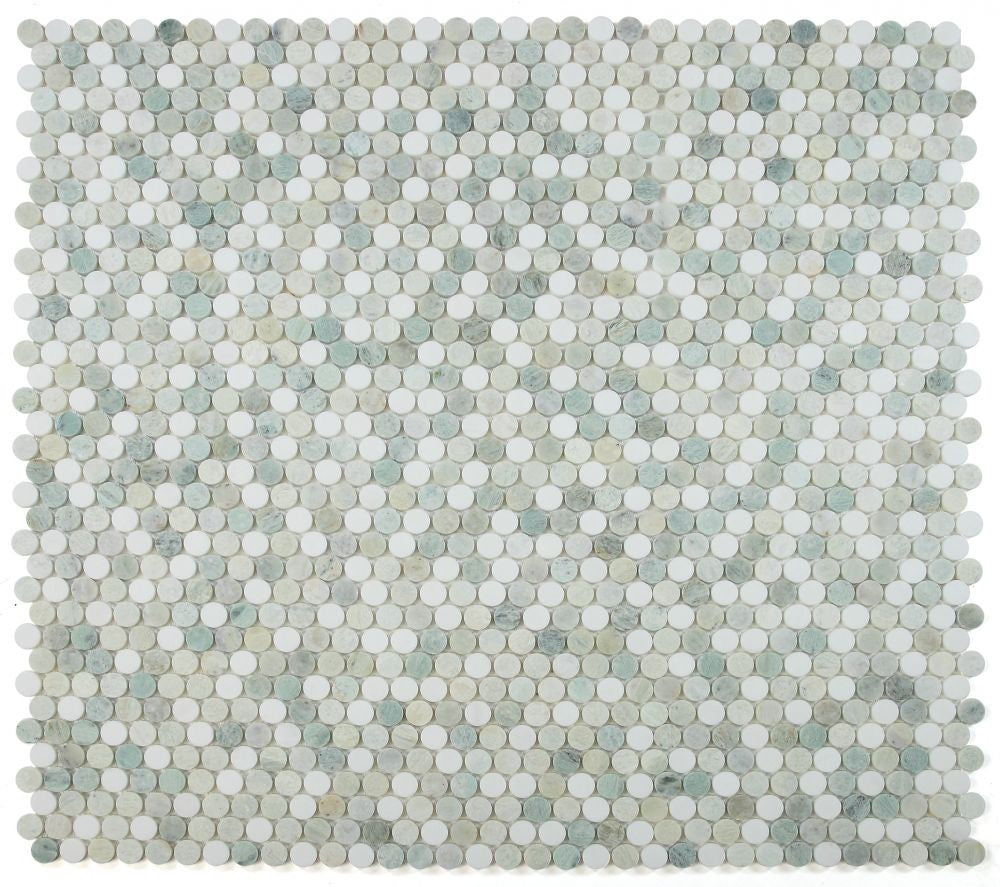
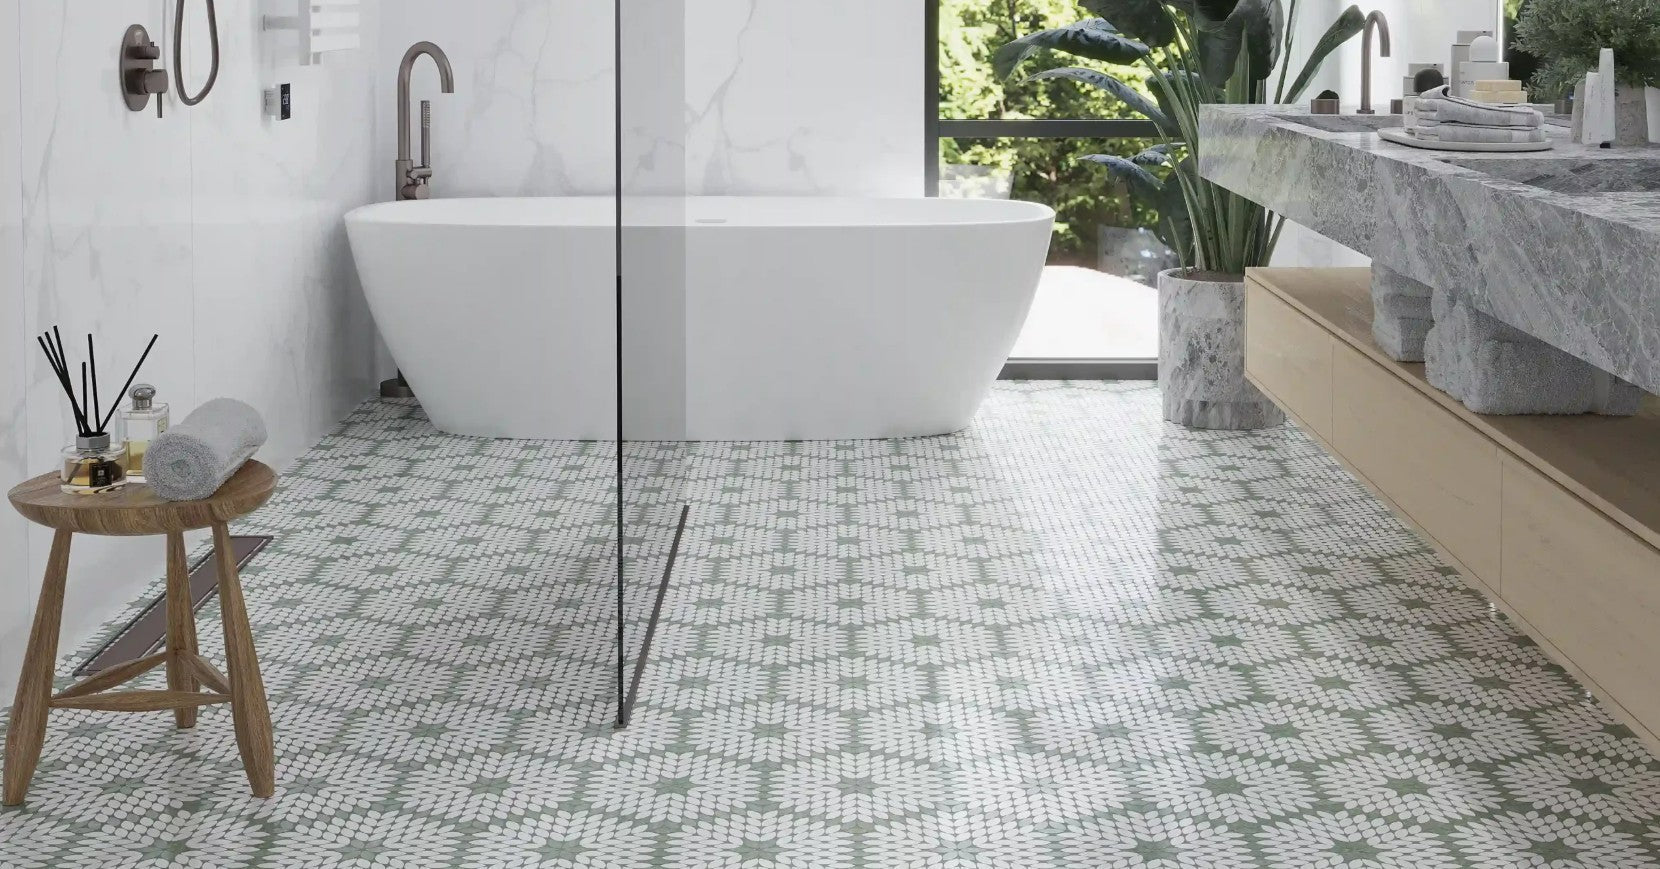
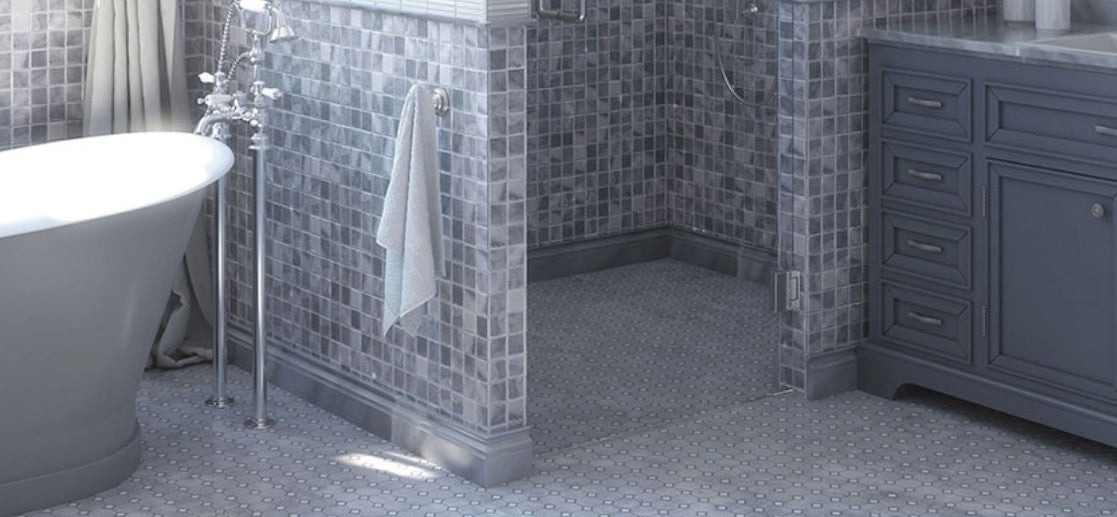
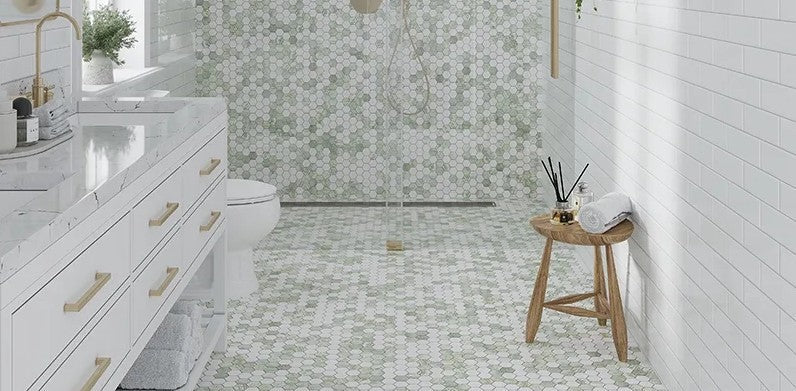
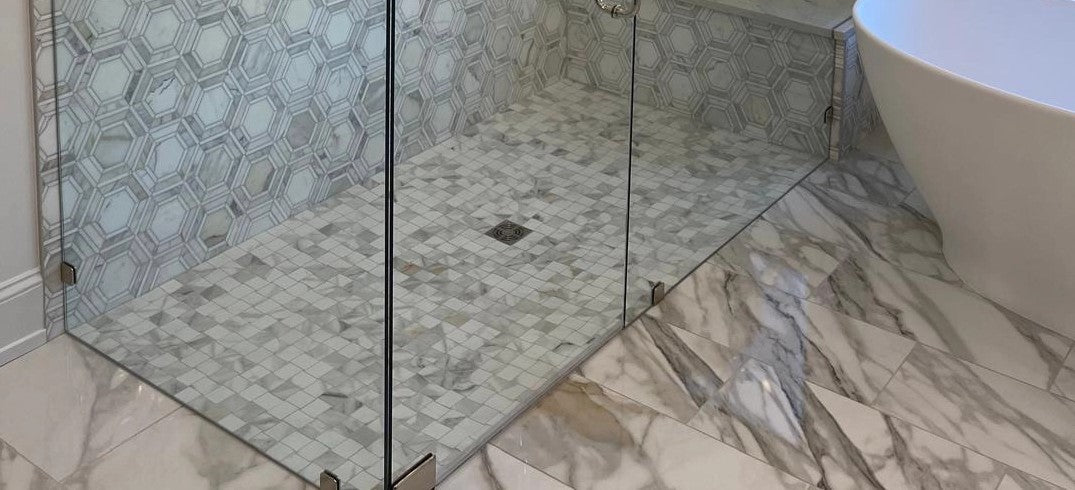
2. Mosaic Sheets
Mosaics are one of the most popular choices for shower floors due to their flexibility and slip resistance. Typically sold in 12"x12" sheets, they feature small tiles (usually 1"x1" or smaller) in a variety of materials like porcelain, glass, or stone. Layout options are nearly limitless:
- Hexagon mosaic sheets for a modern or vintage look
- Basketweave for traditional charm
- Pinwheel or windmill layouts for visual interest
Because of the small size, mosaics contour easily to sloped surfaces, making them ideal for wet zones and around drains.
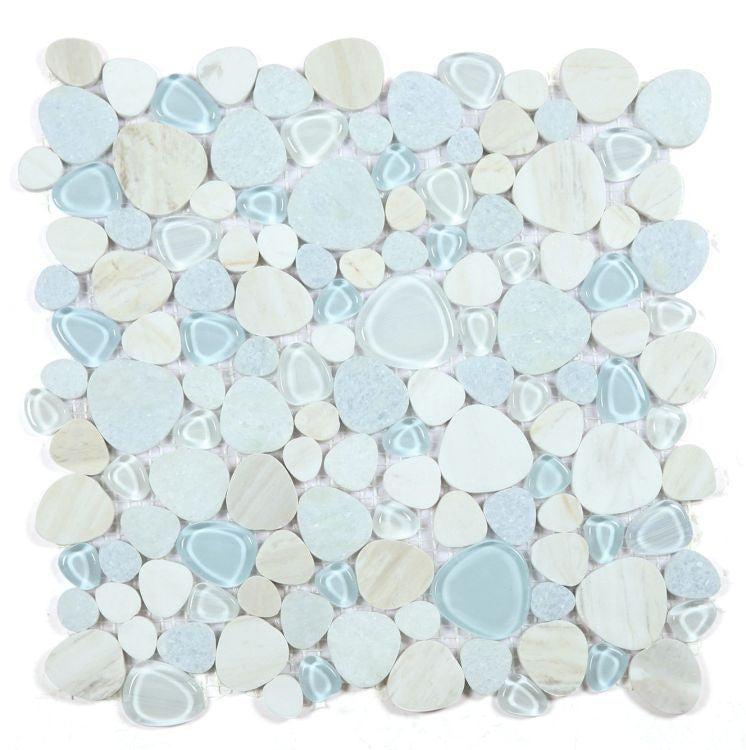
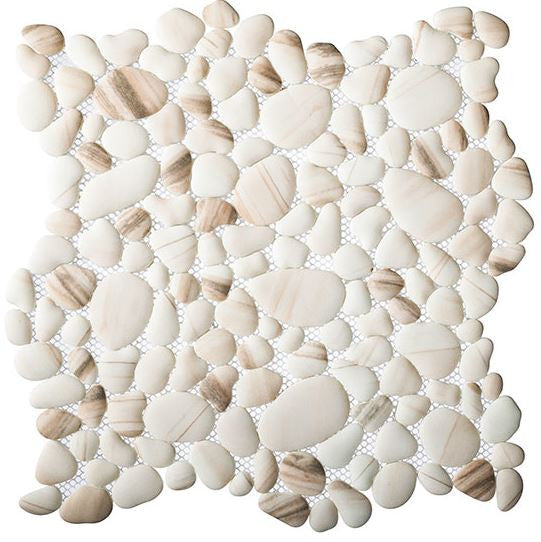
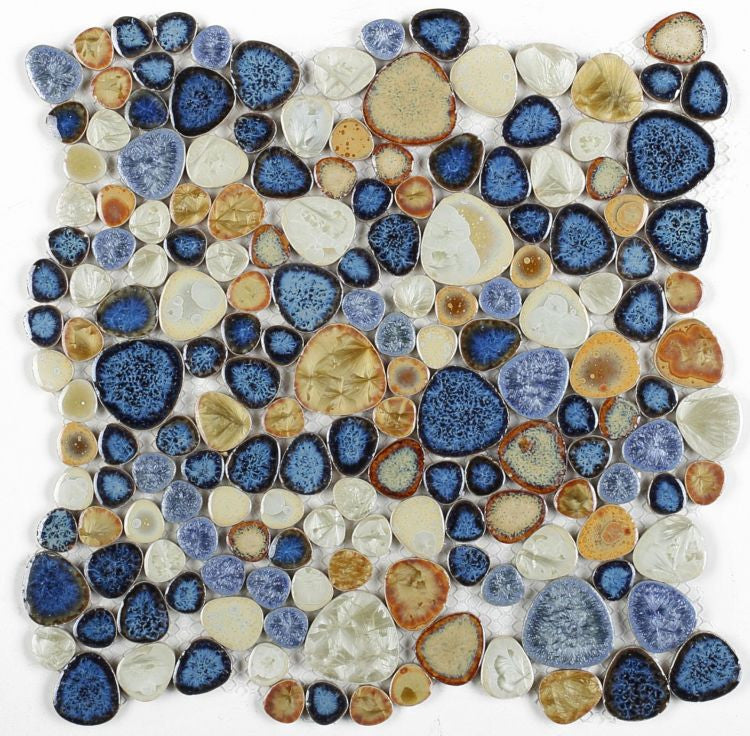
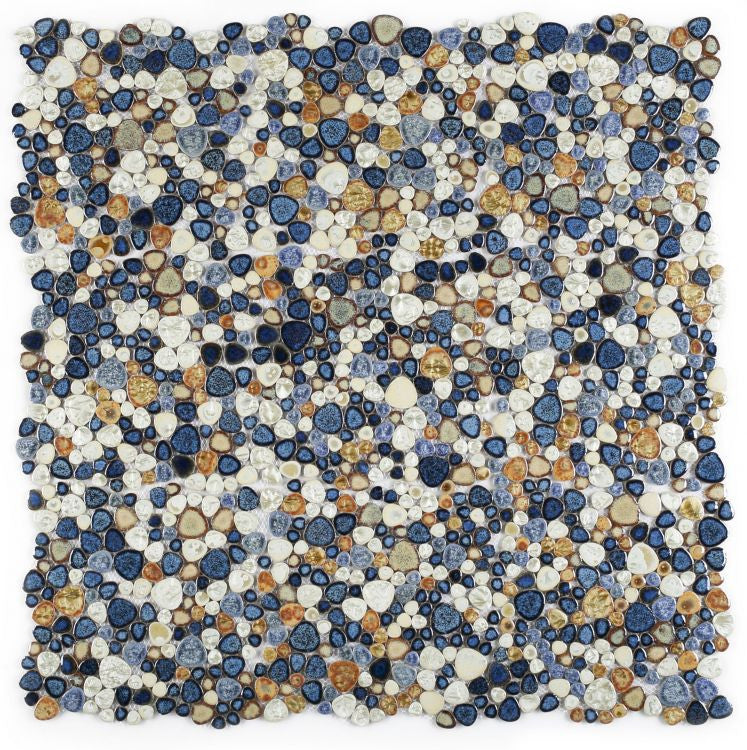
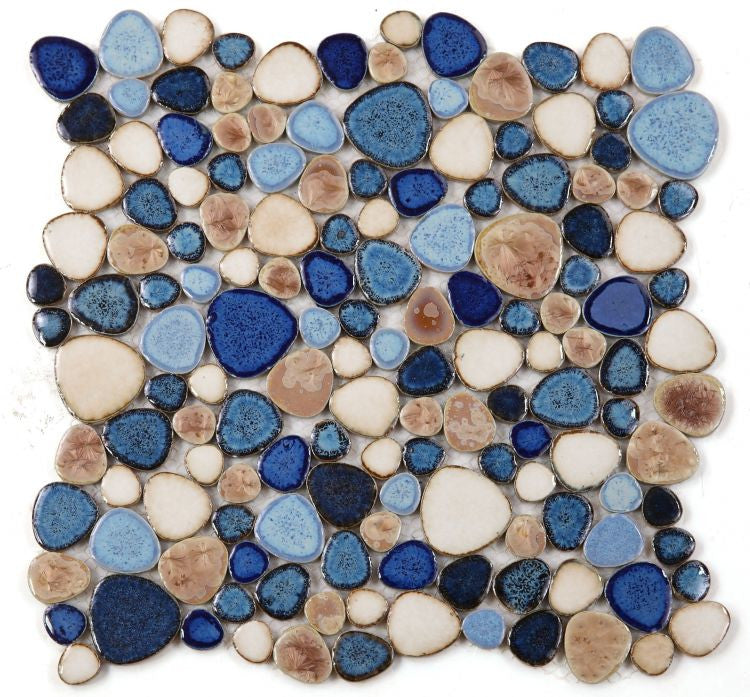
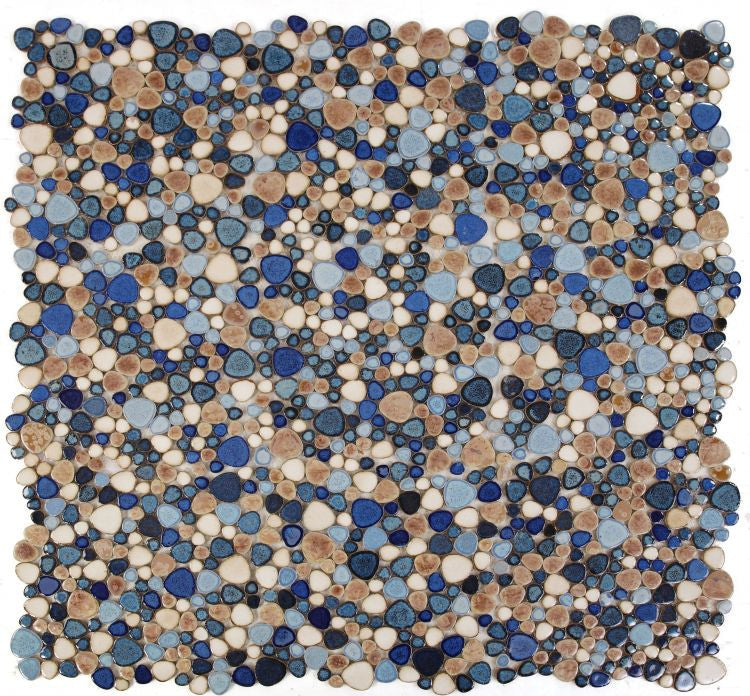
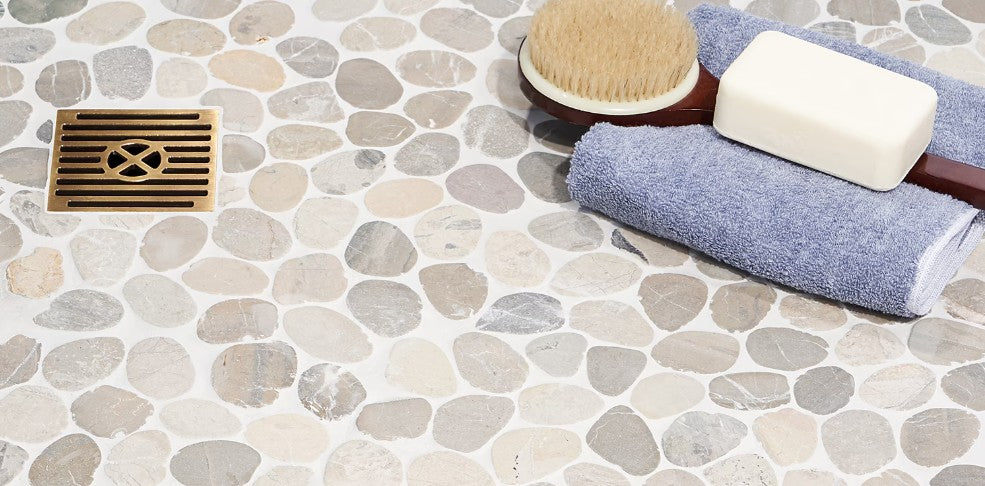
3. Pebble or River Rock Layout
Pebble tiles, also known as river rock mosaics, bring a natural, spa-like feel to your shower. Their organic shapes fit together like a puzzle and offer natural slip resistance. You can find them in matte, polished, or sliced finishes, and even in dyed colors for a bolder design.
A creative twist: use pebble tiles only in the center of the shower floor, surrounded by large-format tiles or mosaics for contrast.
4. Herringbone Pattern
The herringbone layout instantly adds sophistication and energy to any space. It’s most effective with rectangular tiles (like 1"x4" or 2"x6"). The "V" shapes create movement and visual interest, especially in long or narrow shower floors.
This layout requires precision, so it's best installed by professionals or experienced DIYers.
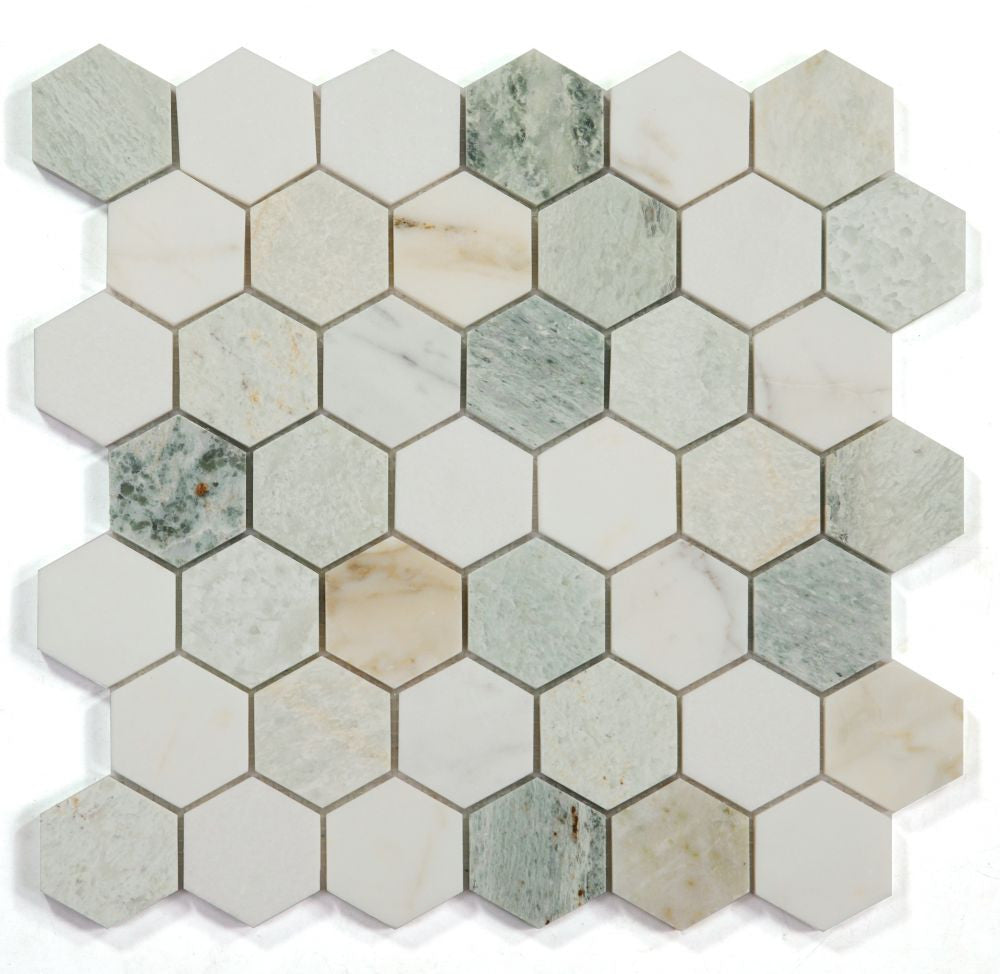
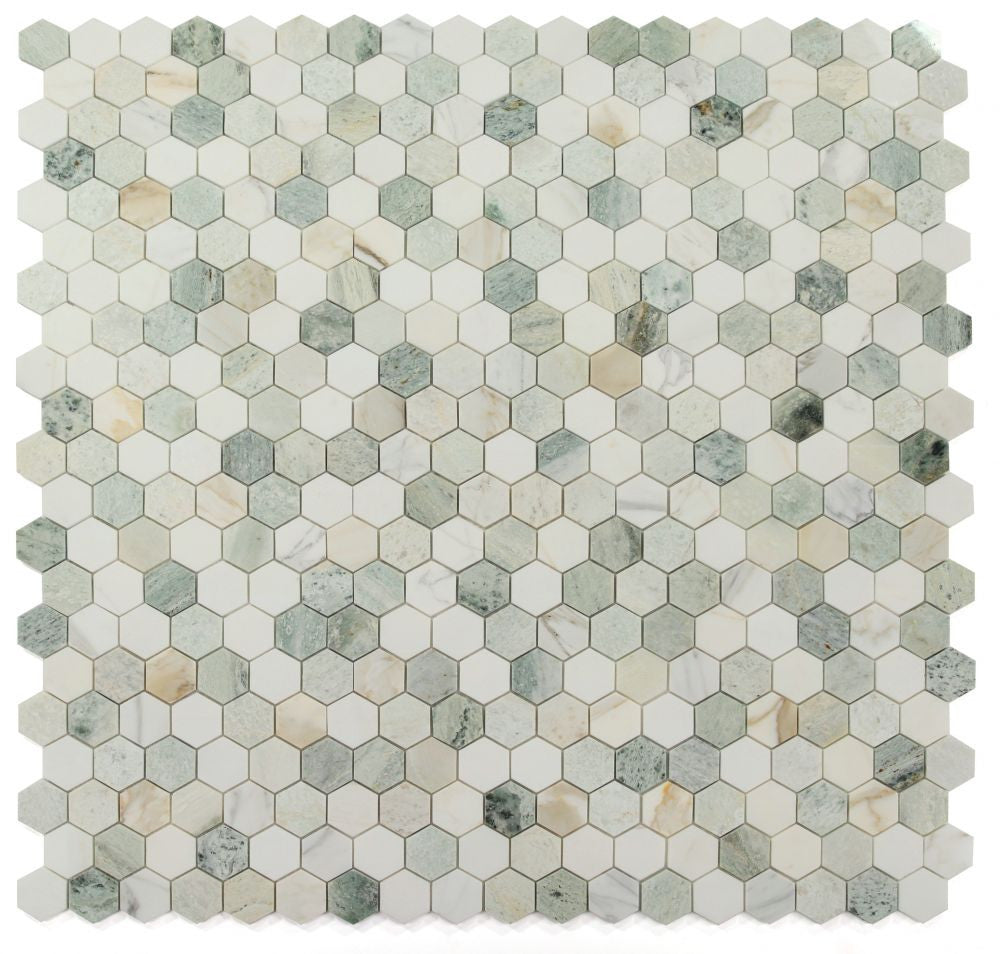
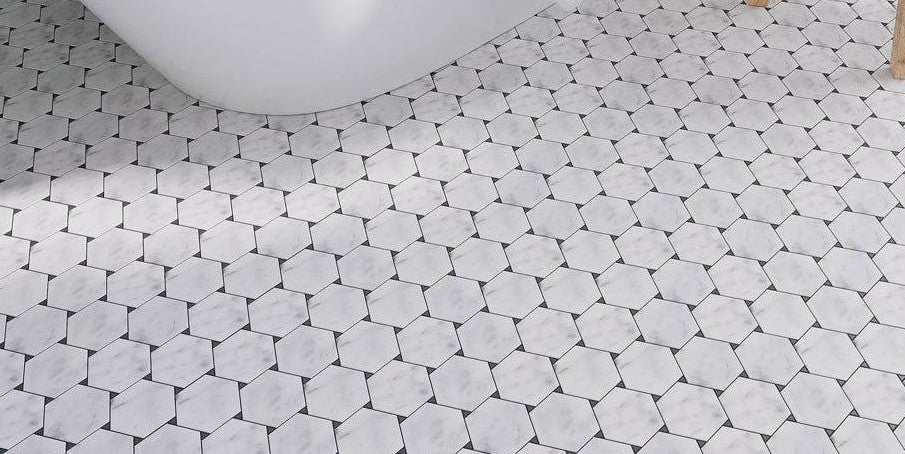
5. Hexagon Tiles
Hex tiles bring a geometric twist to the classic grid. Available in sizes from micro-mosaic to 4" or 6", hexagon tiles can be used alone or blended with contrasting tile shapes for added drama.
For a dynamic look, alternate solid and patterned hex tiles, or create a color gradient that flows from light to dark across the floor.
6. Diagonal Layout
Turning your square or rectangular tiles on a 45-degree angle can make small showers feel larger and more dynamic. This diagonal layout adds a designer touch without changing your tile selection.
It’s ideal for classic subway or stone tiles and pairs well with neutral grout to avoid visual clutter.
7. Linear Plank Tiles
For a contemporary, wood-inspired spa effect, use long plank tiles in a linear layout. Whether you go with real wood-look porcelain or stone planks, the horizontal layout can visually expand a narrow shower.
A staggered (running bond) pattern mimics traditional wood flooring, while a stacked pattern offers a more modern appearance.
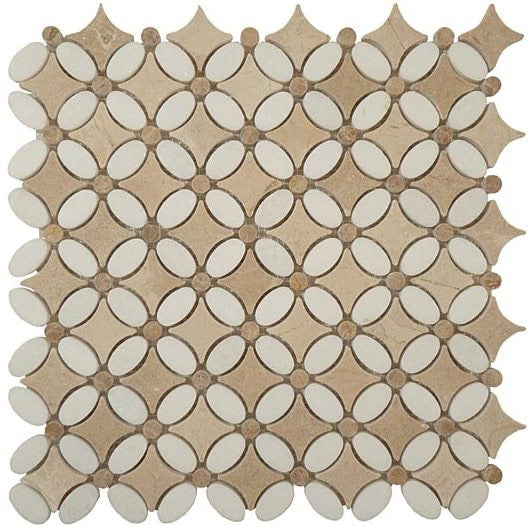
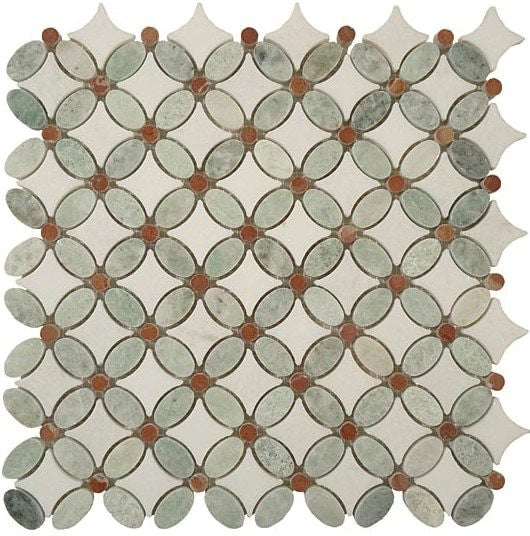
8. Inset Tile Rug Design
Add luxury with an "area rug" tile effect inside the shower. This involves using a decorative mosaic or patterned tile in the center of the floor, bordered by a neutral tile. The result resembles a framed rug and gives the space a curated, custom look.
You can incorporate this idea with waterjet mosaics, marble inlays, or patterned porcelain tiles for stunning impact.
9. Checkerboard or Two-Tone Patterns
Use two different tile colors or materials to create a checkerboard pattern. This bold and classic layout works especially well with square tiles and adds strong visual interest. For a subtler effect, use similar hues with varied textures or finishes.
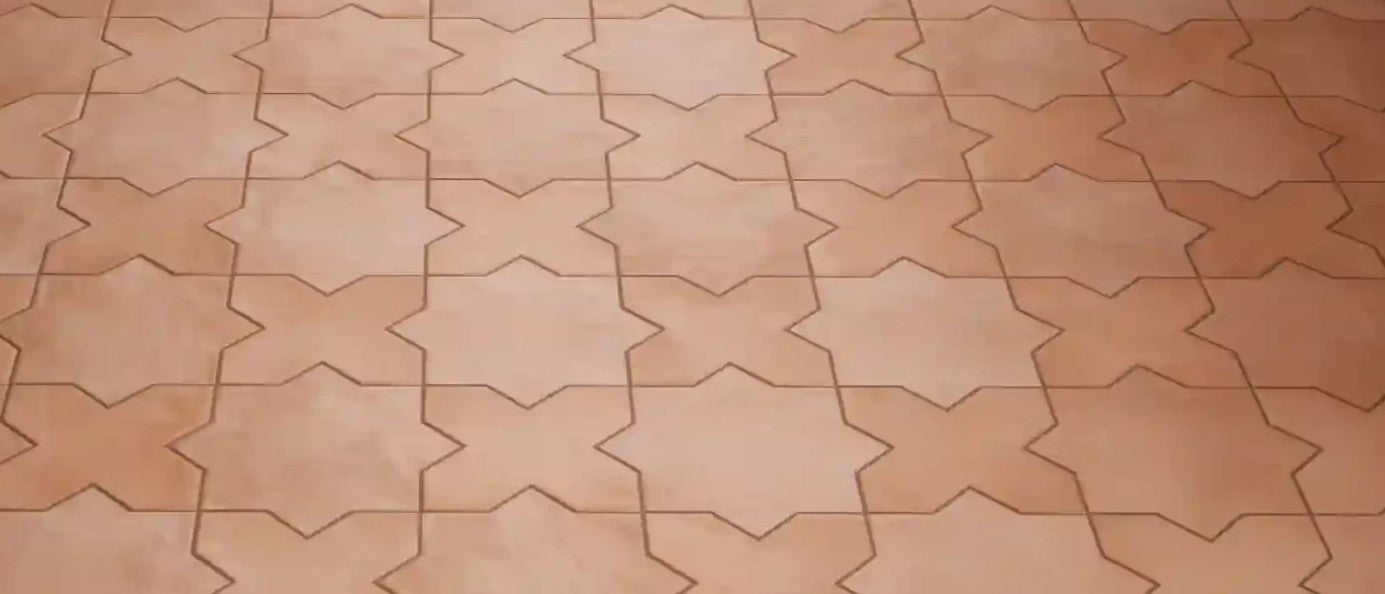
10. Radiating or Circular Patterns
For a unique twist, consider circular or radial layouts that direct the eye toward a central drain or focal point. This requires custom-cut tiles or waterjet mosaics, but the visual effect is unforgettable. It’s ideal for round or curved shower pans or spa-inspired bathrooms.
Layout Considerations for Drainage and Safety
While creativity is encouraged, function must always come first. Your tile layout must accommodate the necessary slope toward the drain, especially with larger tiles. That’s why many designers choose small tiles or flexible mosaics for sloped surfaces.
Also, prioritize slip resistance. Choose textured finishes, natural stone, or tiles rated for wet areas. The smaller the tile, the more grout lines—this naturally increases traction.
Pro Tips for Creative Tile Layout Success
- Mock it up: Lay out your pattern dry before installation to fine-tune placement and color distribution.
- Match grout color strategically: Contrast enhances patterns; matching grout creates a seamless look.
- Use high-quality installation materials: Especially with intricate layouts, proper adhesive and grout are essential.
- Plan for symmetry: Start layouts from the center or the drain for a balanced finish.
Final Thoughts
Your shower floor isn’t just a functional surface—it’s a design opportunity. Whether you love bold patterns or subtle textures, there’s a tile layout that can bring your vision to life while ensuring safety and durability.
At Tile Choices, we offer a curated selection of shower floor tiles in all shapes, sizes, and materials to suit every layout and style. From mosaics to planks to pebbles, our collection helps you achieve both creative expression and practical performance.