Why Add a Shower Bench?
A shower bench is more than just a luxury—it's a functional addition that improves accessibility, comfort, and overall bathroom design. Whether you want a place to shave your legs, rest products, or provide support for mobility, a custom shower bench is a smart investment.

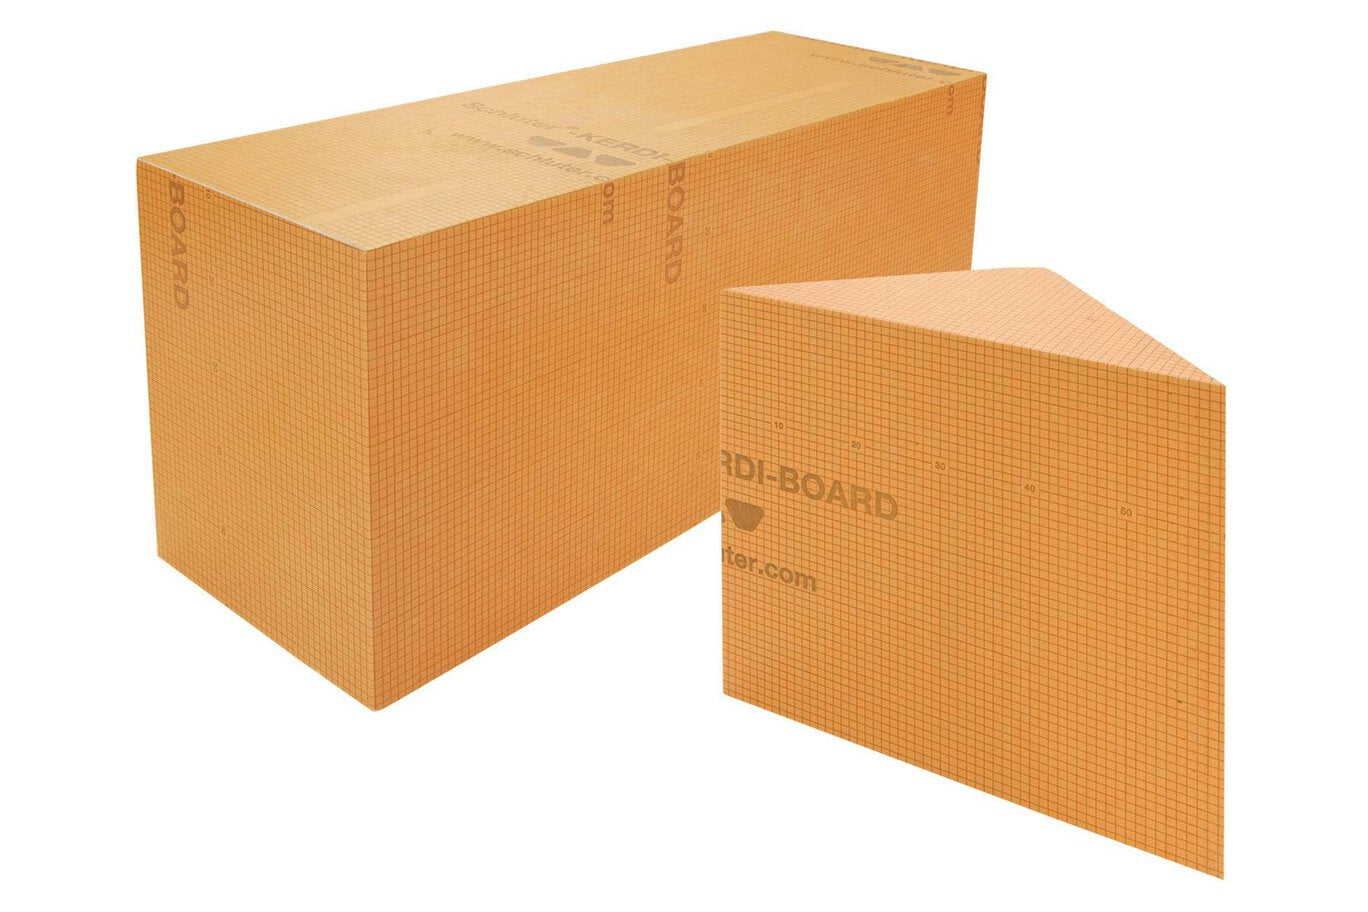
The key to a lasting shower bench is waterproofing and structural integrity. That’s where Schluter®-KERDI-BOARD comes in. This lightweight, waterproof building panel is ideal for building custom shower benches that are easy to tile, strong, and moisture-resistant.
Benefits of Using KERDI-BOARD for Shower Benches
- Lightweight and rigid – easy to handle and install
- 100% waterproof – no additional waterproofing layers needed
- Customizable thicknesses – ideal for seat tops, sides, and bracing
- Ready to tile – no need to skim coat or prepare surface
- Works with full Schluter shower system – seamless integration
Tools and Materials You'll Need
- KERDI-BOARD panels (2" thickness recommended for structural strength)
- KERDI-BAND and unmodified thin-set mortar
- Schluter screws and washers (for anchoring to walls/floors)
- Utility knife or circular saw
- Tape measure and level
- Proper Trowel Size
- Construction adhesive (optional for additional hold)
- Corner brackets or wood blocking (optional reinforcement)
Step-by-Step Guide to Building a Shower Bench with KERDI-BOARD
Step 1: Plan Your Bench
Decide on the size and shape of your bench. Common styles include rectangular corner benches, full-width rectangular seats, or floating bench designs. Ensure your dimensions are comfortable—typically 17–20 inches high, 15 inches deep, and sized to fit your shower space.

Mark out your dimensions on the wall and floor using a pencil or painter’s tape for visual reference.
Step 2: Cut KERDI-BOARD Panels
Cut the KERDI-BOARD panels to size using a utility knife (for thinner panels) or a circular saw (for 2" panels). You'll need panels for:
- Bench top (the seat)
- Front face
- Sides or ends
- Internal supports (for bracing beneath the seat)
Use 2” thick KERDI-BOARD for the seat top and bracing to ensure structural strength.
Step 3: Assemble the Frame
Dry fit your pieces to ensure everything lines up. Assemble the front, sides, and bracing with construction adhesive and Schluter screws with washers. Add blocking between the walls or floor if additional support is needed.
Tip: For longer benches, install vertical supports underneath the bench top every 12–16 inches to prevent flexing.
Step 4: Install the Bench in the Shower
Place your assembled bench into position inside the shower. Use Schluter screws and washers to attach it securely to the wall and/or floor. The waterproof KERDI-BOARD will resist moisture even at direct contact points.
Check for level and plumb before proceeding.
Step 5: Seal All Seams and Joints
Use unmodified thin-set mortar to embed KERDI-BAND over all external seams, corners, and screw penetrations. Use preformed KERDI corners at inside and outside transitions if desired. This ensures a fully waterproof installation.
Allow the mortar to cure before applying tile.
Step 6: Tile the Bench
Once your bench is secure and waterproofed, you can tile directly over the KERDI-BOARD surface using unmodified thin-set mortar. Select non-slip tiles for the bench top, especially if it will be used while standing or in wet conditions.
For extra grip and visual appeal, consider using mosaic tiles or textured porcelain on the seat.
Tips for a Successful Shower Bench
- Slope the seat: Tilt the bench top slightly (1/8" per foot) toward the shower floor to prevent water pooling.
- Mind transitions: Ensure smooth corners and edges between the bench and walls/floor with KERDI-BAND or preformed corners.
- Use appropriate grout: Consider epoxy or mold-resistant grout for long-term durability in wet environments.
- Support matters: If building a floating bench, be sure to use metal brackets or blocking anchored securely into studs.
Advantages Over Traditional Bench Construction
Traditional wood-framed benches covered in cement board can absorb moisture and degrade over time. They require multiple steps of waterproofing and are prone to swelling if not perfectly sealed.

With KERDI-BOARD, you eliminate the risks of rot, mold, or moisture damage. The lightweight panels simplify the construction process while delivering professional-grade results. Plus, the integration with the Schluter shower system ensures full compatibility with your drain and waterproofing layers.
Final Thoughts
Building a custom shower bench using Schluter KERDI-BOARD is an accessible project for both professionals and skilled DIYers. The system offers unmatched durability, waterproofing, and design flexibility. Whether you’re installing a compact corner seat or a full-width spa bench, KERDI-BOARD provides a solid foundation for comfort and style.


